- See It In Action
- Getting Started
- First boot
- Working with Qiskit
- Building the RasQberry 3D Model
- Contributing
- Stay Updated
- Need Help?
New beta: the SD card stays in the Pi. With the new A/B image, releases install over the air into the other system, and the Pi falls back by itself if one doesn't work (64 GB card or larger, 128 GB recommended).
- Raspberry Pi OS Trixie with Python 3.13, the demos in six groups on the desktop, and your own user name from Imager.
- Several new demos and games: the Workshop & Qiskit Server for a whole class, Qiskit Tutorials on this Pi, Qiskit Live, the Mermin-Peres game and a demo catalogue with racetraQ.
- Learning paths: short tours through the demos, with tips on where to go next.
- Taskbar badge: shows which system runs and tells you when a new release is out.
- Help us test it: we're looking for testers who try RasQberry Two and its demos on their own Pi. Testers get Ket, our new AI tester helper: it suggests missions that fit their hardware and takes their feedback. Become a tester
▶ Write RasQberry Two to your SD cardWhat's newTell us what you think
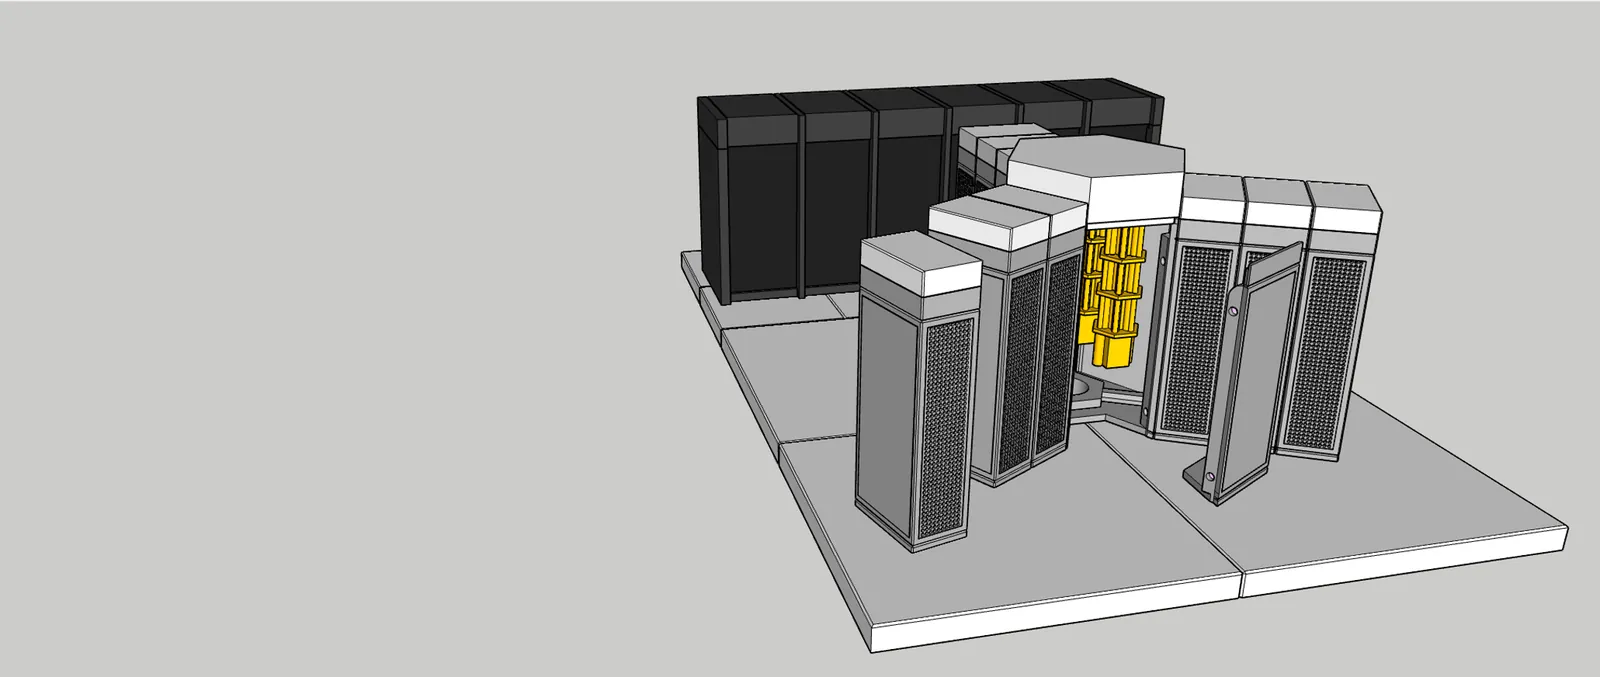
RasQberry Two is a functional model of IBM Quantum System Two. It combines Qiskit, a Raspberry Pi and a 3D-printed model for teaching, meetups and demo booths. Its demos and serious games show superposition, interference and entanglement on screen and on the model's LED panel.
Note: Looking for the model of IBM Quantum System One? Go to rasqberry.one. RasQberry Two adds a 64-bit OS, the Raspberry Pi 5, Qiskit 2.x, more demos and a menu in raspi-config.
Running a workshop or event? We help you prepare it, free, as part of our open-source community work: an image made for your event, your branding and tested demos.
Workshops & eventsSee It In Action
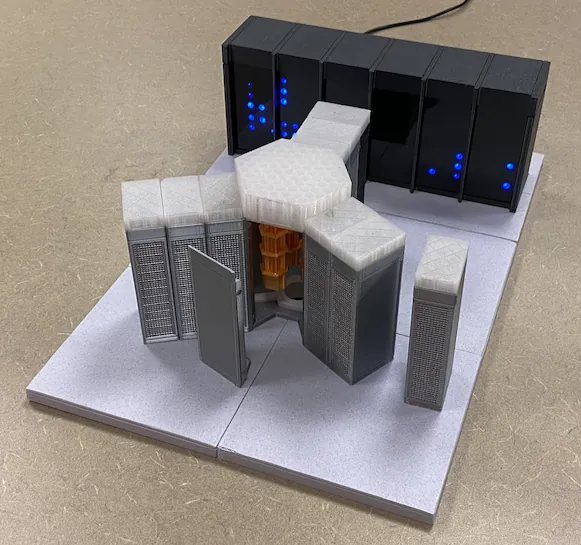
3D-printed model inspired by IBM Quantum System Two
Demo video showing RasQberry Two beta with quantum computing demos
Interactive quantum computing demos - Bloch sphere visualisation, quantum games, circuit composer, and fractal animations (slow-motion version)
Getting Started
Already running RasQberry Two? Go to First boot.
1. Write the image. Install Raspberry Pi Imager 2.0.3 or newer, then:
▶ Write RasQberry Two to your SD card
Opens Raspberry Pi Imager with the RasQberry images.
In Imager, confirm Switch repository, then choose your Pi under Device, RasQberry Two Beta under OS and your card under Storage. Customisation (Wi-Fi, time zone, keyboard, SSH key, your own user name) is optional (details). Card: 128 GB high-speed (A2/U3) recommended, 16 GB minimum (card sizes). The link did nothing? See other ways.
2. Start the Pi. The first start takes a few minutes and restarts on its
own: do not unplug it. The desktop opens without a login; over SSH and VNC the
login is rasqberry with password Qiskit1!, or the user set in Imager.
3. Answer the setup questions (below), then start a demo.
First boot
At the first desktop or SSH login a short setup checklist opens, until you answer it. It offers only the steps that still need a decision from you:
- Keyboard layout and time zone. Set for the UK until you change them.
- Connect to Wi-Fi. Only when the Pi has no network connection.
- Change the password. Optional: keep the demo password for a booth.
- Name this RasQberry. Useful when several kits share a network.
- Check the LED panel. An IBM logo appears on the panel and you pick the colour in which it reads upright. That tells RasQberry how your panel is wired. No panel? Say so, and the LED demos use an on-screen view.
- Download all demos. Optional; otherwise each demo downloads on its first start.
- Turn on touch mode. Only when a touchscreen is attached: bigger icons, buttons and menus, and icons open with one tap. Later: the Touch Mode icon, or 0 RasQberry → Desktop Settings. The keyboard icon in the taskbar shows an on-screen keyboard; it also opens by itself in text fields.
- On some Pis: setting up the SD card, and notes about a small card or the Pi's firmware.
On the A/B image the card is prepared for two systems during the first start, on cards of 64 GB or more; a smaller card runs one system.
Every step can wait: leave it unticked, or choose Later; the RasQberry Setup icon
on the desktop opens the list again. Done with it? Tick Don't show again (the
last line): the icon goes, and the list stays in the RasQberry menu
(0 RasQberry → Setup Checklist, or rq_firstlogin.sh --all). The icon
also goes once every step is done.
Then try something: double-click a demo icon on the desktop, pick one from the demo list, or follow a learning path.
Your feedback is highly appreciated. Tell us what works and what doesn't, or report a bug, in a GitHub issue.
Working with Qiskit
Double-click My Quantum Programs: JupyterLab opens in your folder
~/My-Quantum-Programs at Hello World, next to example programs.
File → New → Notebook starts your own; keep it in that folder, which
A/B updates keep. Python files run with rq_python my_program.py or in Thonny.
Qiskit 2.x is in ~/RasQberry-Two/venv/RQB2
(versions).
Building the RasQberry 3D Model
STL files for the 3D-printed model are available in the 3D-model branch. The model consists of several printed parts that assemble together to create the complete RasQberry Two enclosure.
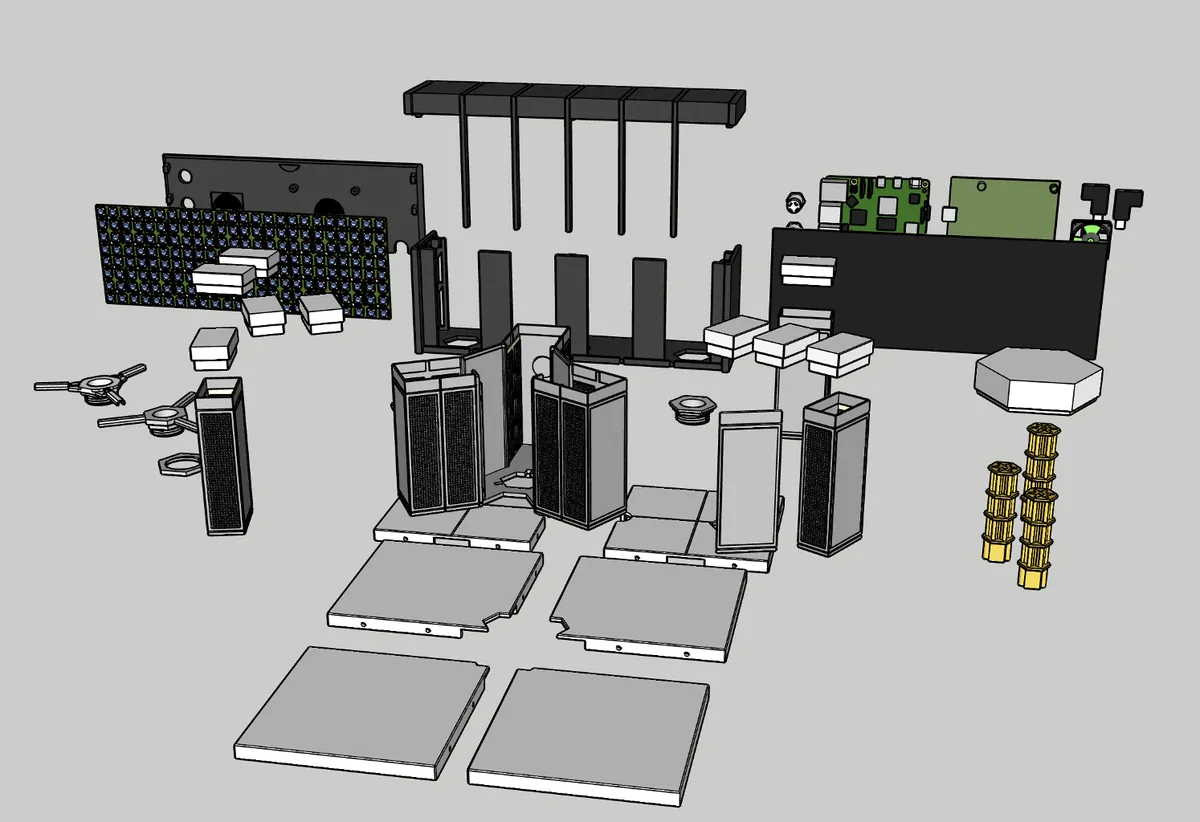
Exploded view showing all 3D-printed components
For detailed assembly instructions, see the Hardware Assembly Guide.
Contributing
RasQberry Two is an open-source educational project. We welcome contributions:
- Test & report issues - Try RasQberry and report bugs
- Share ideas & feature requests - Open a GitHub Discussion or issue
- Improve documentation - Fix typos or add troubleshooting tips using the "Edit this page on GitHub" link on each page
- Create quantum demos - Build new interactive demonstrations
Get Started: Visit our Contributing Guide to learn more.
Stay Updated
Follow our Announcements on GitHub Discussions for the latest news and updates.
Need Help?
Start with Troubleshooting.
You can also ask our AI documentation assistant based on Google NotebookLM (needs a Google login), or open an issue. 