For a detailed step by step and up to date installation and testing guide, please refer to the link here. The report linked provides additional information that is not necessarily covered in the Setup Guide below.
RasQberry Installation and Setup
If you already have a Raspberry Pi with the latest version of Raspberry Pi OS you can start at step 2.
Step 1: Get your Raspberry Pi ready
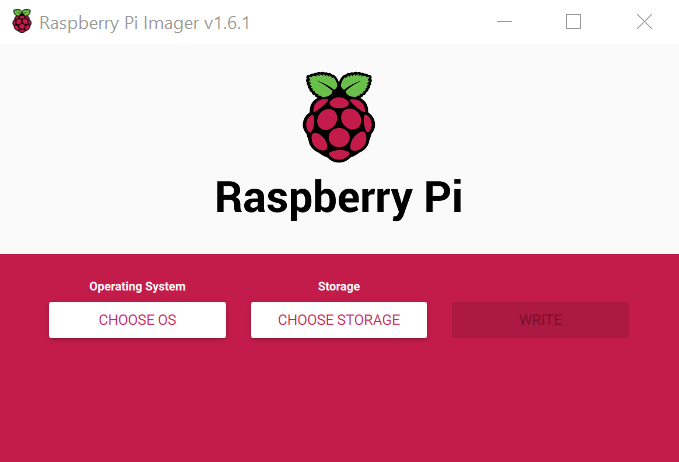
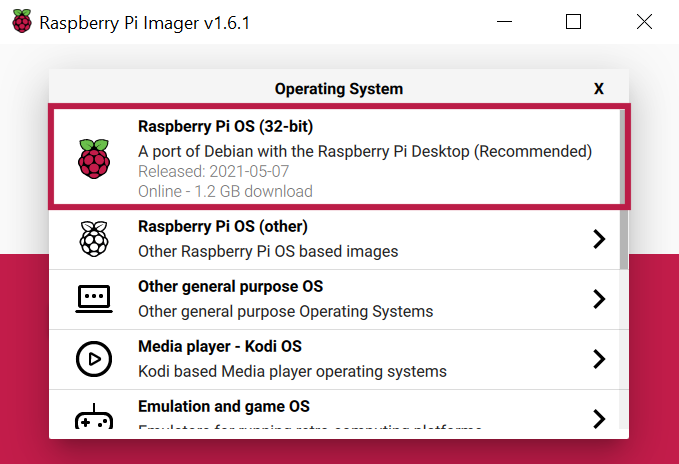
With the Raspberry Pi Imager write the Raspberry Pi OS Raspbian on an (empty) SD-Card. You can either choose the Image right from the Raspberry Pi Imager or you can first download Raspberry Pi OS.
(Optional) Do the default Setup of your Raspberry Pi by using
sudo raspi-config
For this you will need a Display or for a headless setup you’ll need to enable SSH.
Step 2: Enable SSH (optional)
You can enable SSH in different ways:
-
Headless (add file):
After you wrote the Raspbian Image on your SD-Card you need to add a file named “ssh” in your boot partition (boot register) of your SD-Card, which you can access on your personal computer. When you added the file, you can now boot your Raspberry Pi. -
Headless (with Imager):
When you write the Raspberry Pi OS on your SD-Card you can enable SSH with the writing process. You can access the extended menu when entering shift + command + X (windows: shift + control + X)
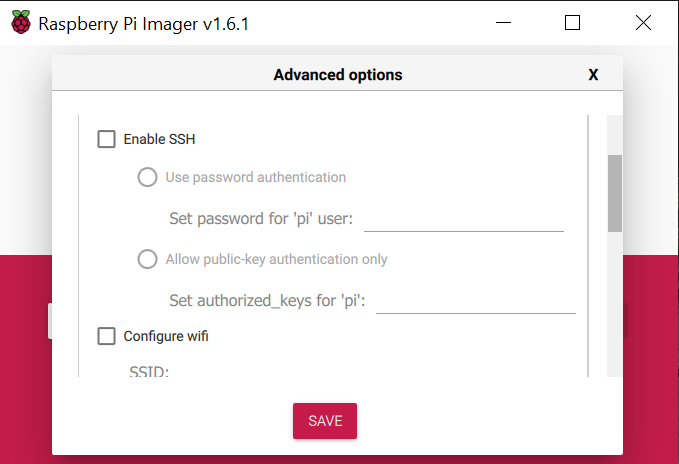
You can enable SSH and enter your password or public-key to make the authenticating process while connecting easier.
- With Display:
Open the terminal on your Raspberry Pi. You can find the terminal in the application menu, under Accessories.sudo raspi-configSelect
3 – Interface options
SelectP2 – SSH
Next, you’ll need to get the IP address from the Raspberry Pi. You can find the address in your Router’s DHCP lease allocation table or if you use a display, you can get your IP address by typing ifconfig in your terminal.
Open a terminal on your remote device and enter
ssh pi@/{your IP address}
You need to agree that you want to connect your devices and enter your Raspberry Pi password (default: raspberry). Now you should be able to use SSH.
Step 3: Installing RasQberry
Open the terminal/ssh window on your Raspberry Pi.</br>
Move to the home directory of the user pi (/home/pi). Not doing this will result in an error while installing and using the RasQberry.
You go there by typing cd in the terminal. You can check your current working directory by typing in pwd. </br>
Download and run the script using the following commands.
wget https://github.com/JanLahmann/RasQberry/raw/master/RasQ-init.sh
. ./RasQ-init.sh
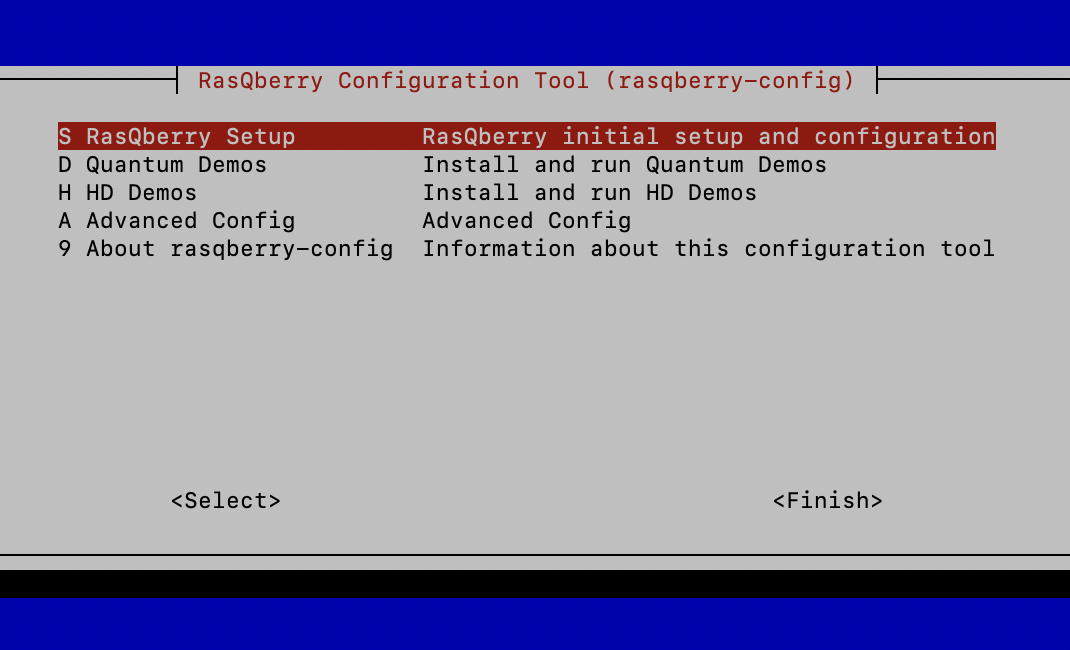
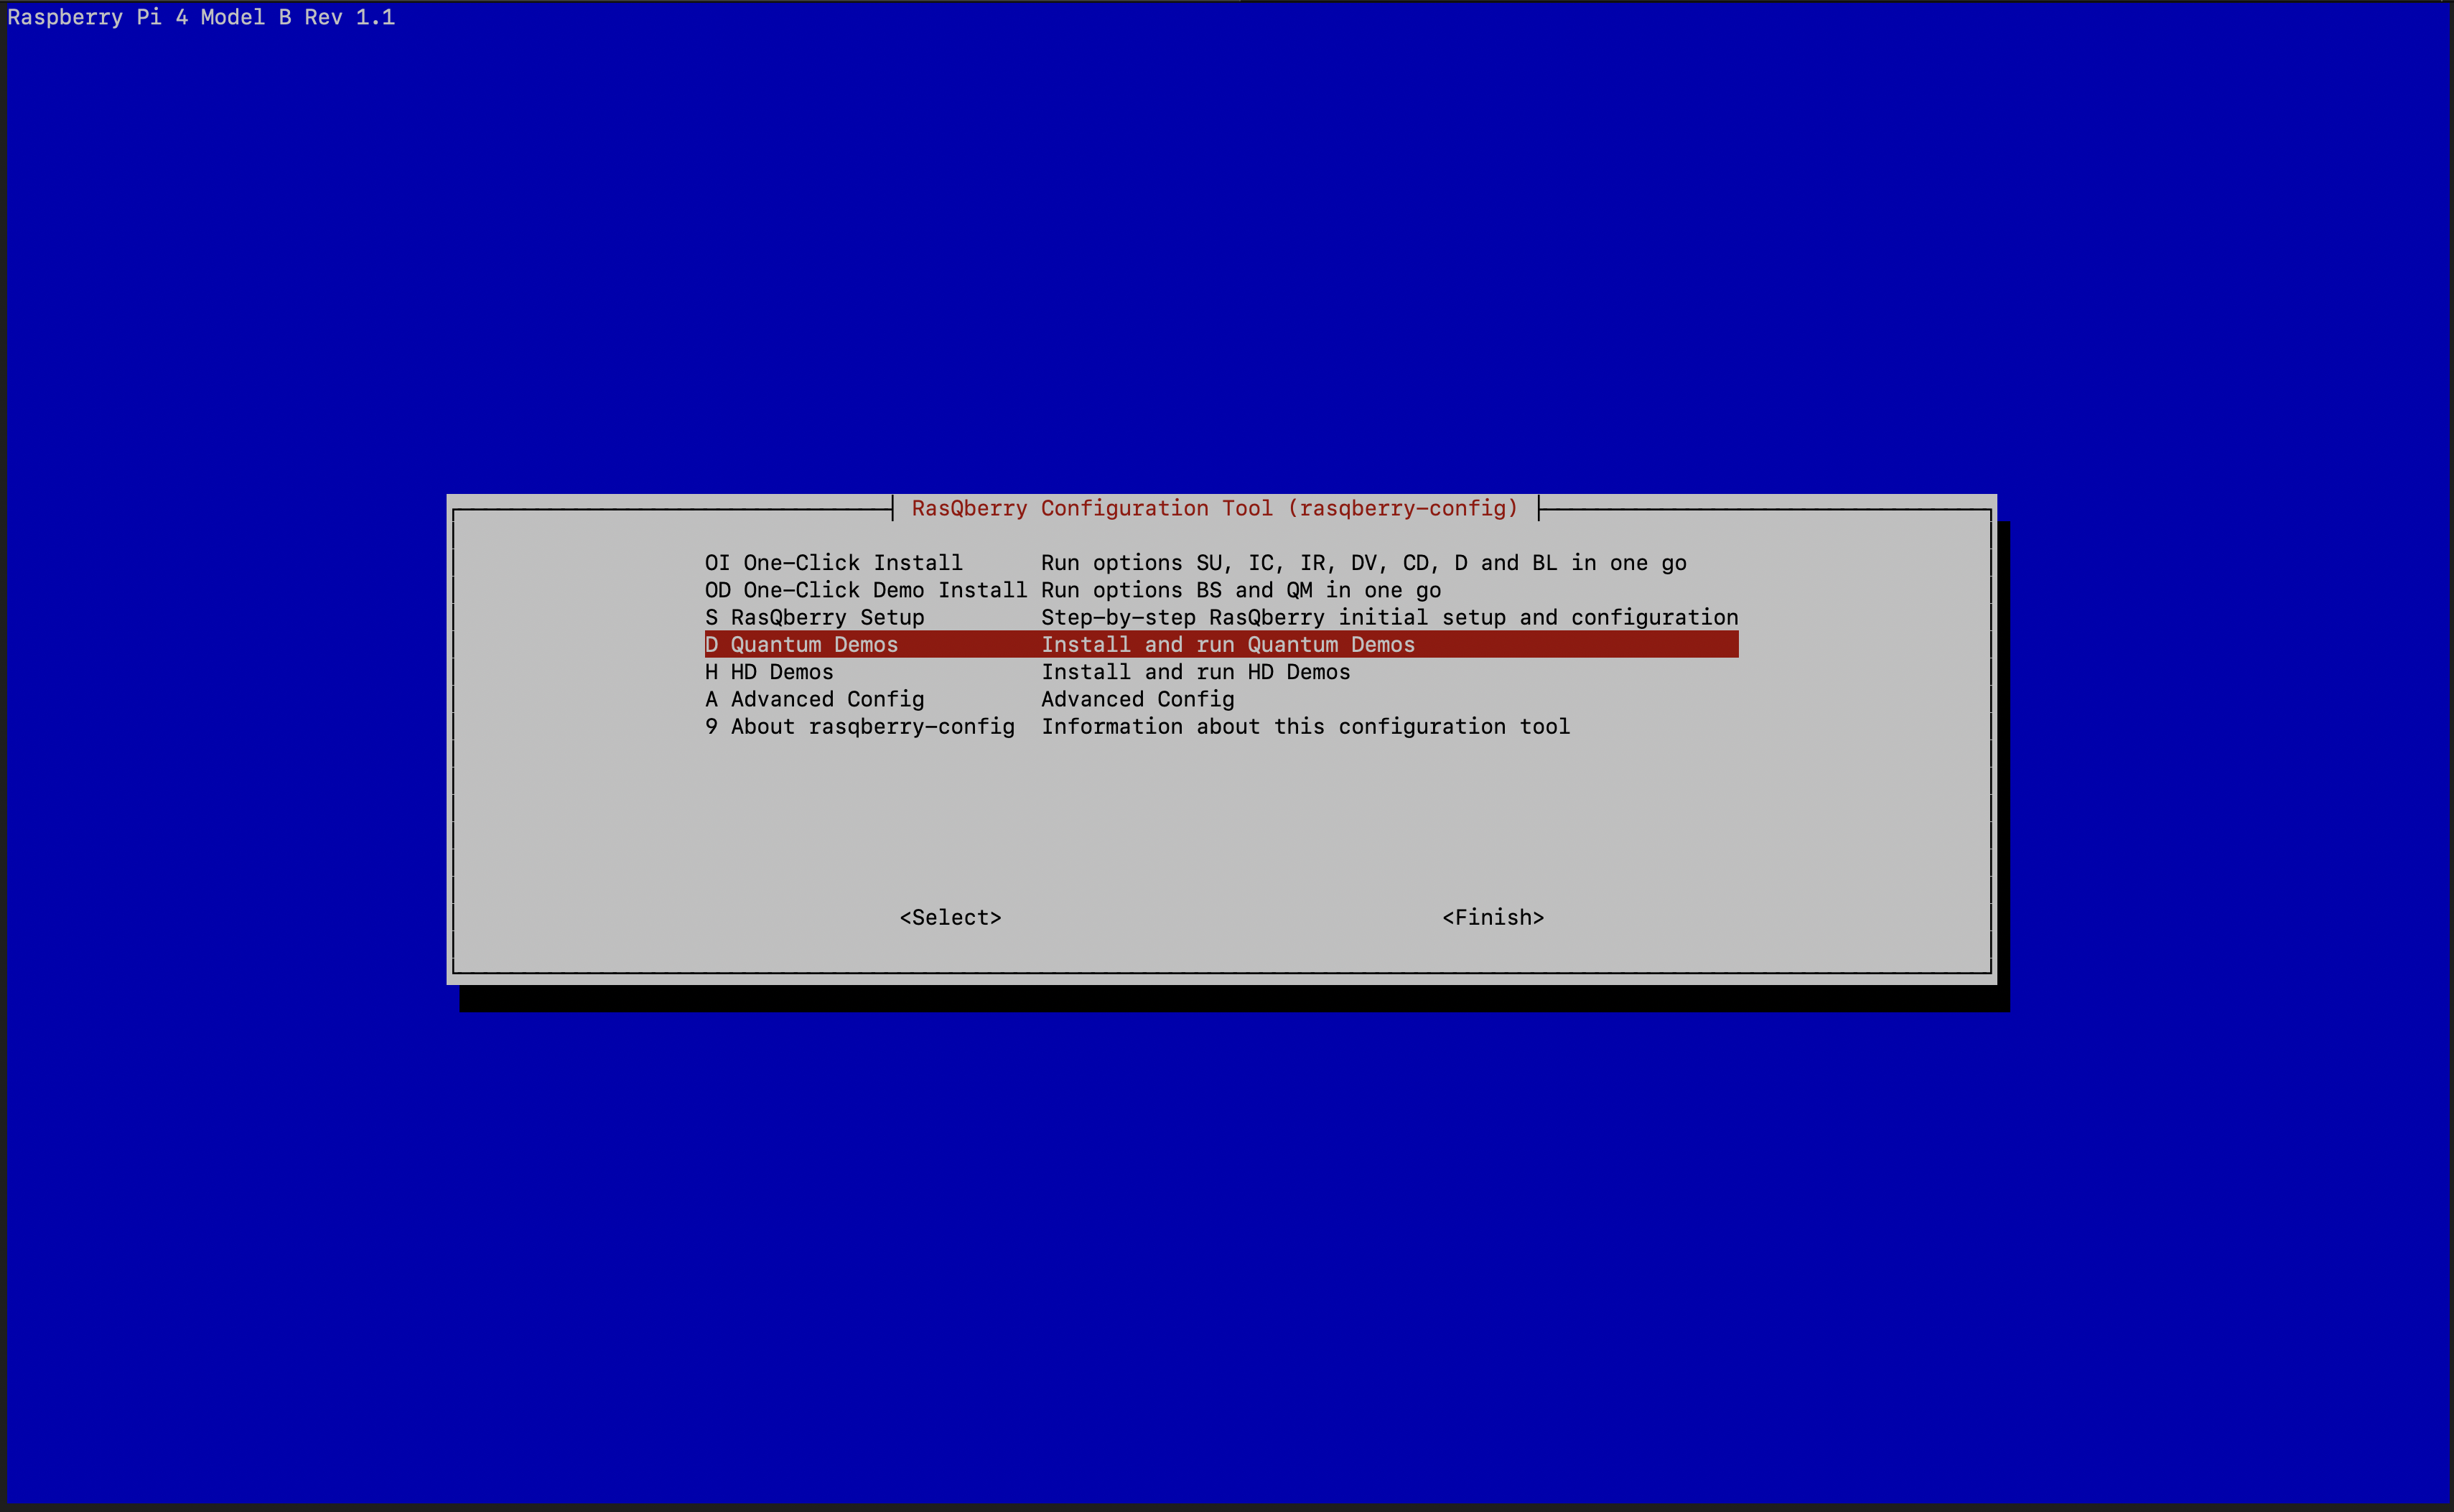
This will download and start the RasQberry Configuration Tool (rasqberry-config) in your terminal. It is similar to the well-known raspi-config and can also be used for some basic configurations. To start the tool again you can use
. ./RasQ-init.sh
in your terminal/ssh window.
Step 4: RasQberry Setup
You can assemble your Hardware either with a (touch) display or with an senseHAT. It is not possible to use the senseHAT and the touch display on the same Raspberry Pi, because the senseHAT isn’t working with the installation process from the touch display.
With touch display
Open the RasQberry Configuration Tool and follow the steps below.
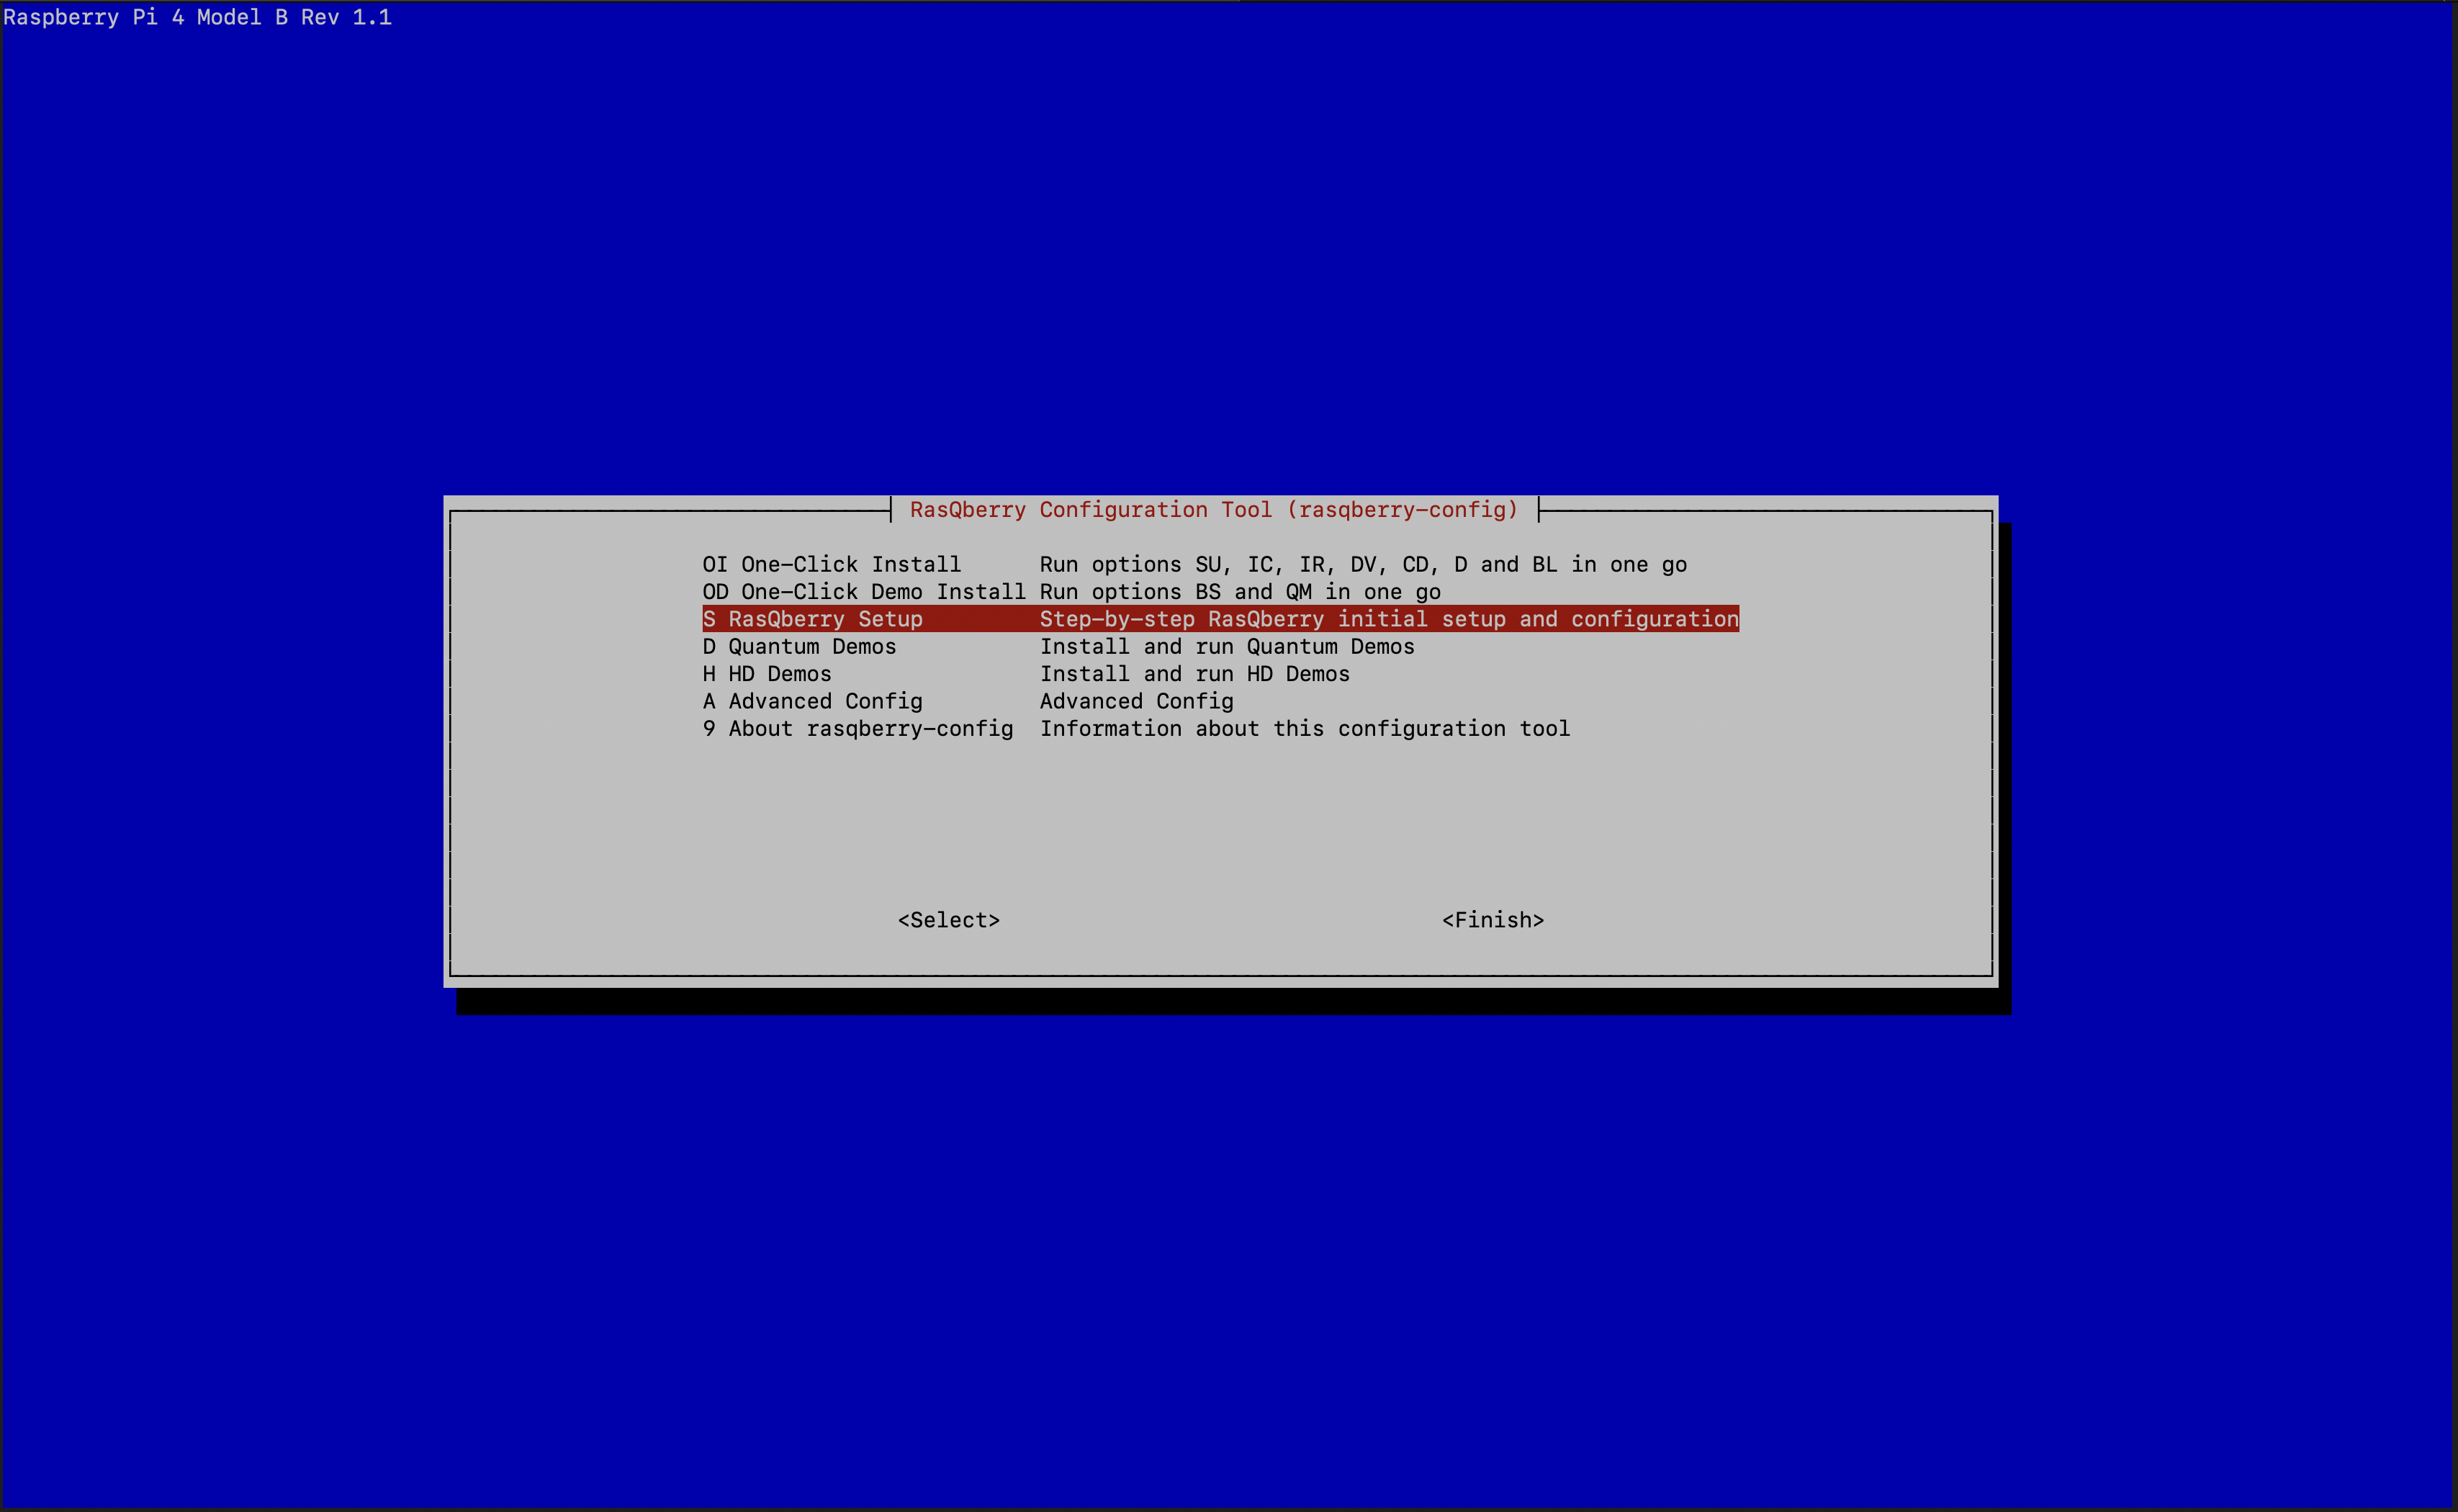
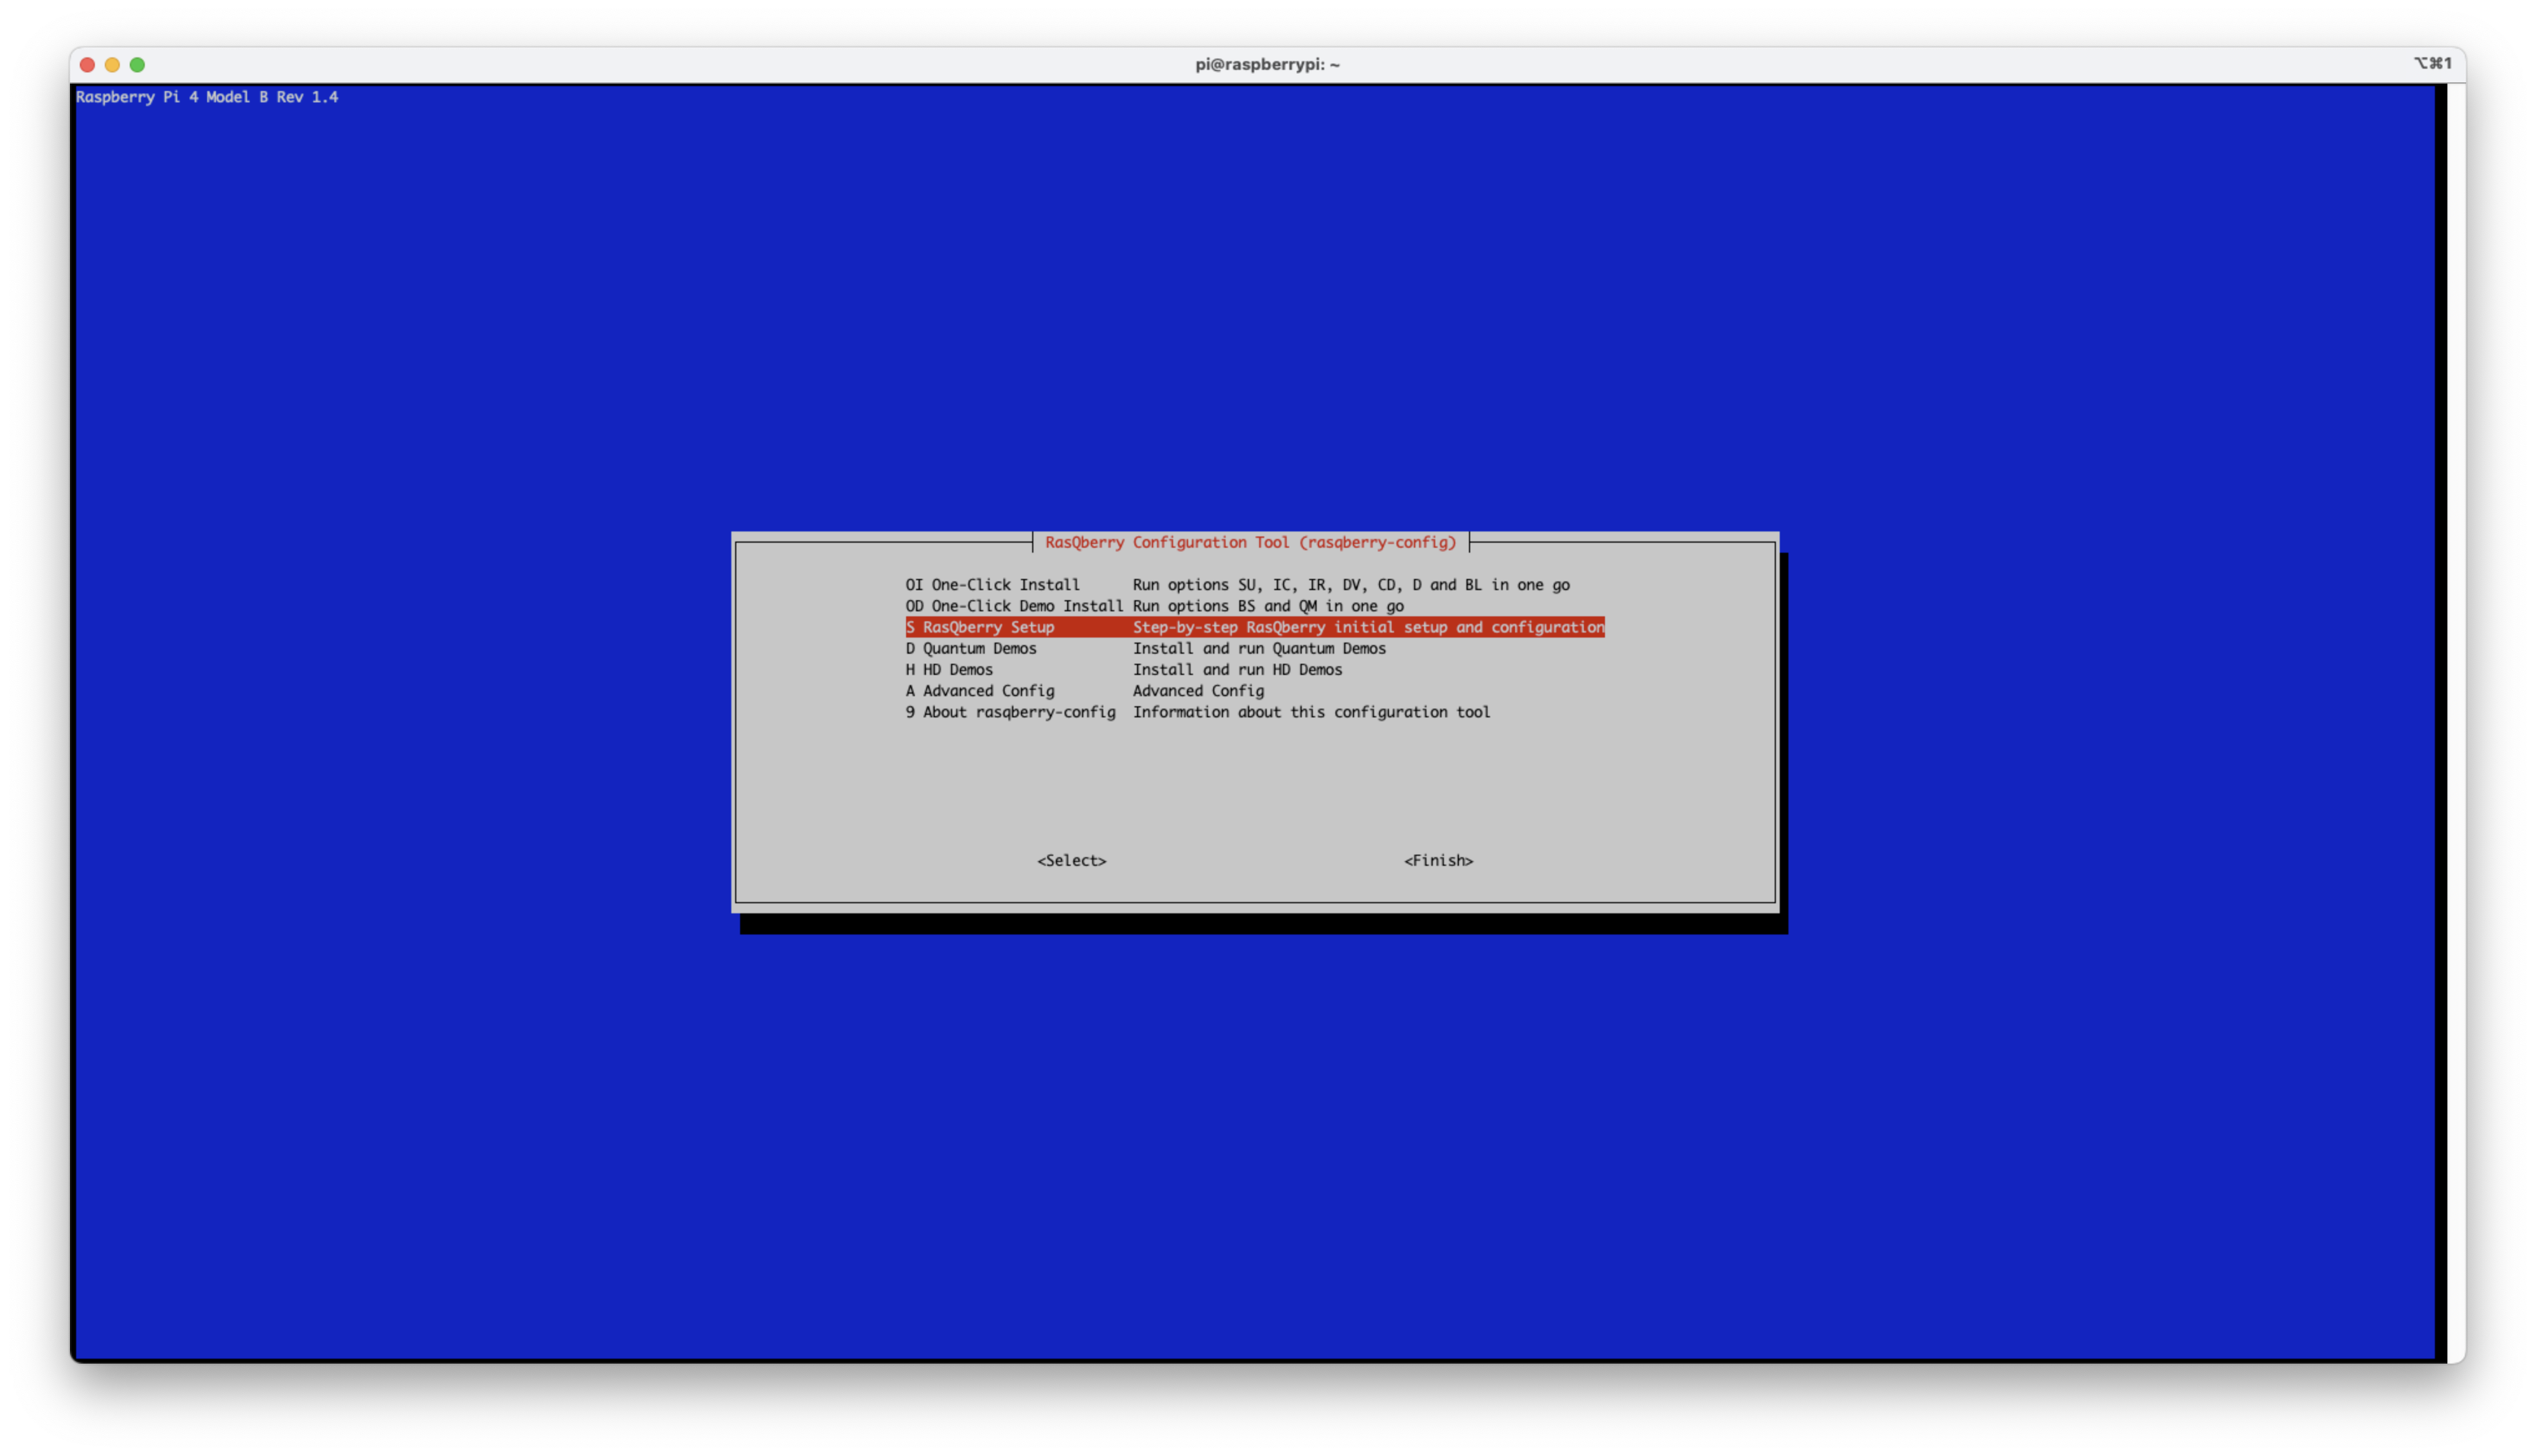
- Select
S – RasQberry Setup
- Select
SU – System Update
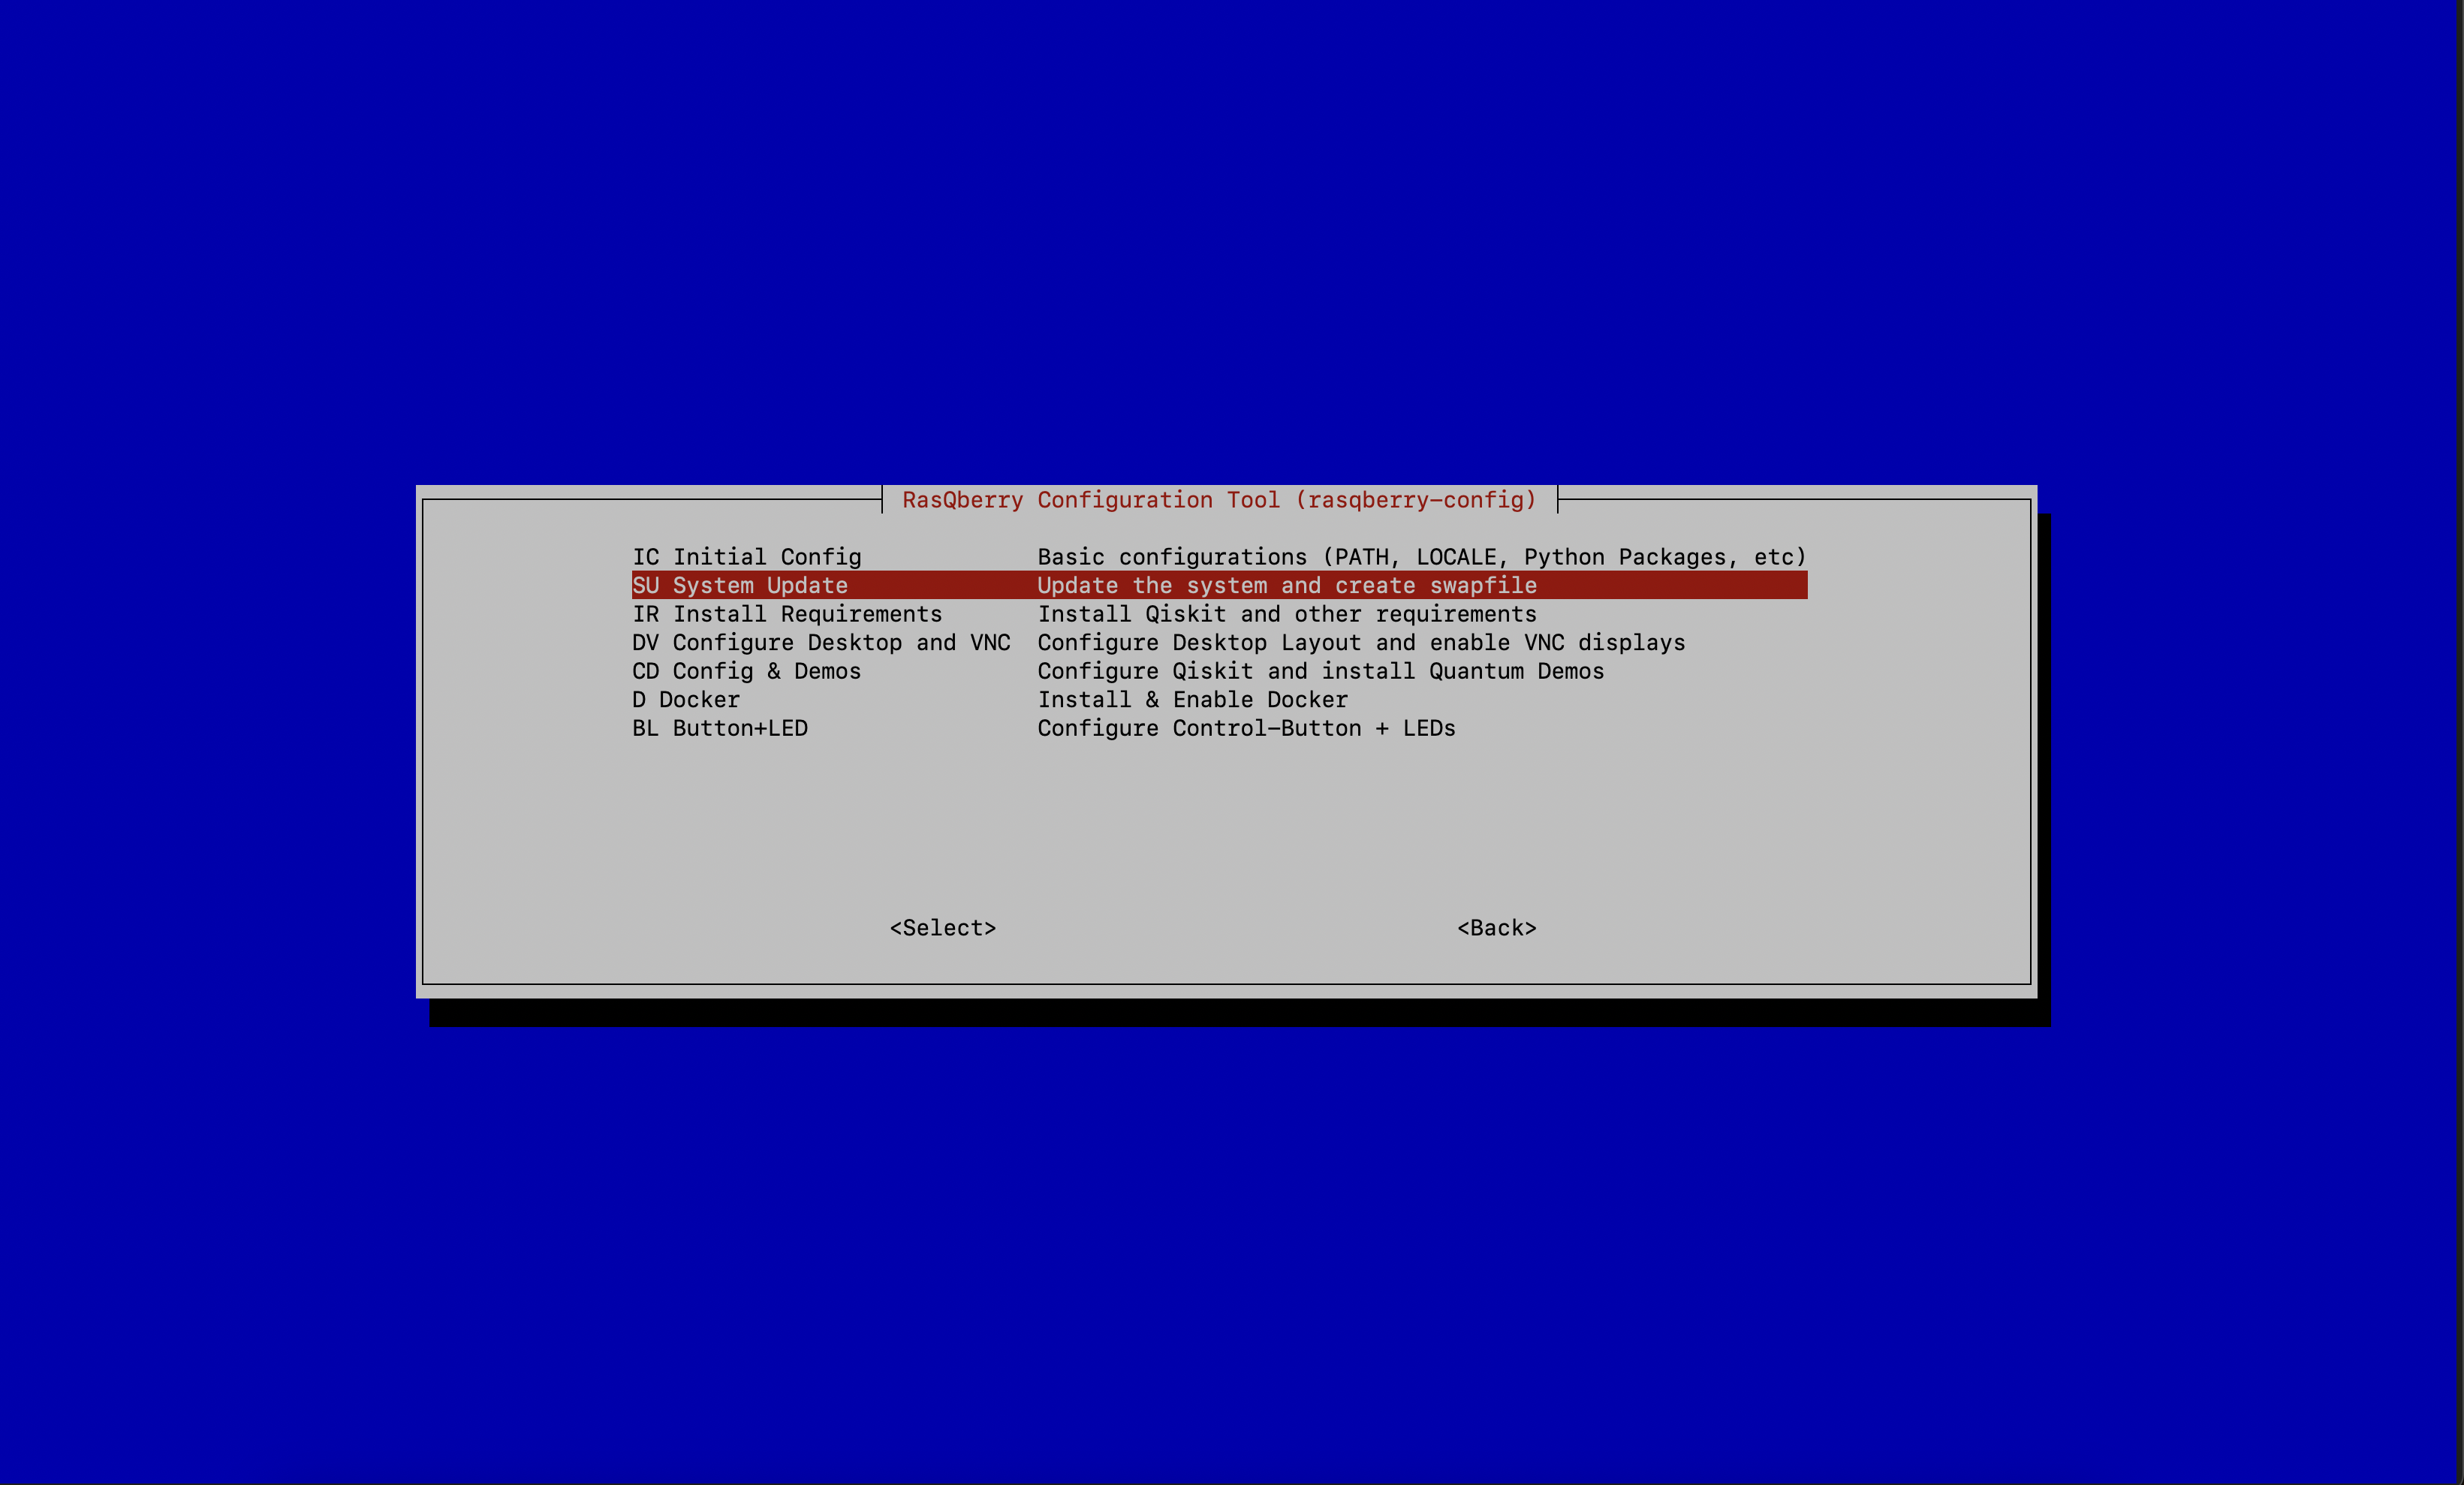
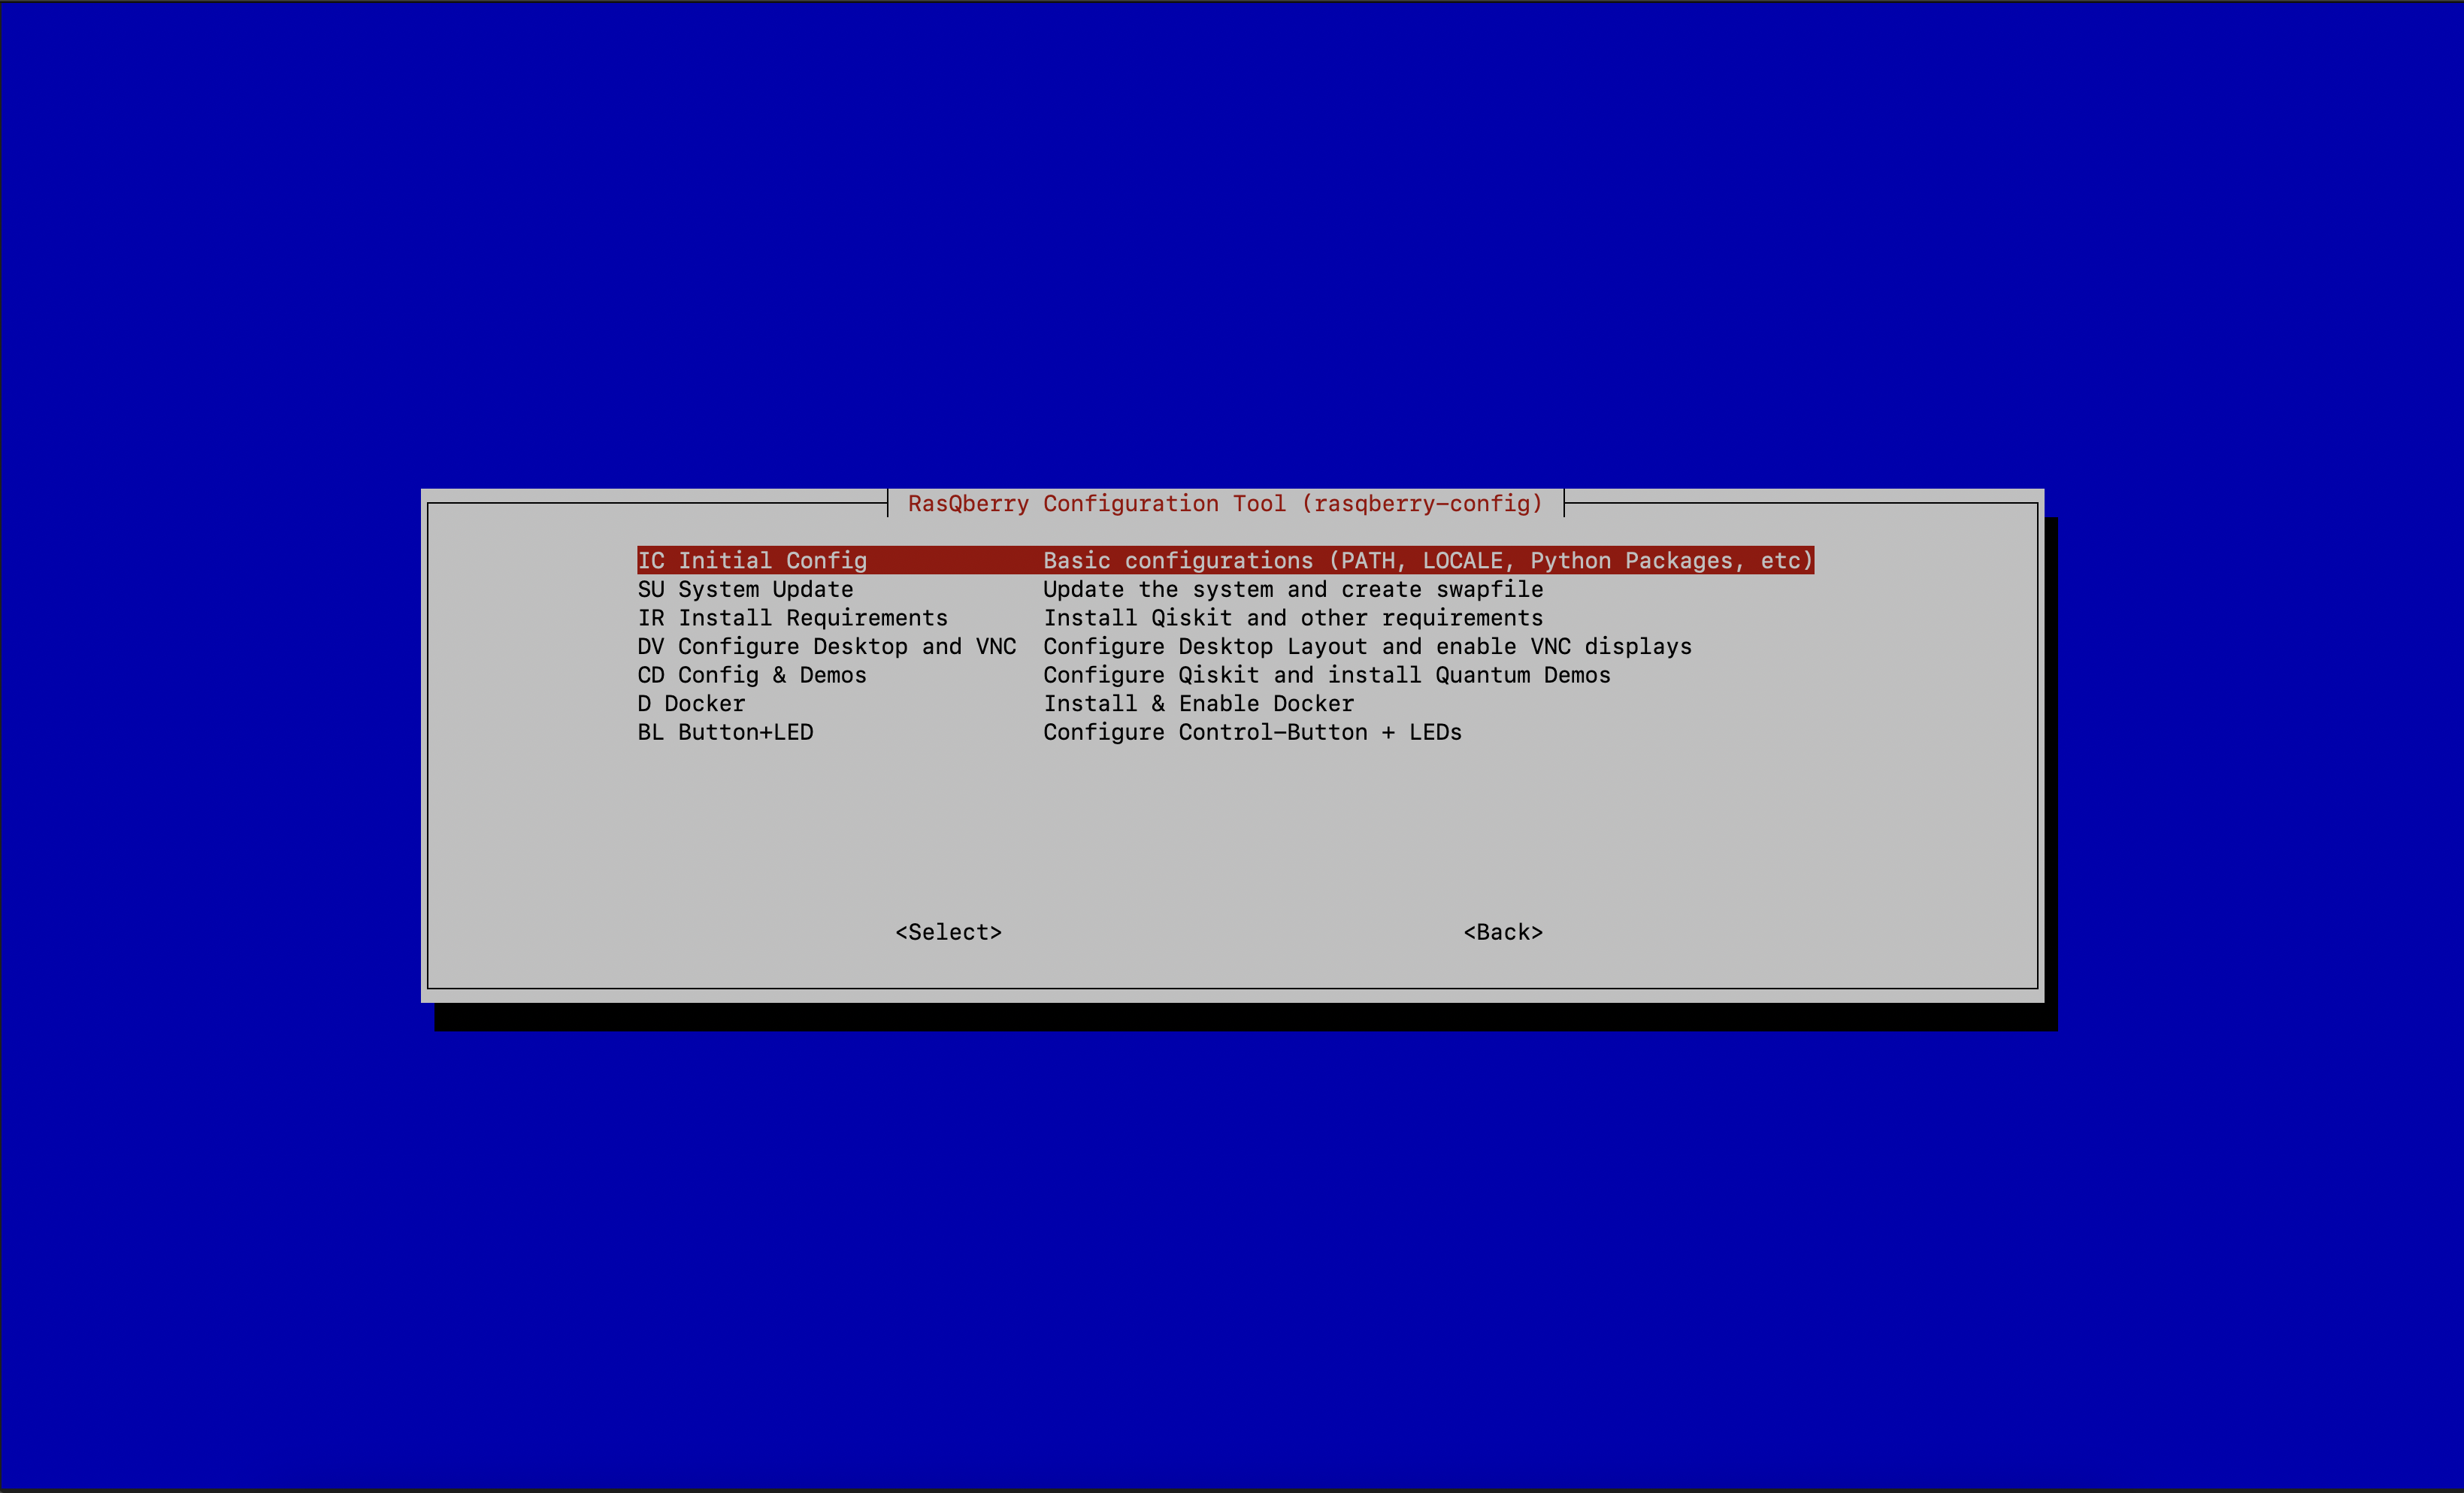
- Select
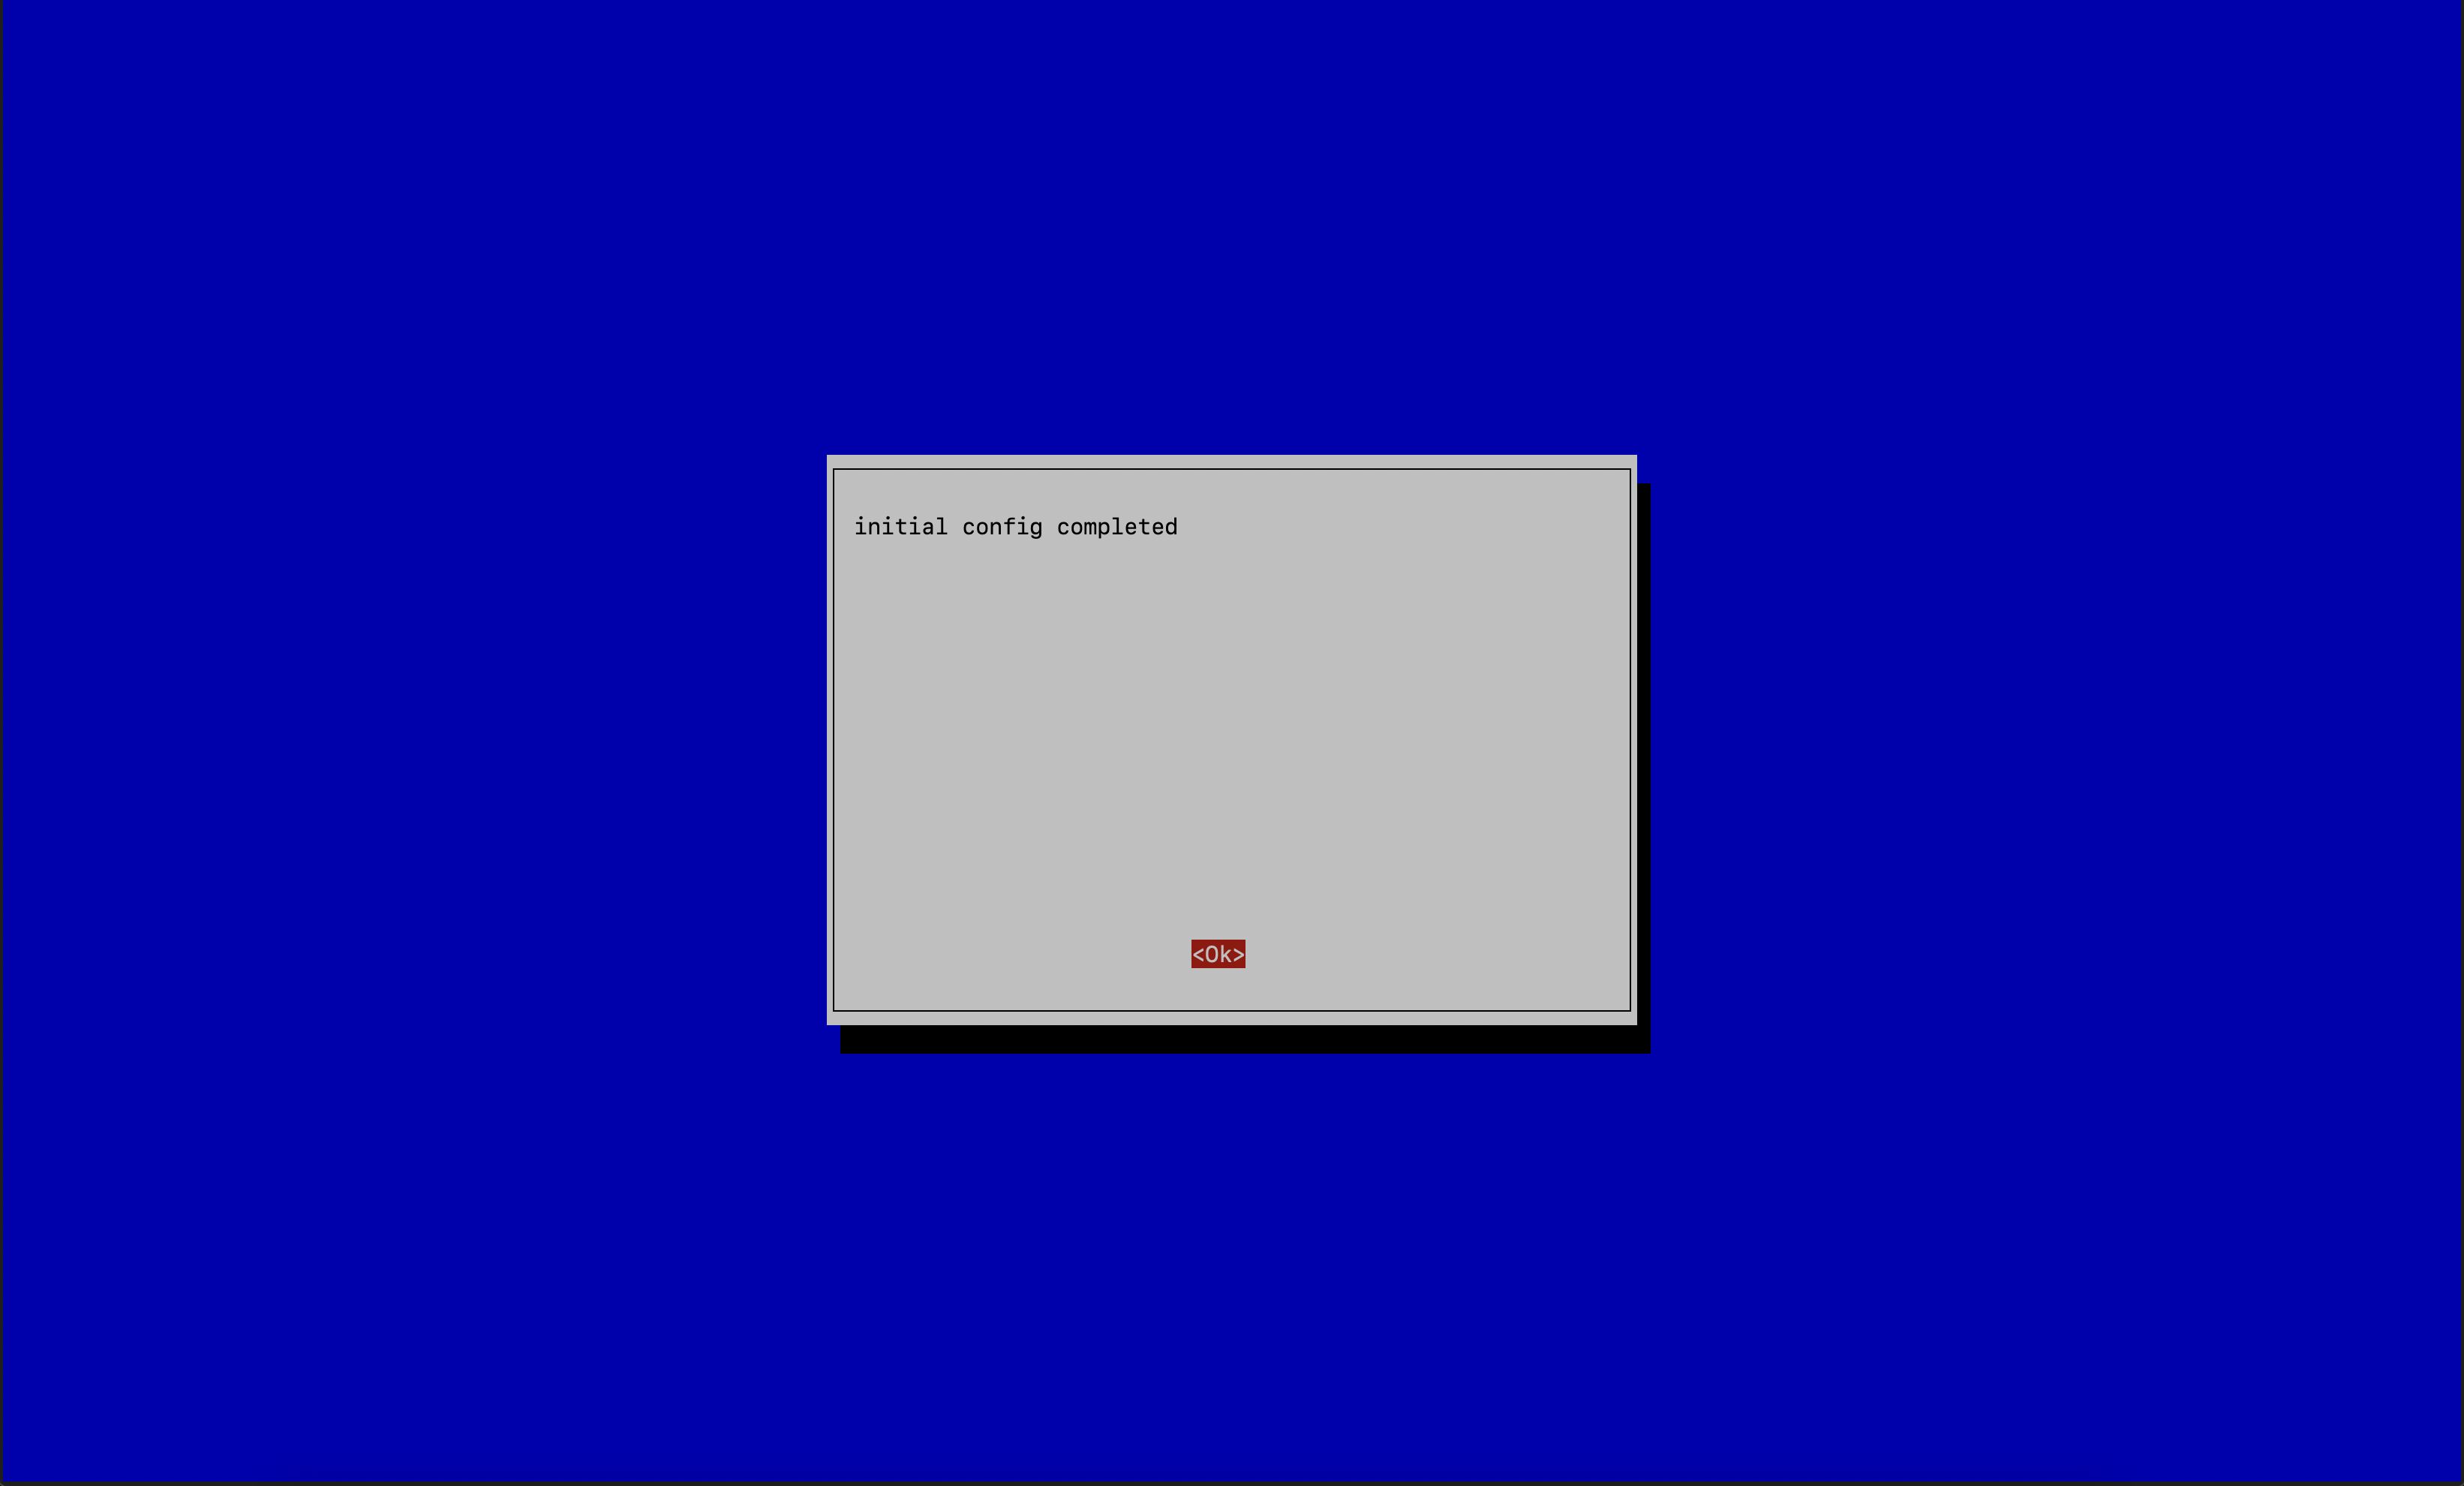
IC - Initial Config
Your Raspberry will process the basic configurations on your device.
- Select
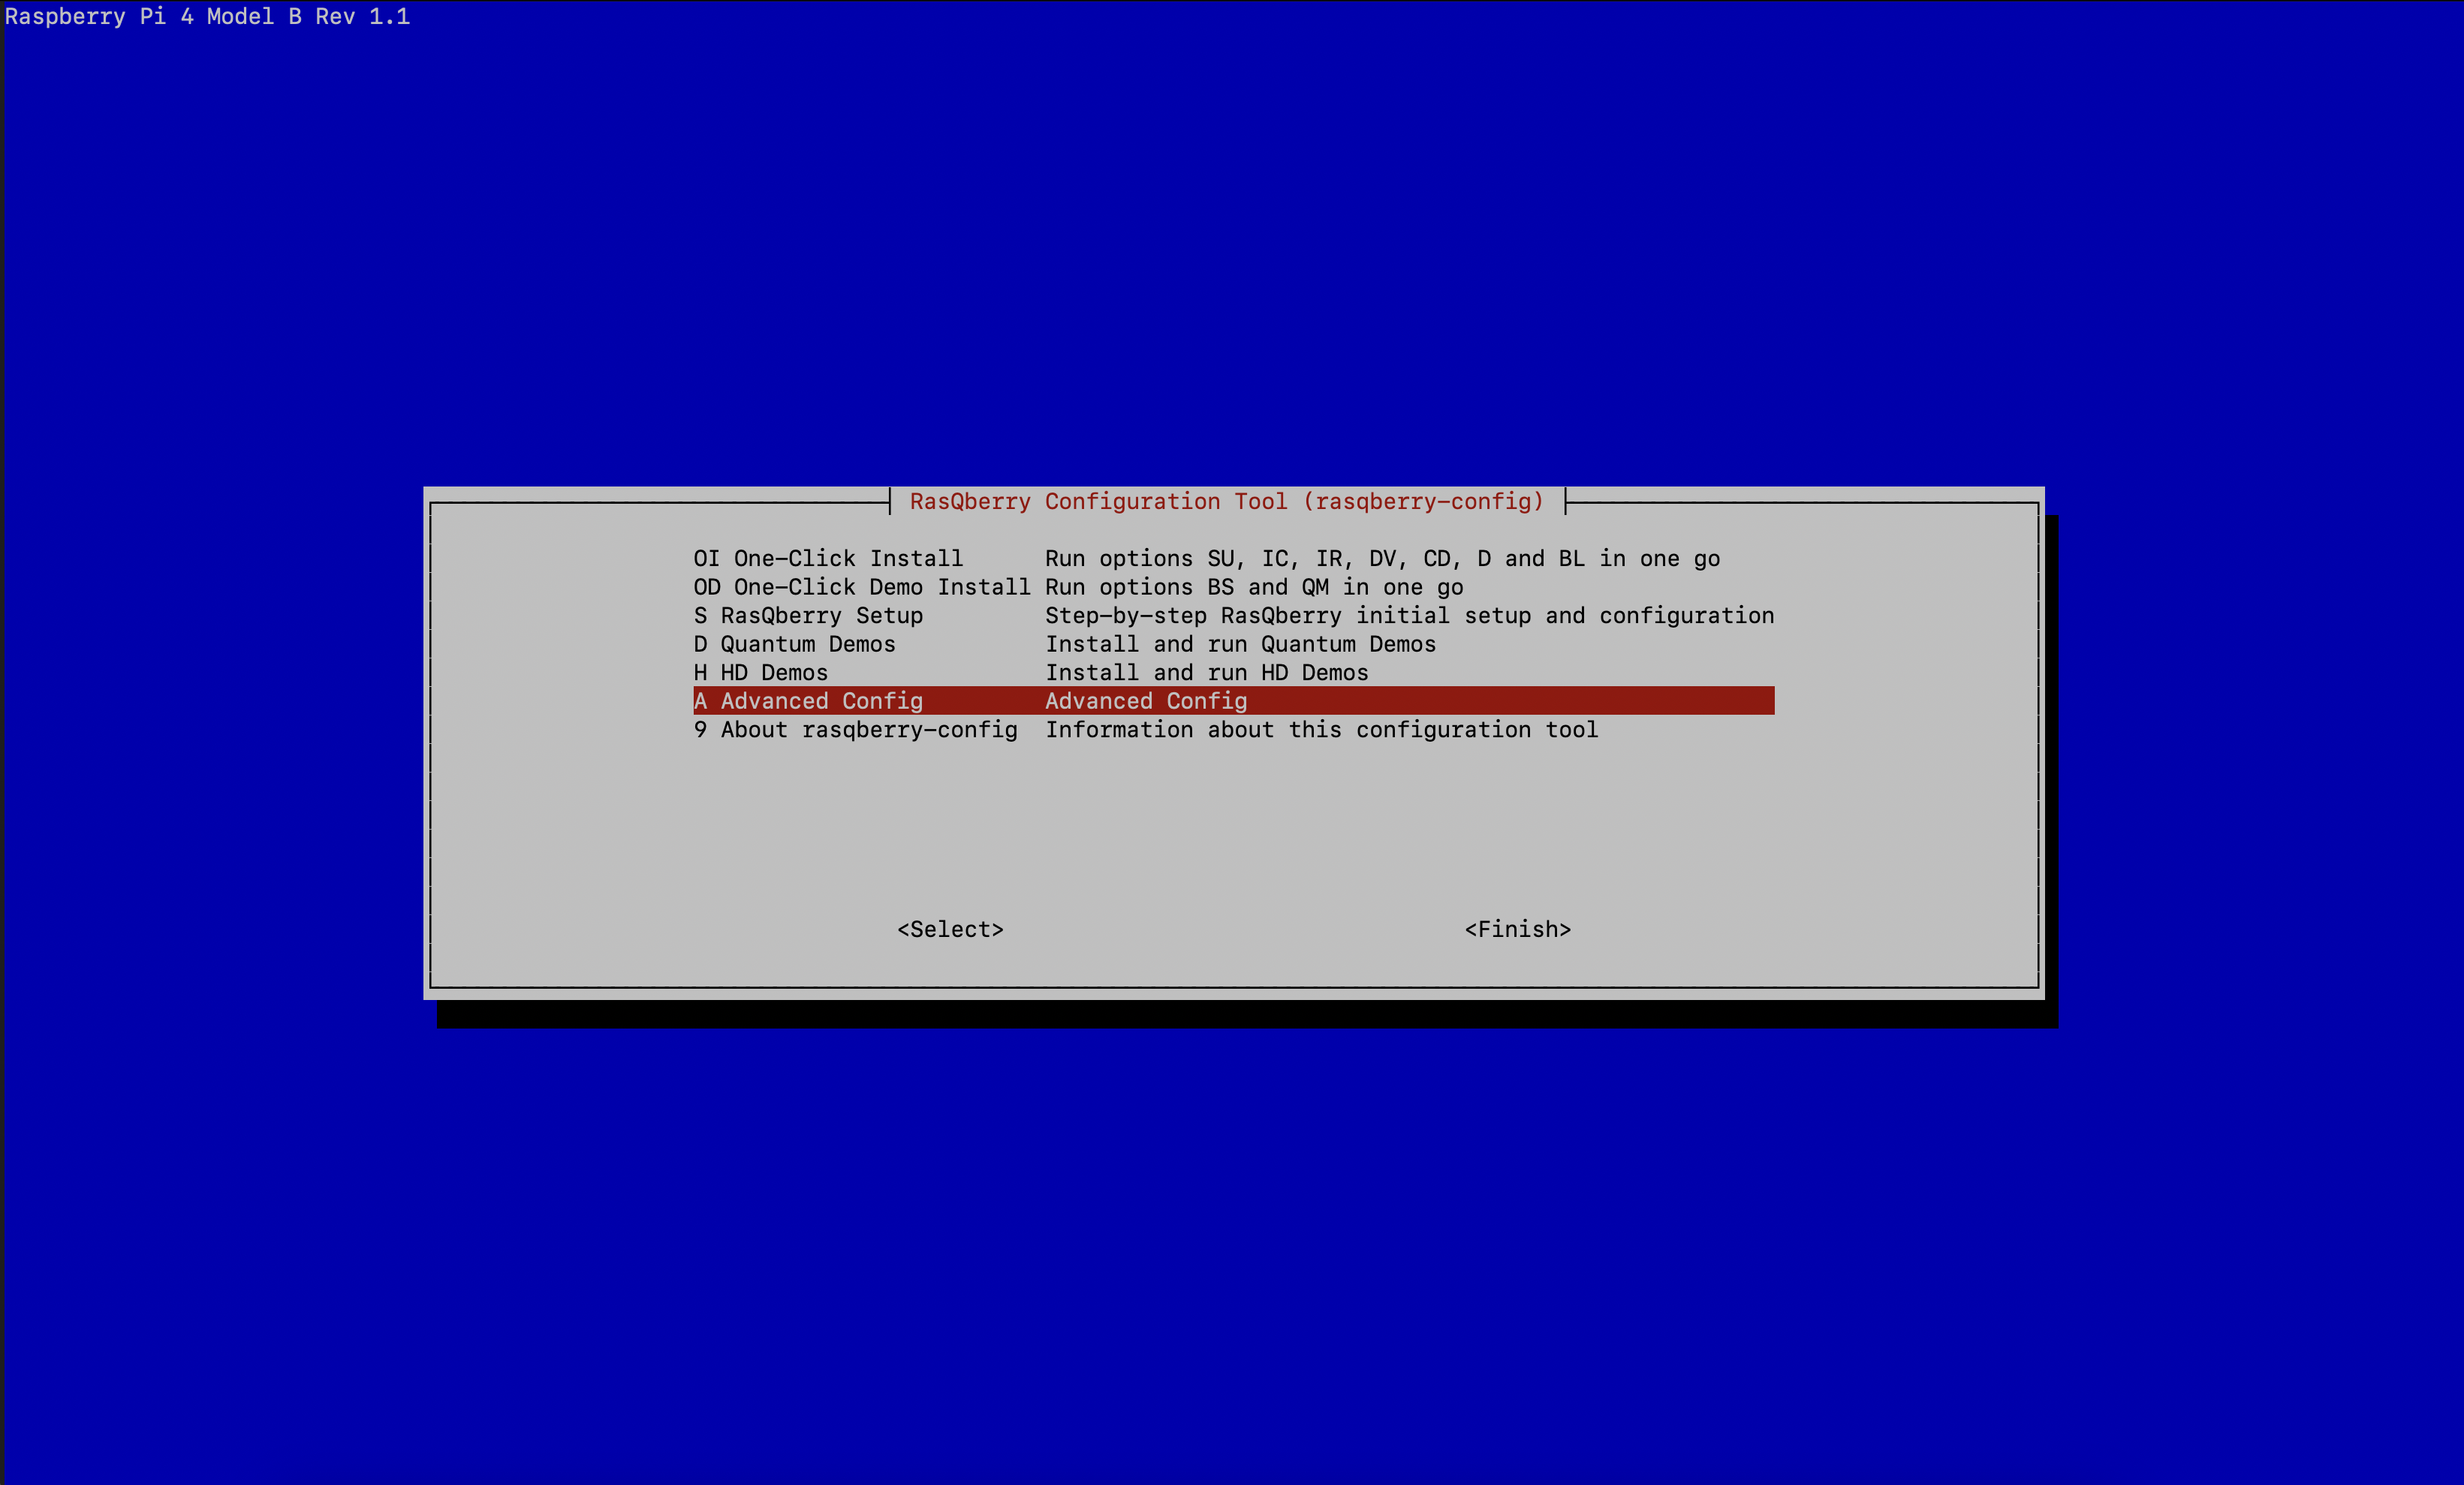
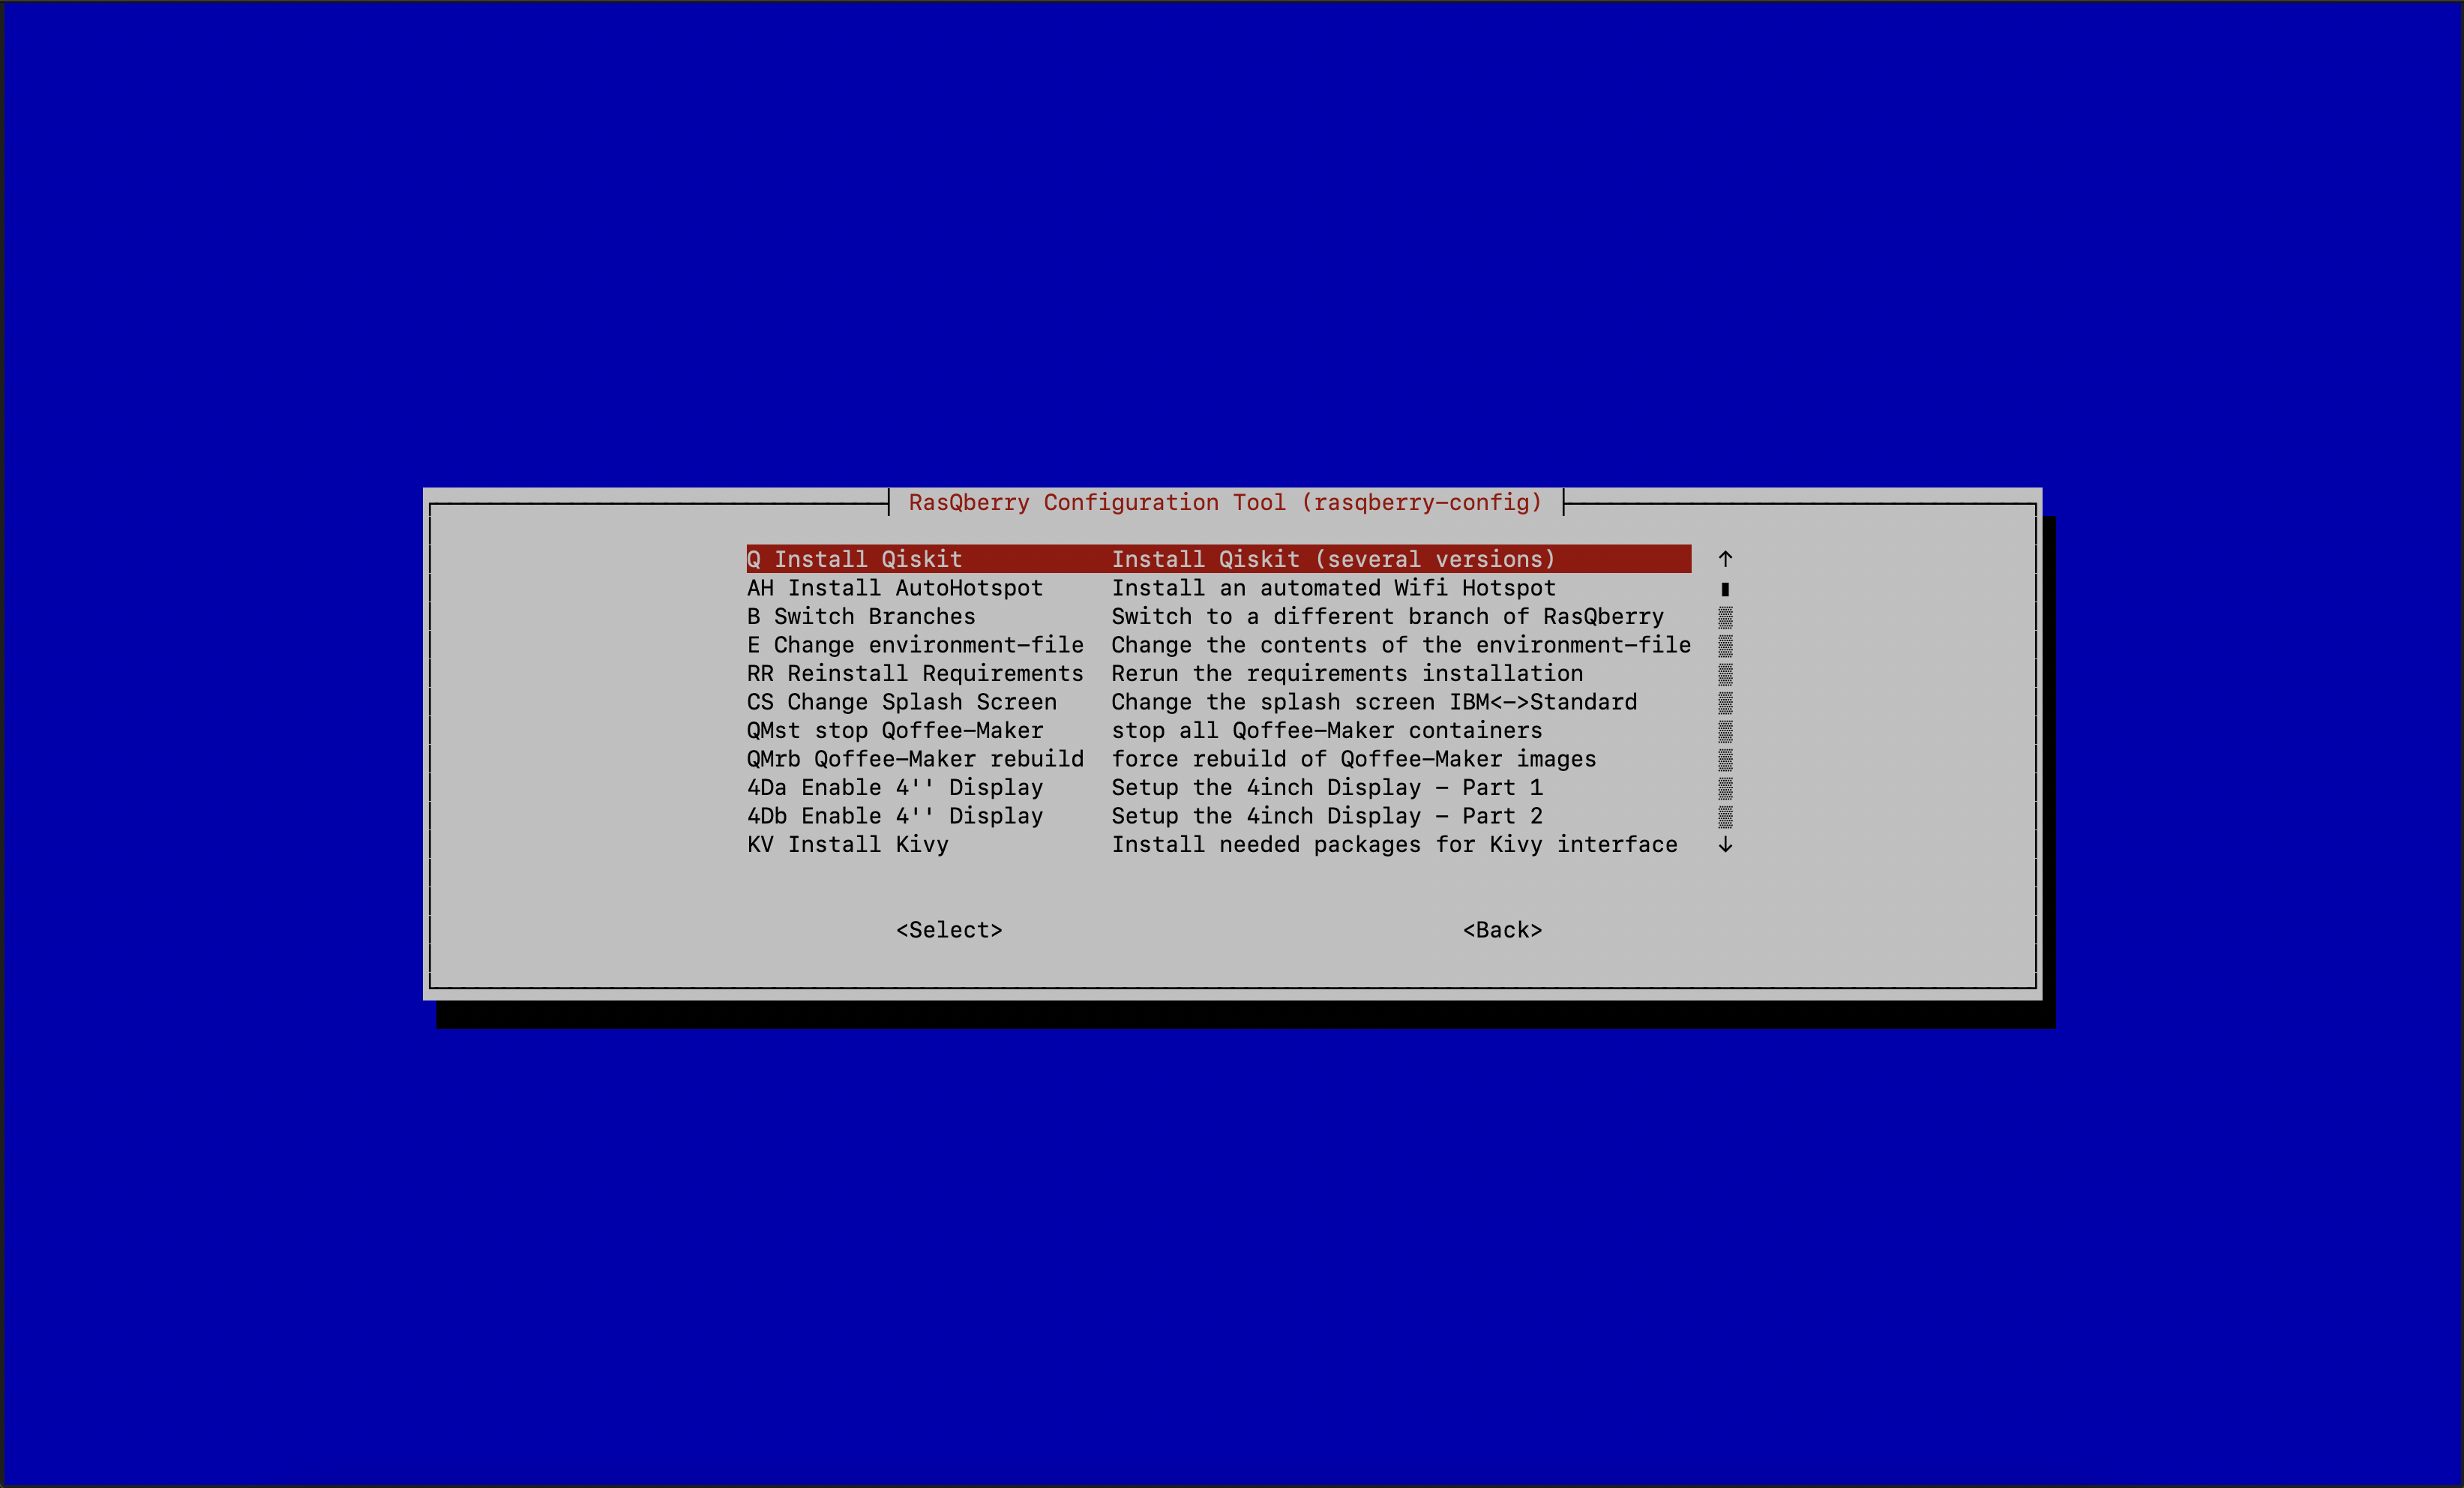
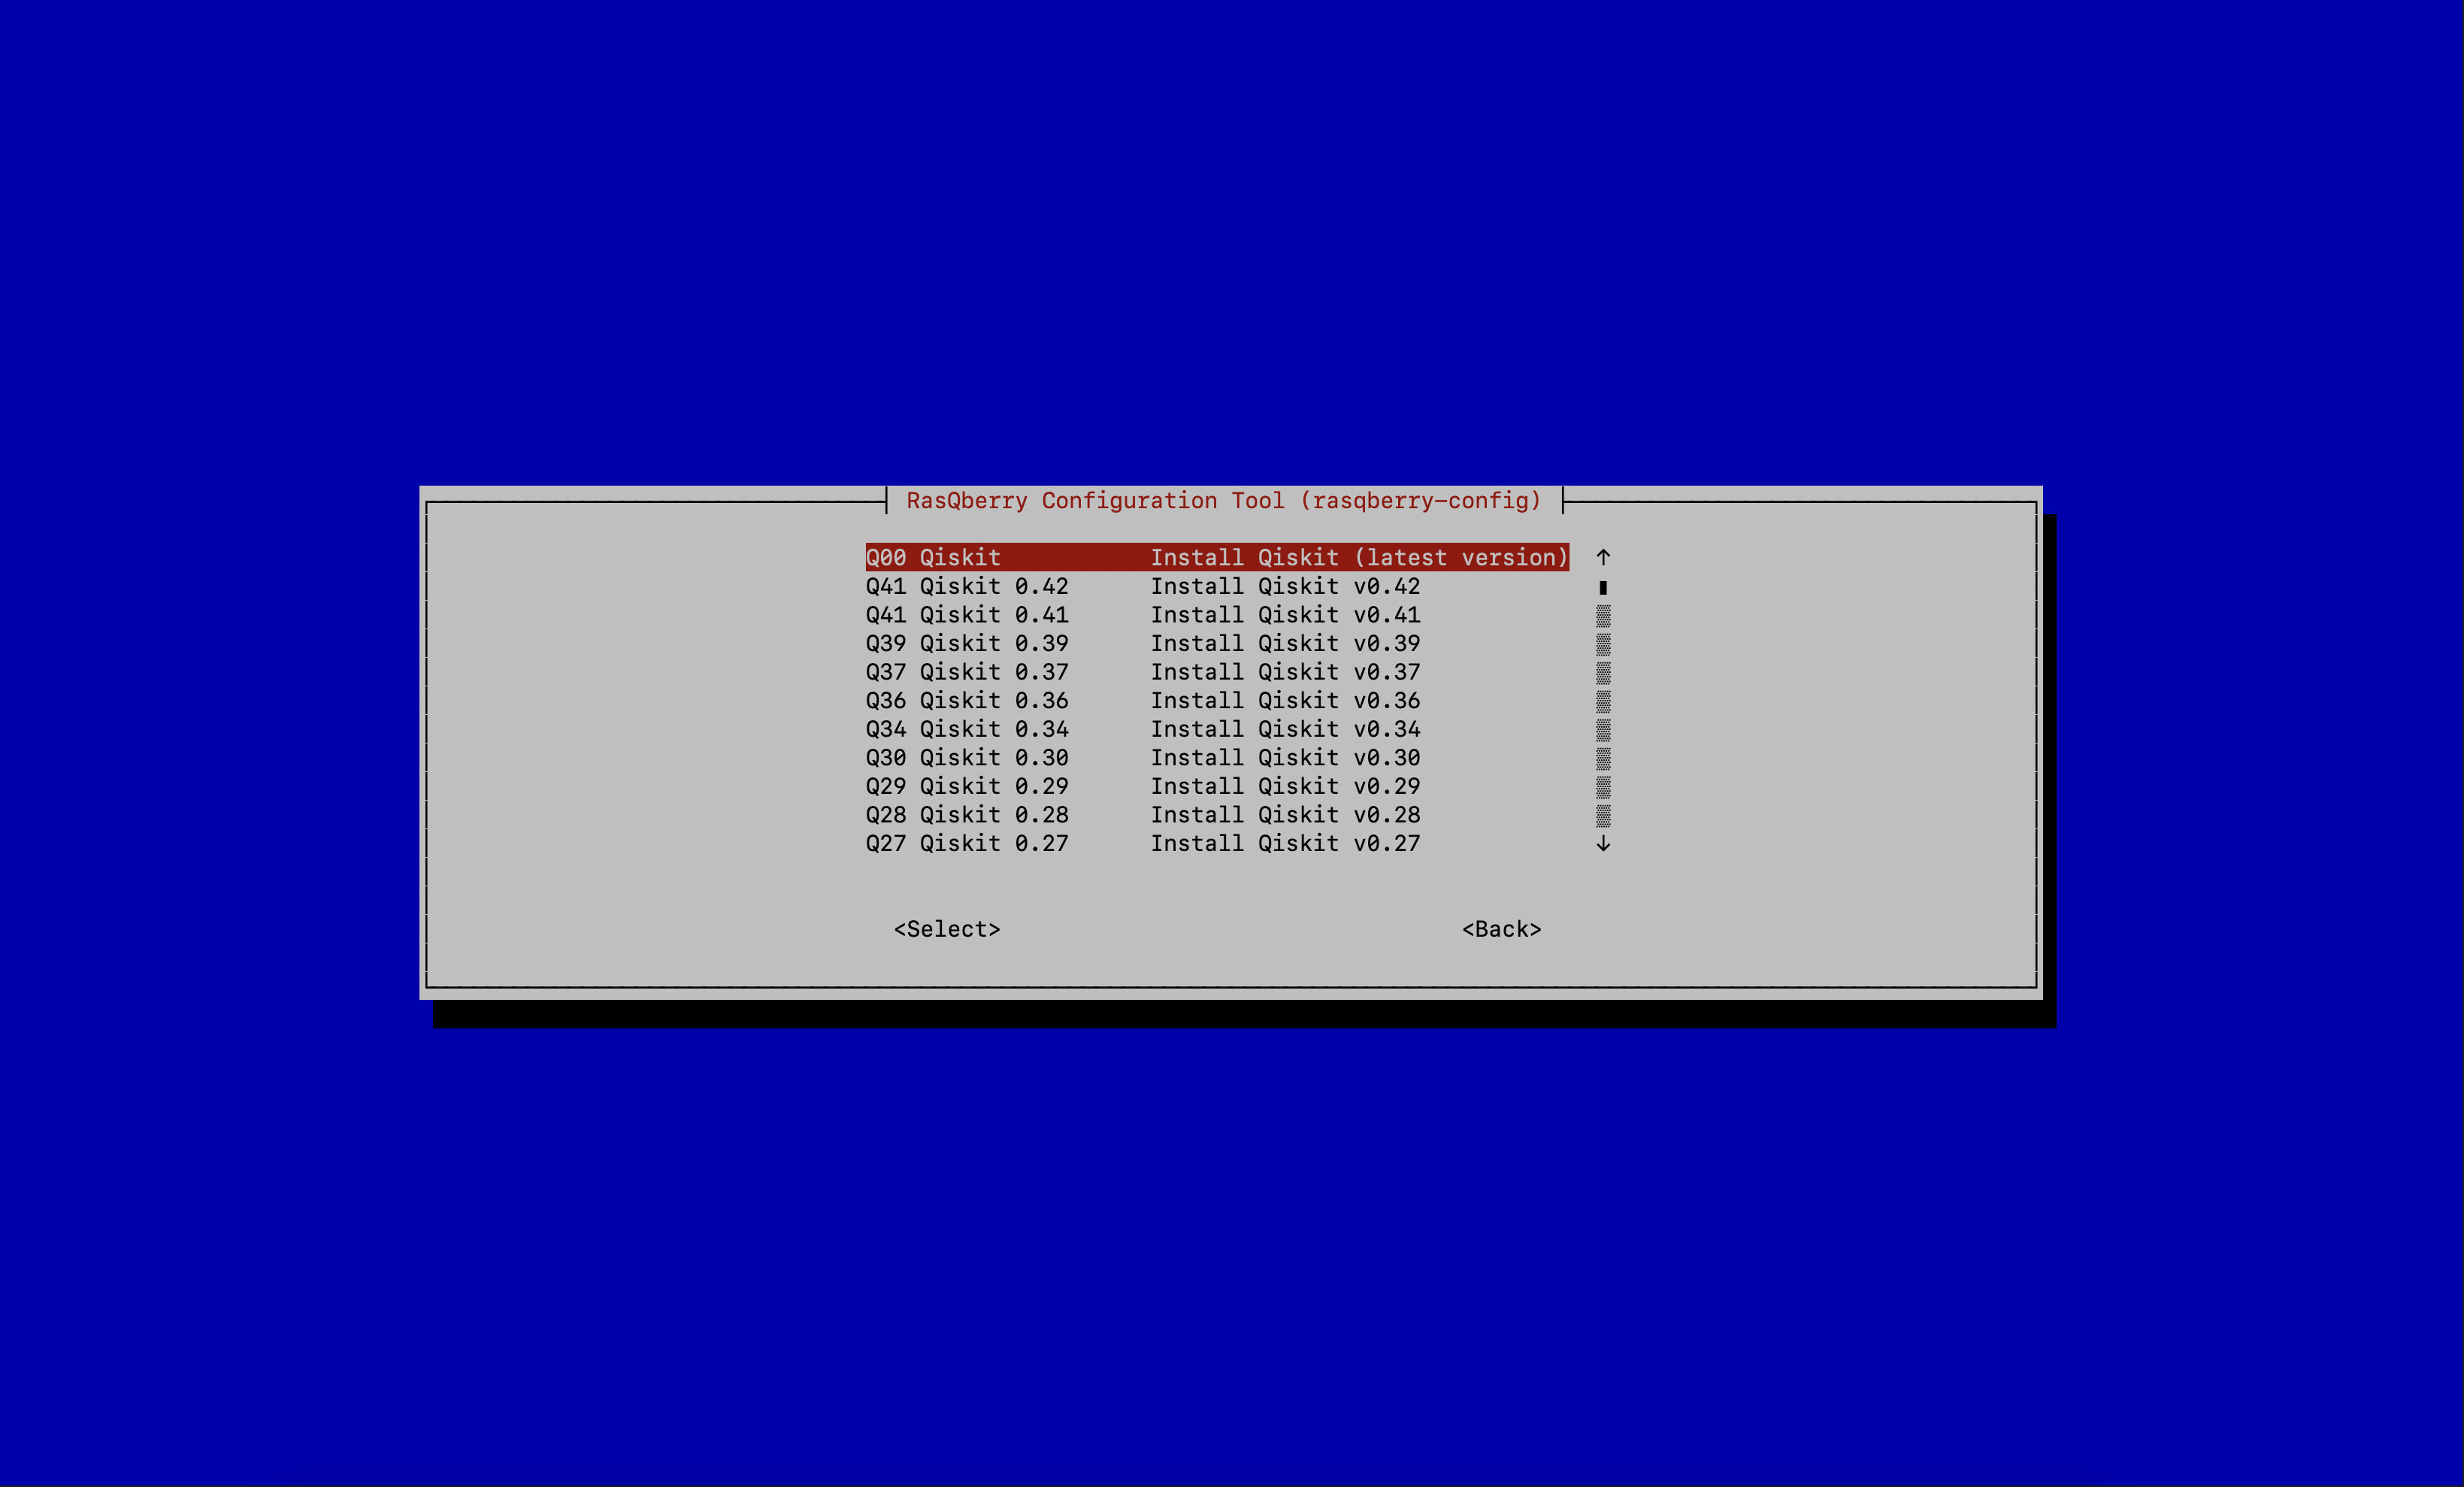
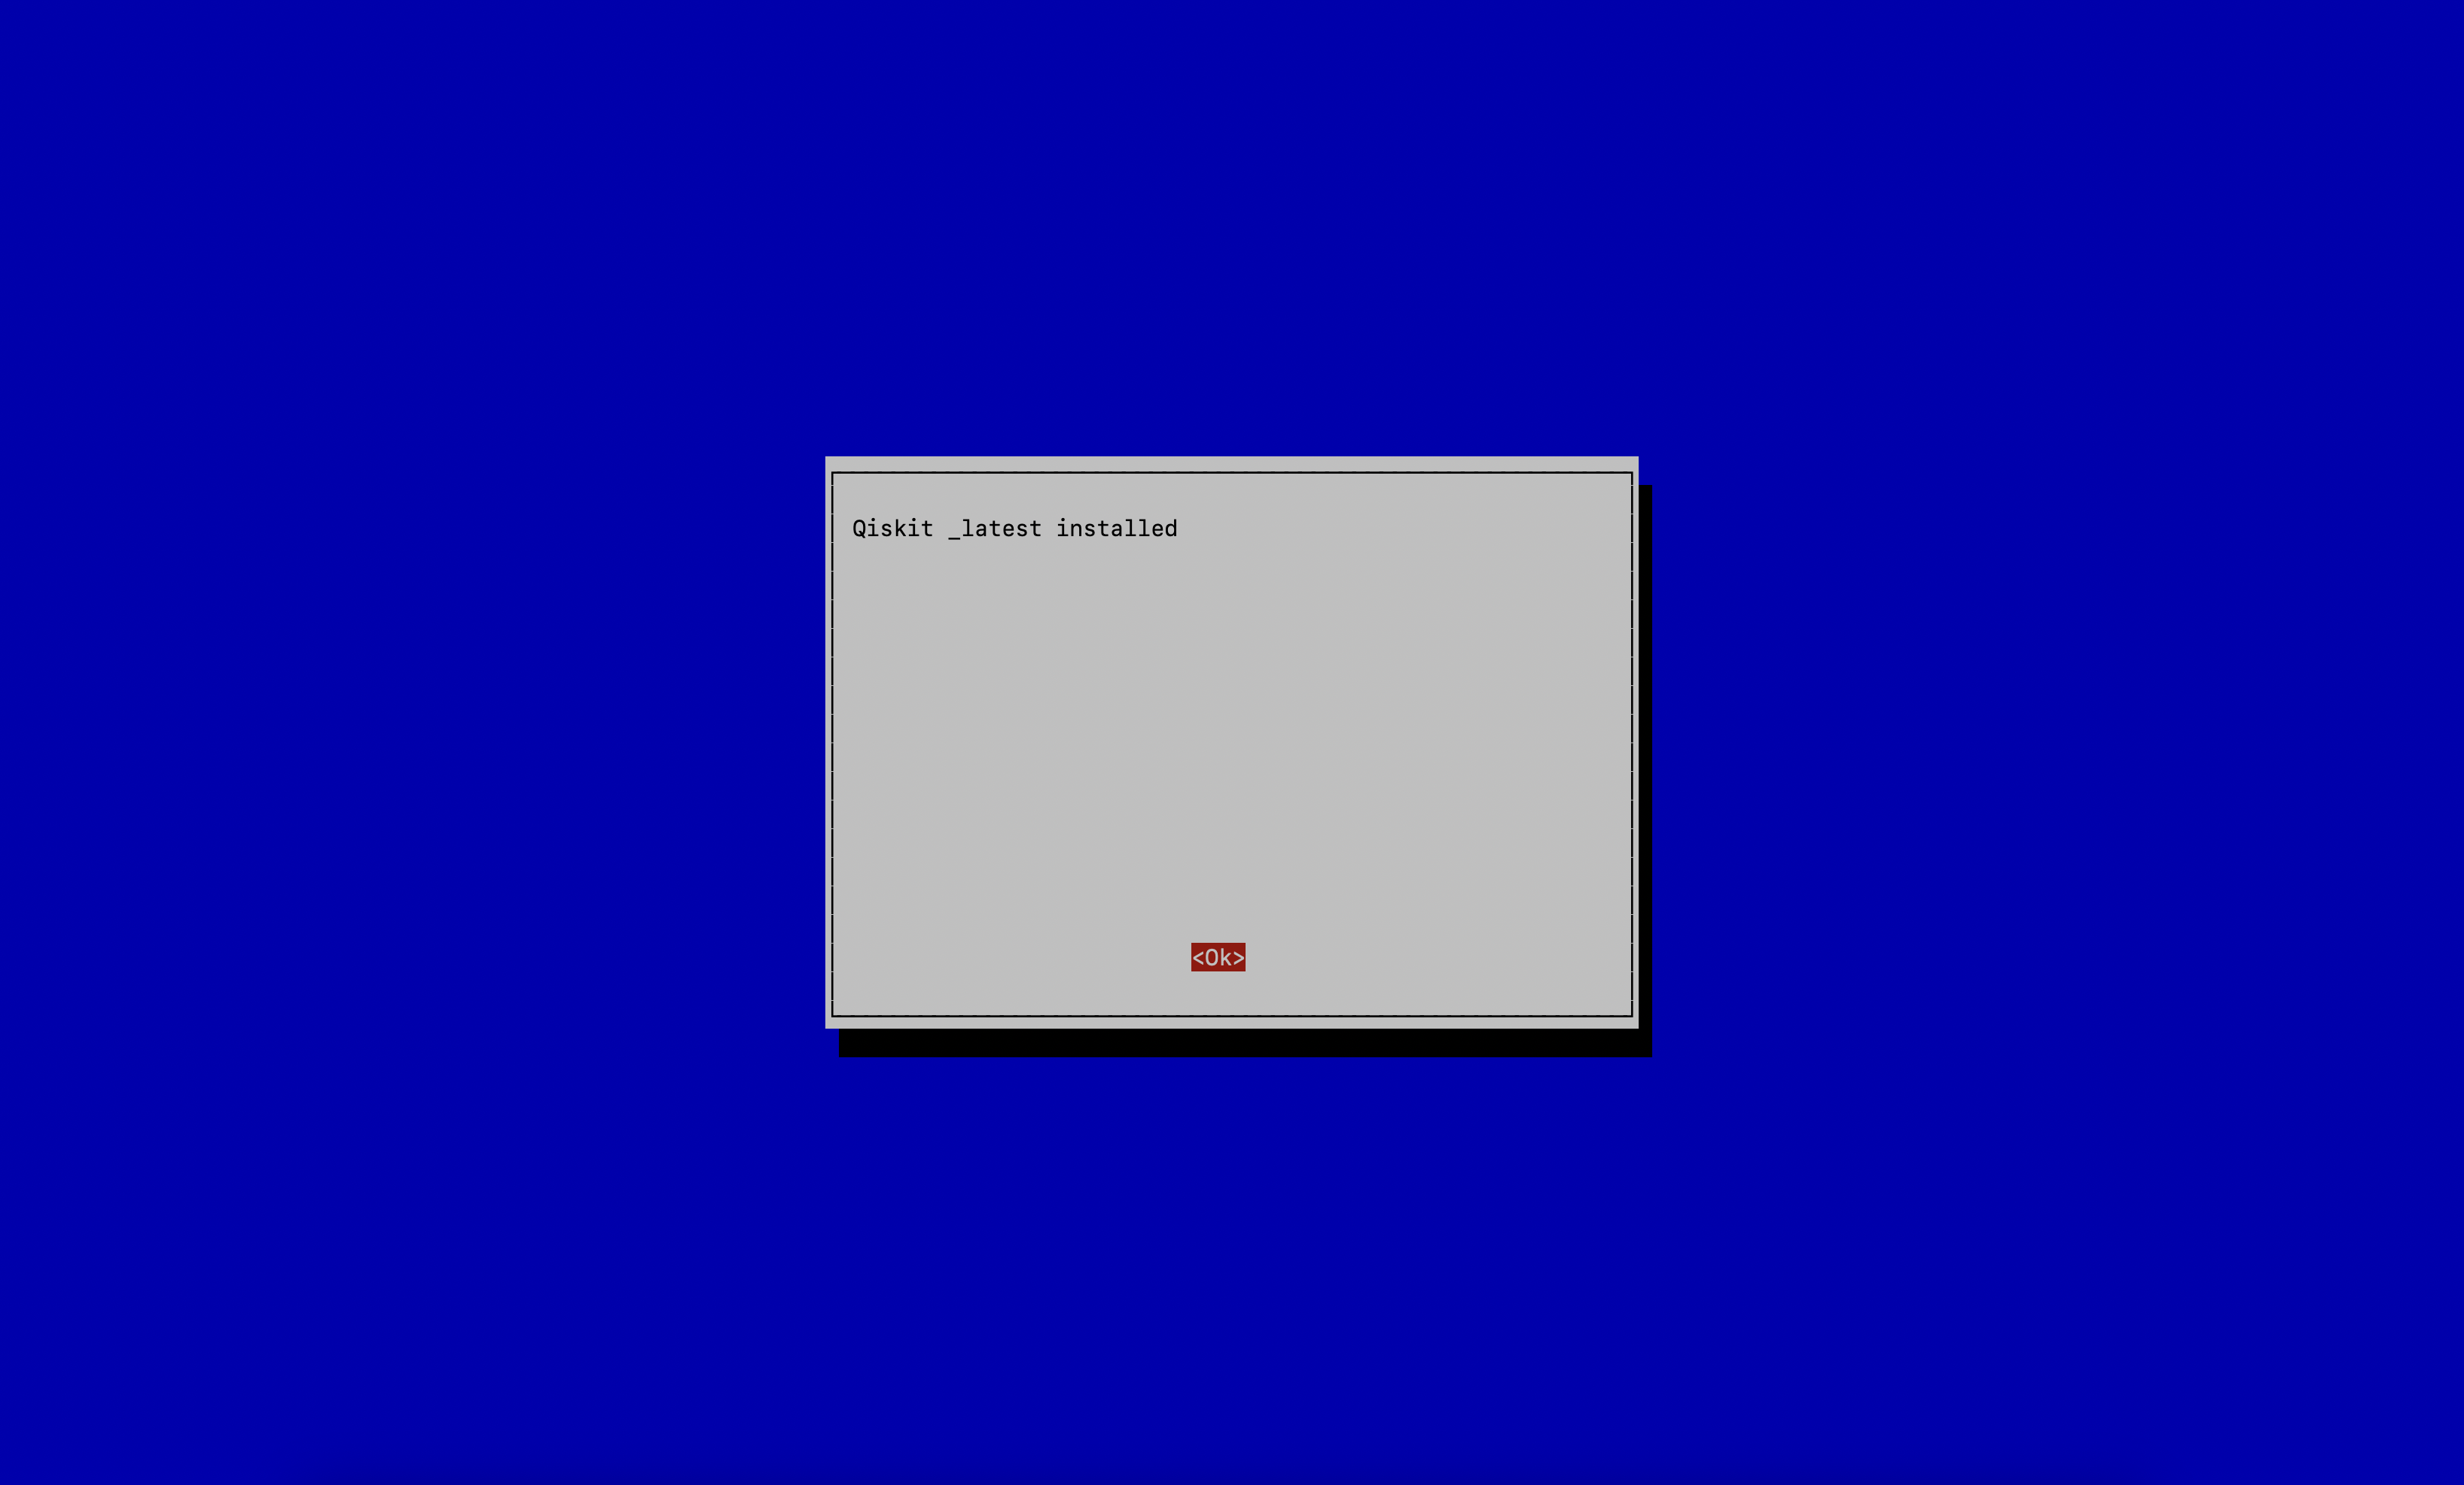
A – Advanced ConfigthenQ – Install Qiskit
With this step you will install Qiskit. You can choose between a few versions of Qiskit to install. The latest version is recommended.
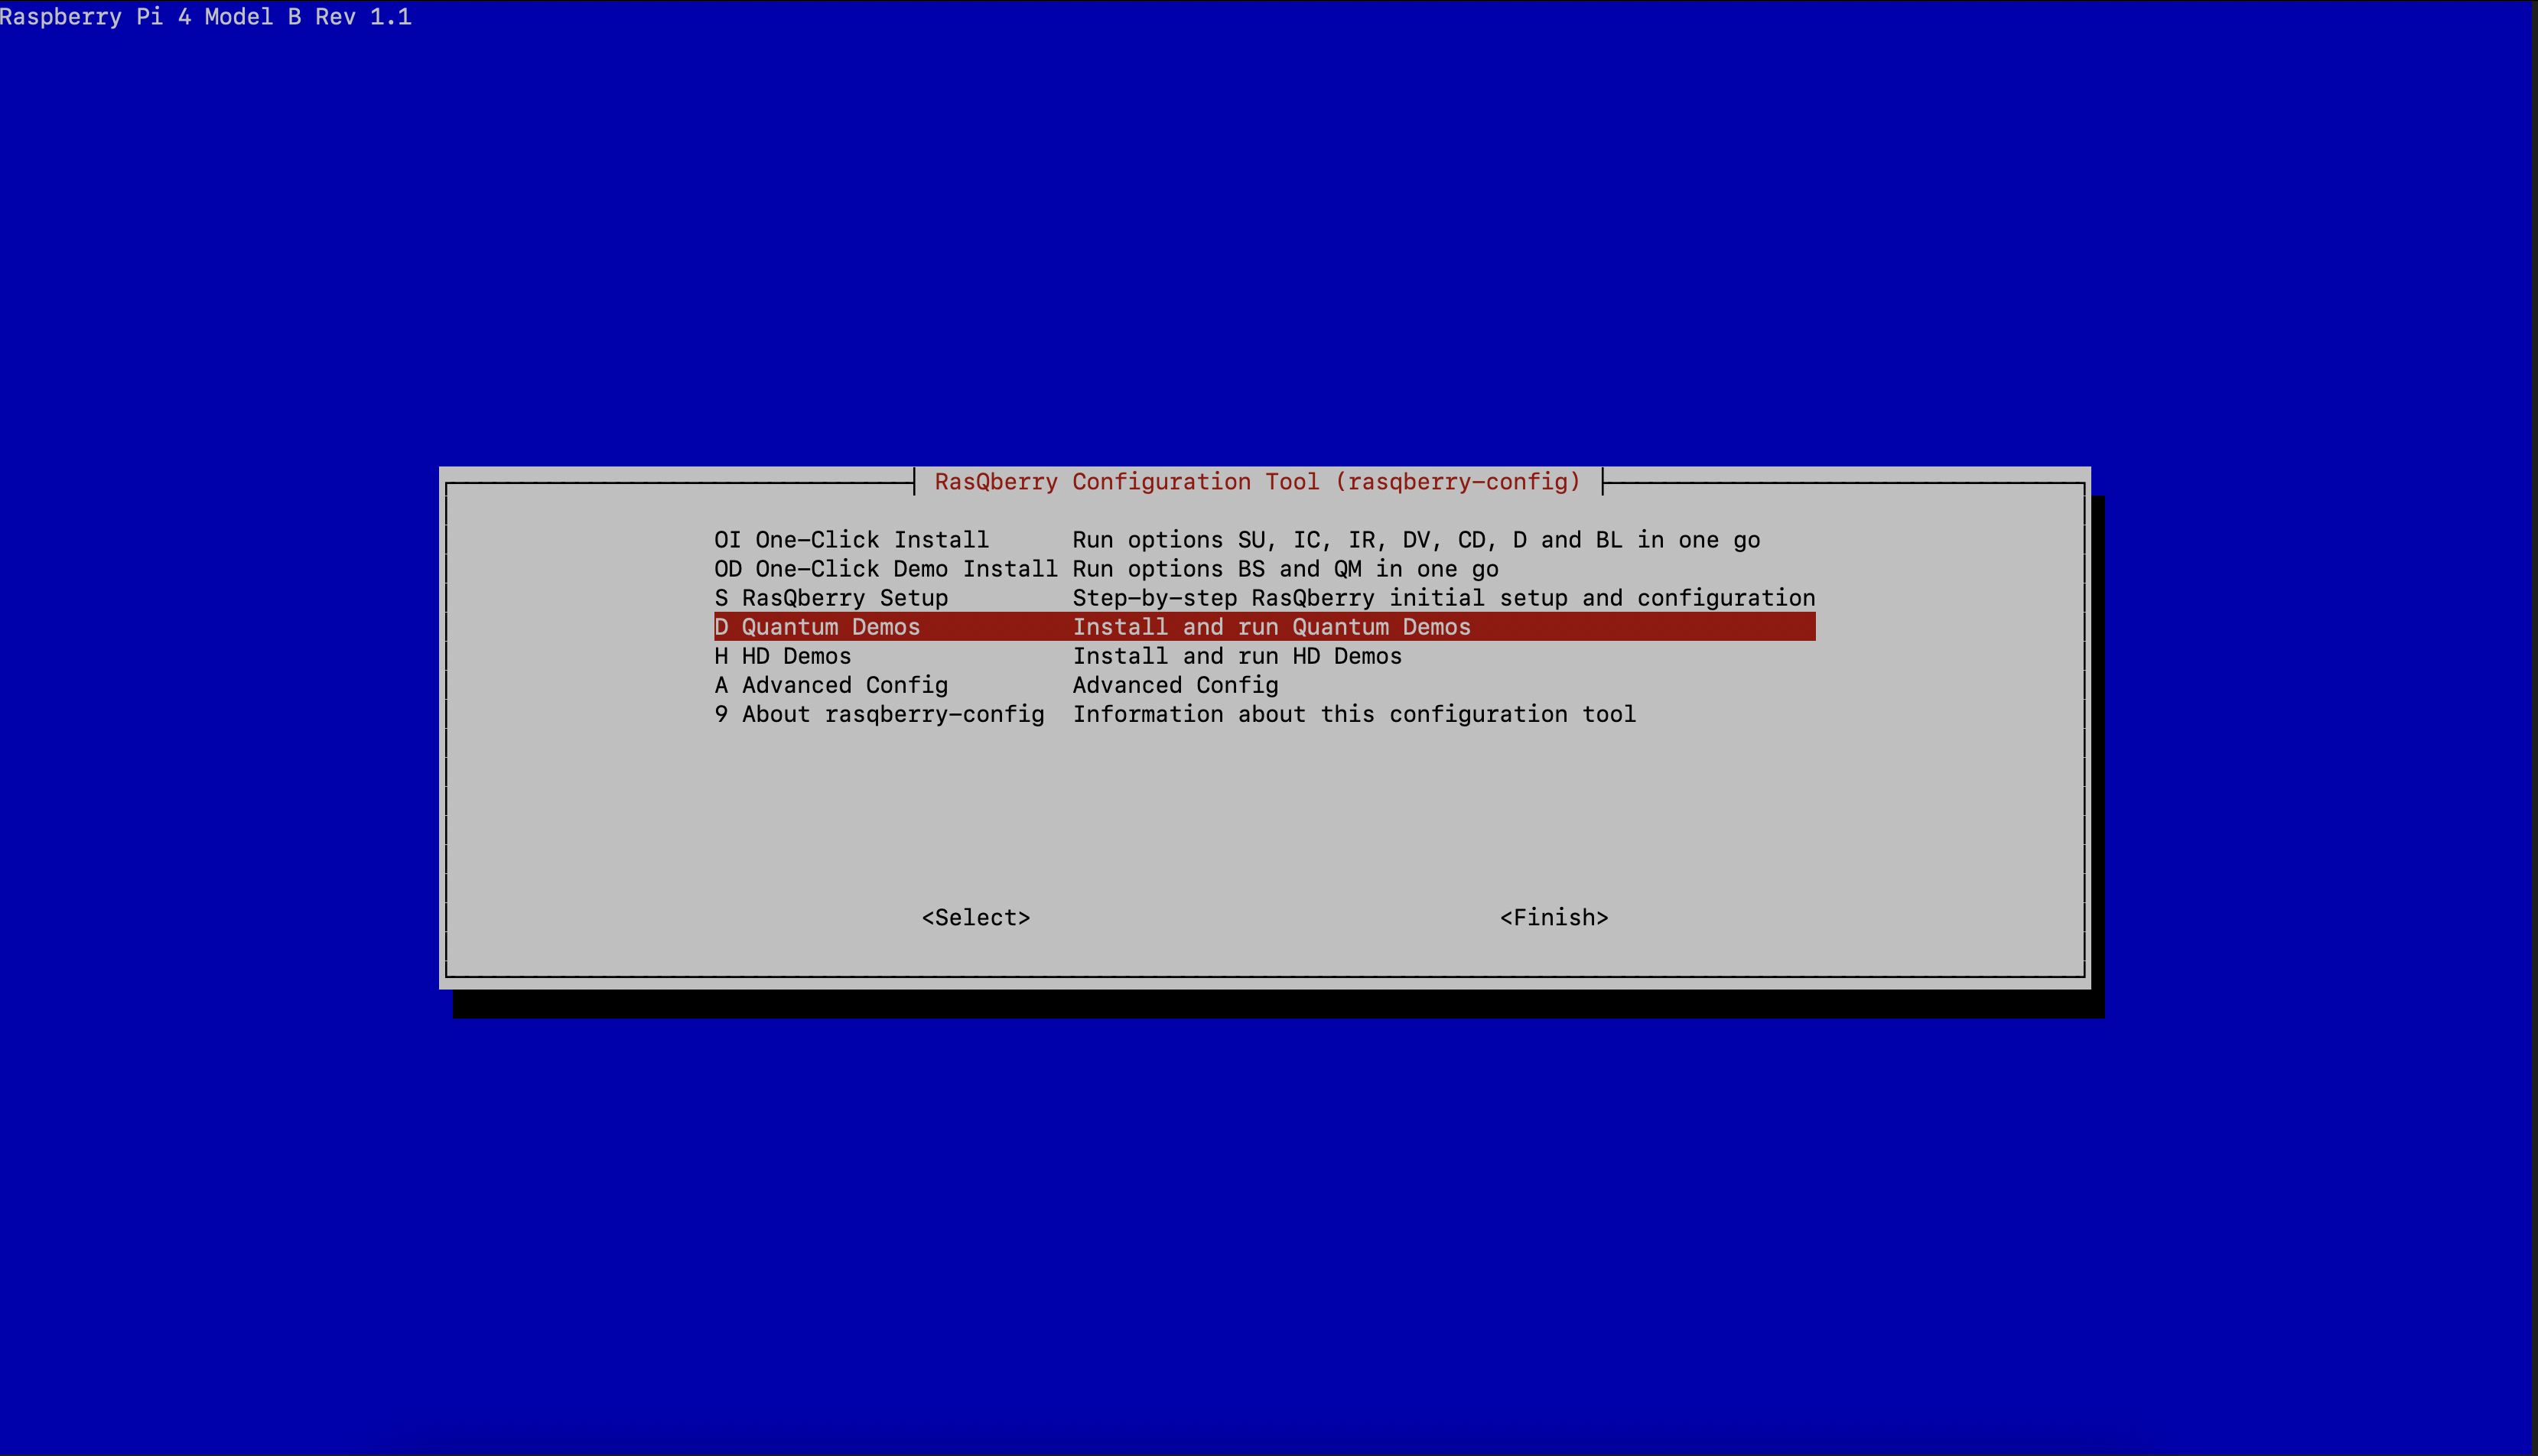
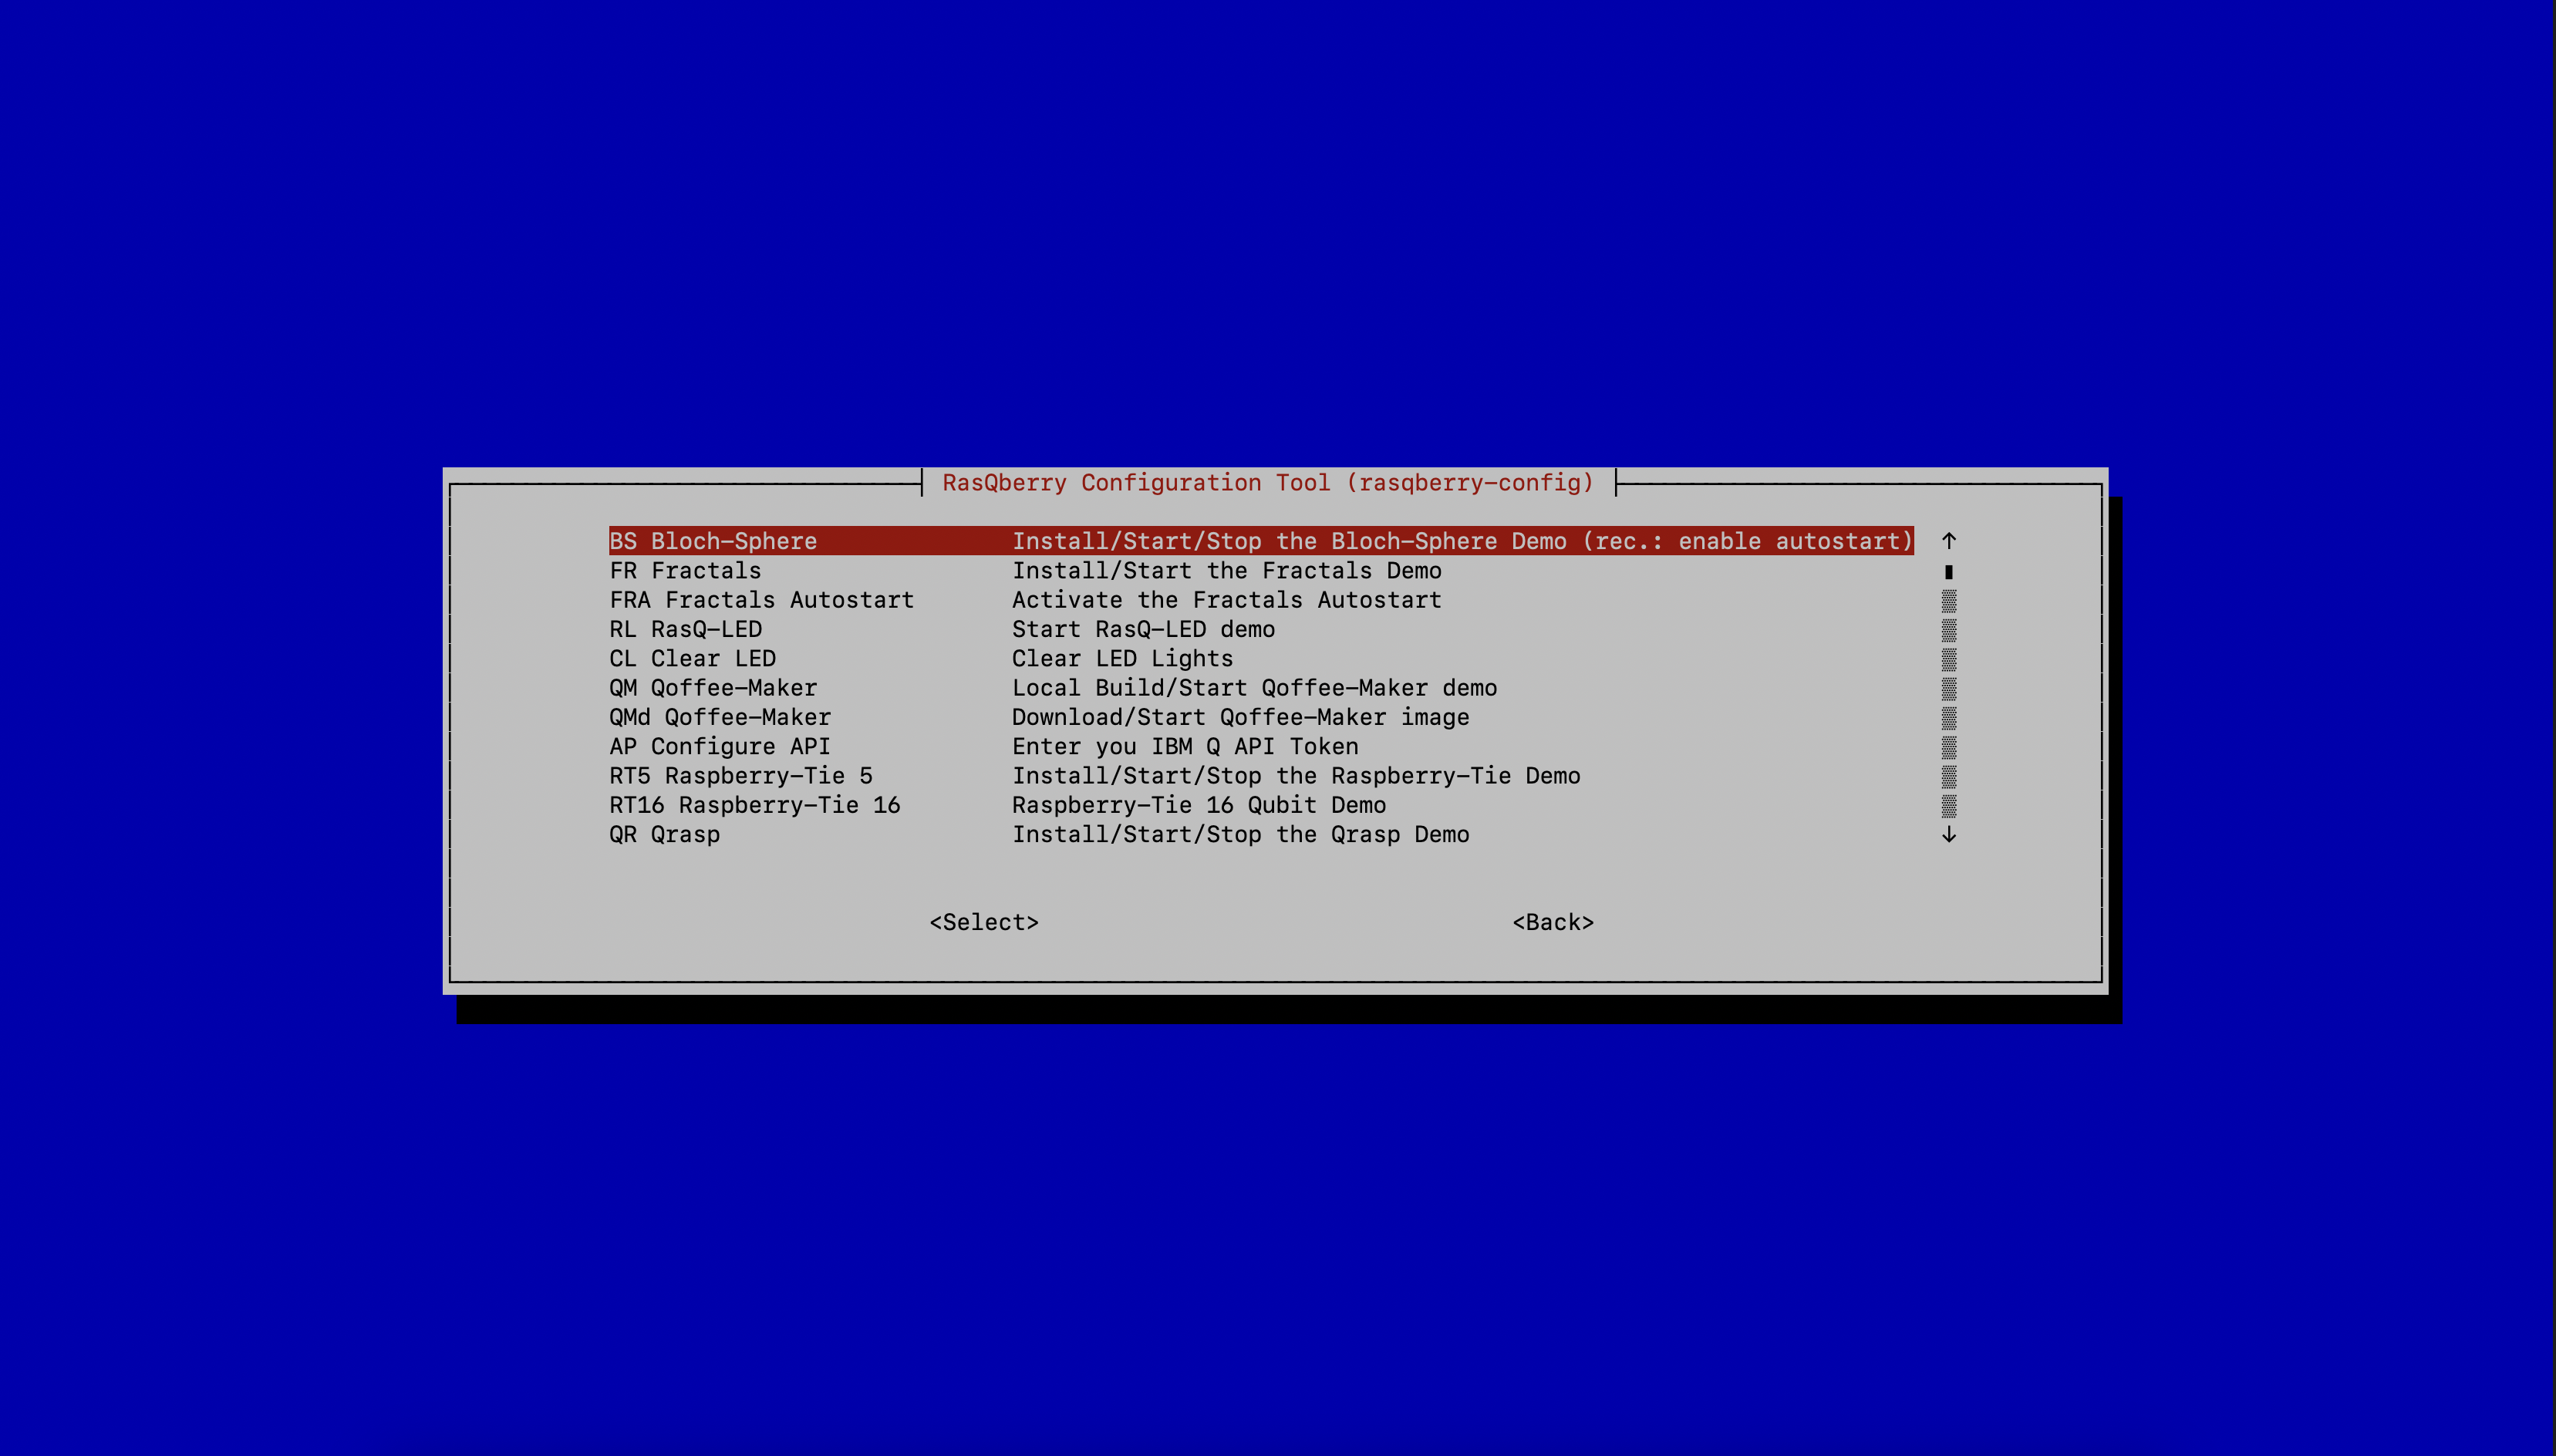
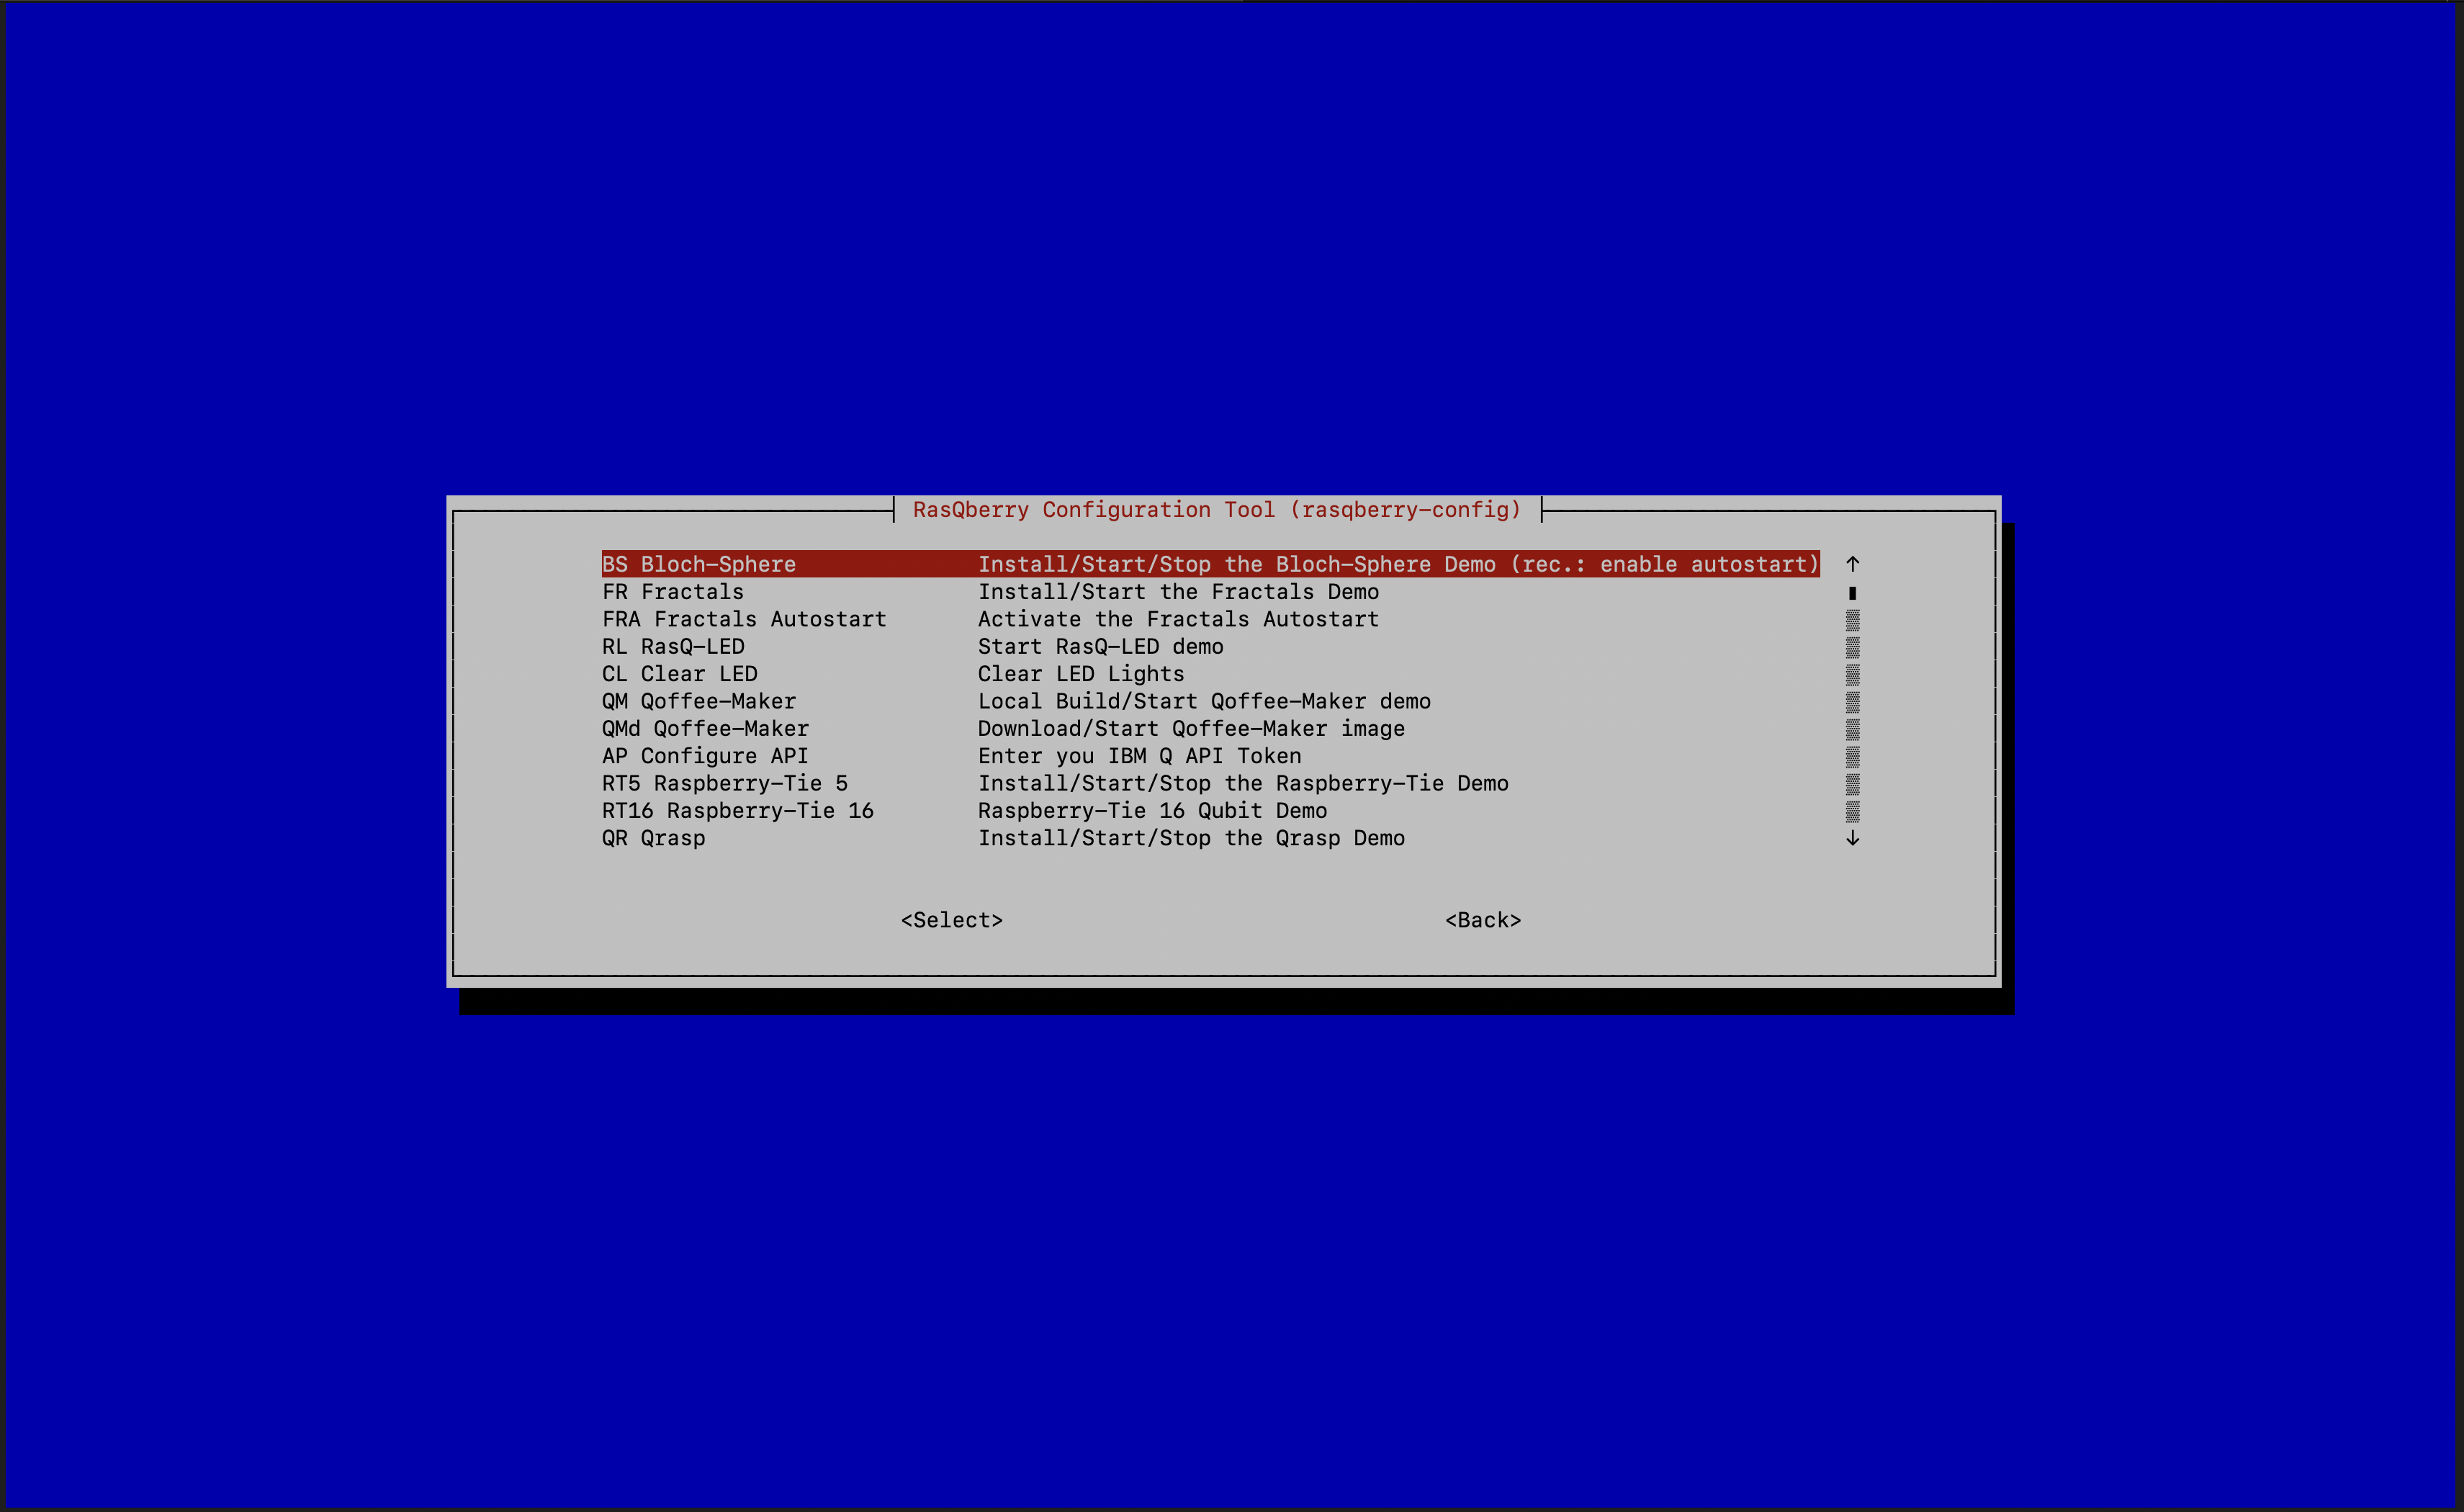
- Select
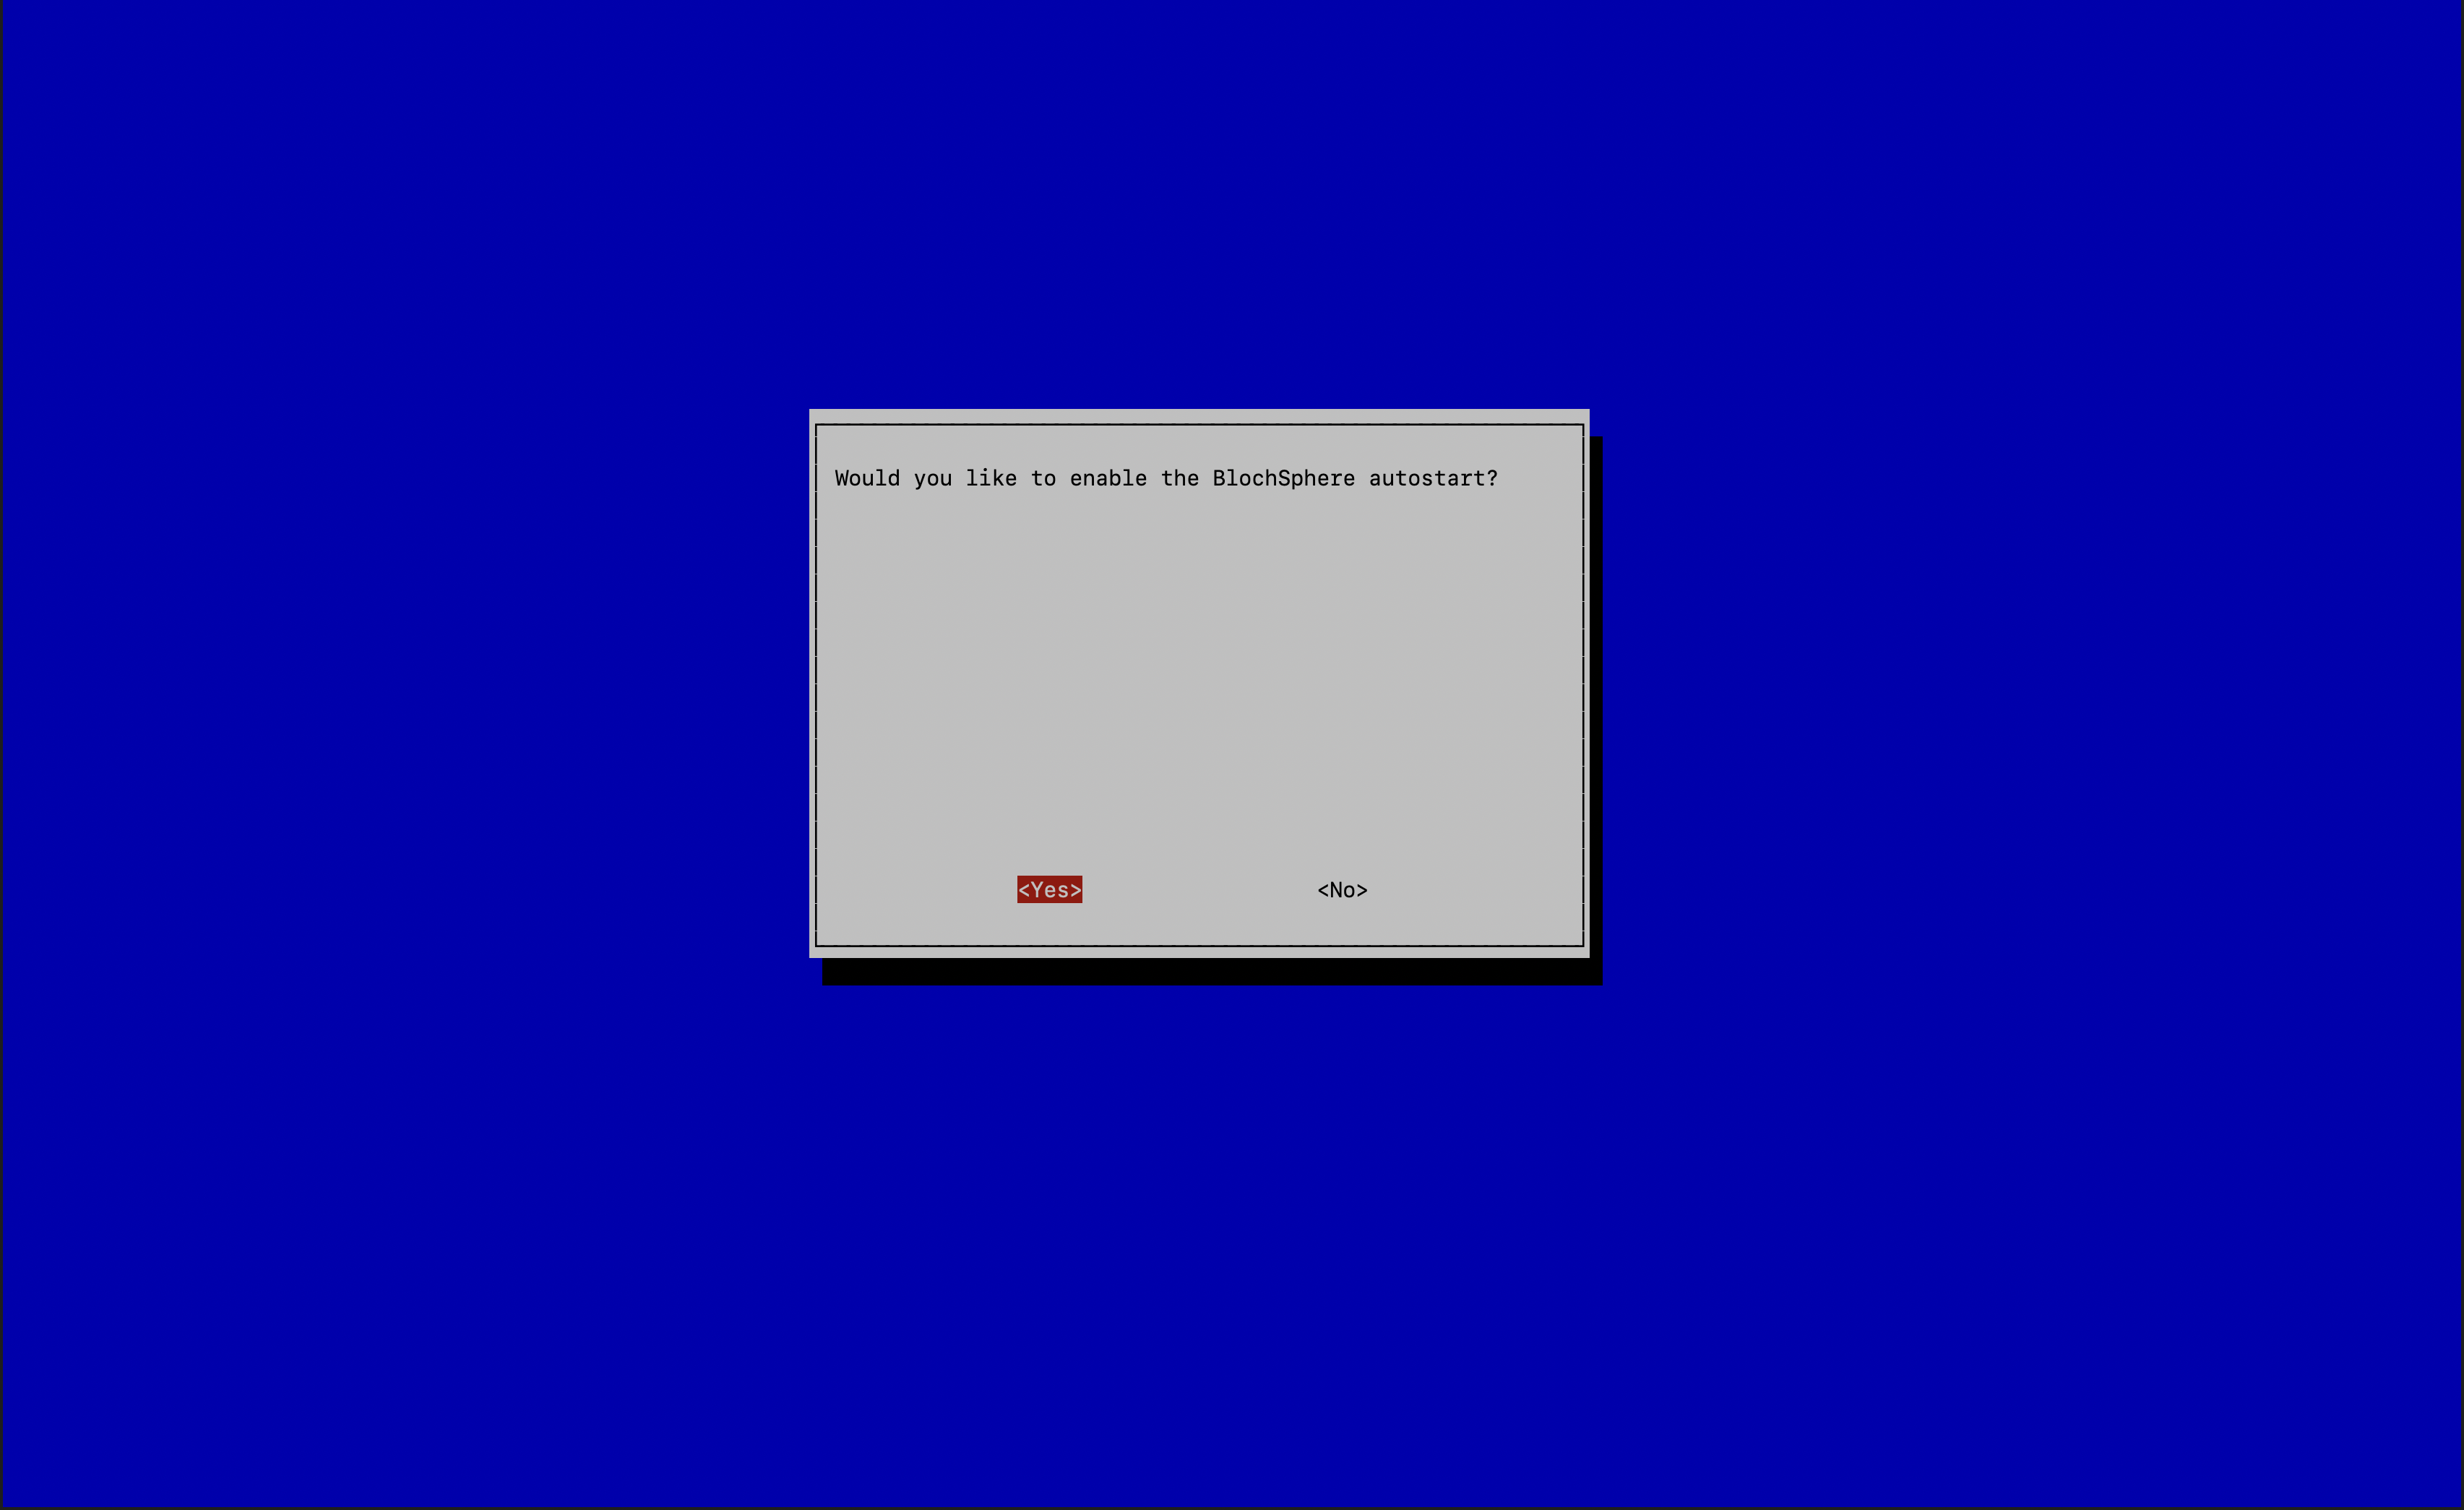
D – Quantum Demosthen runBS – Bloch Sphereand enableBlockSphere Autostart
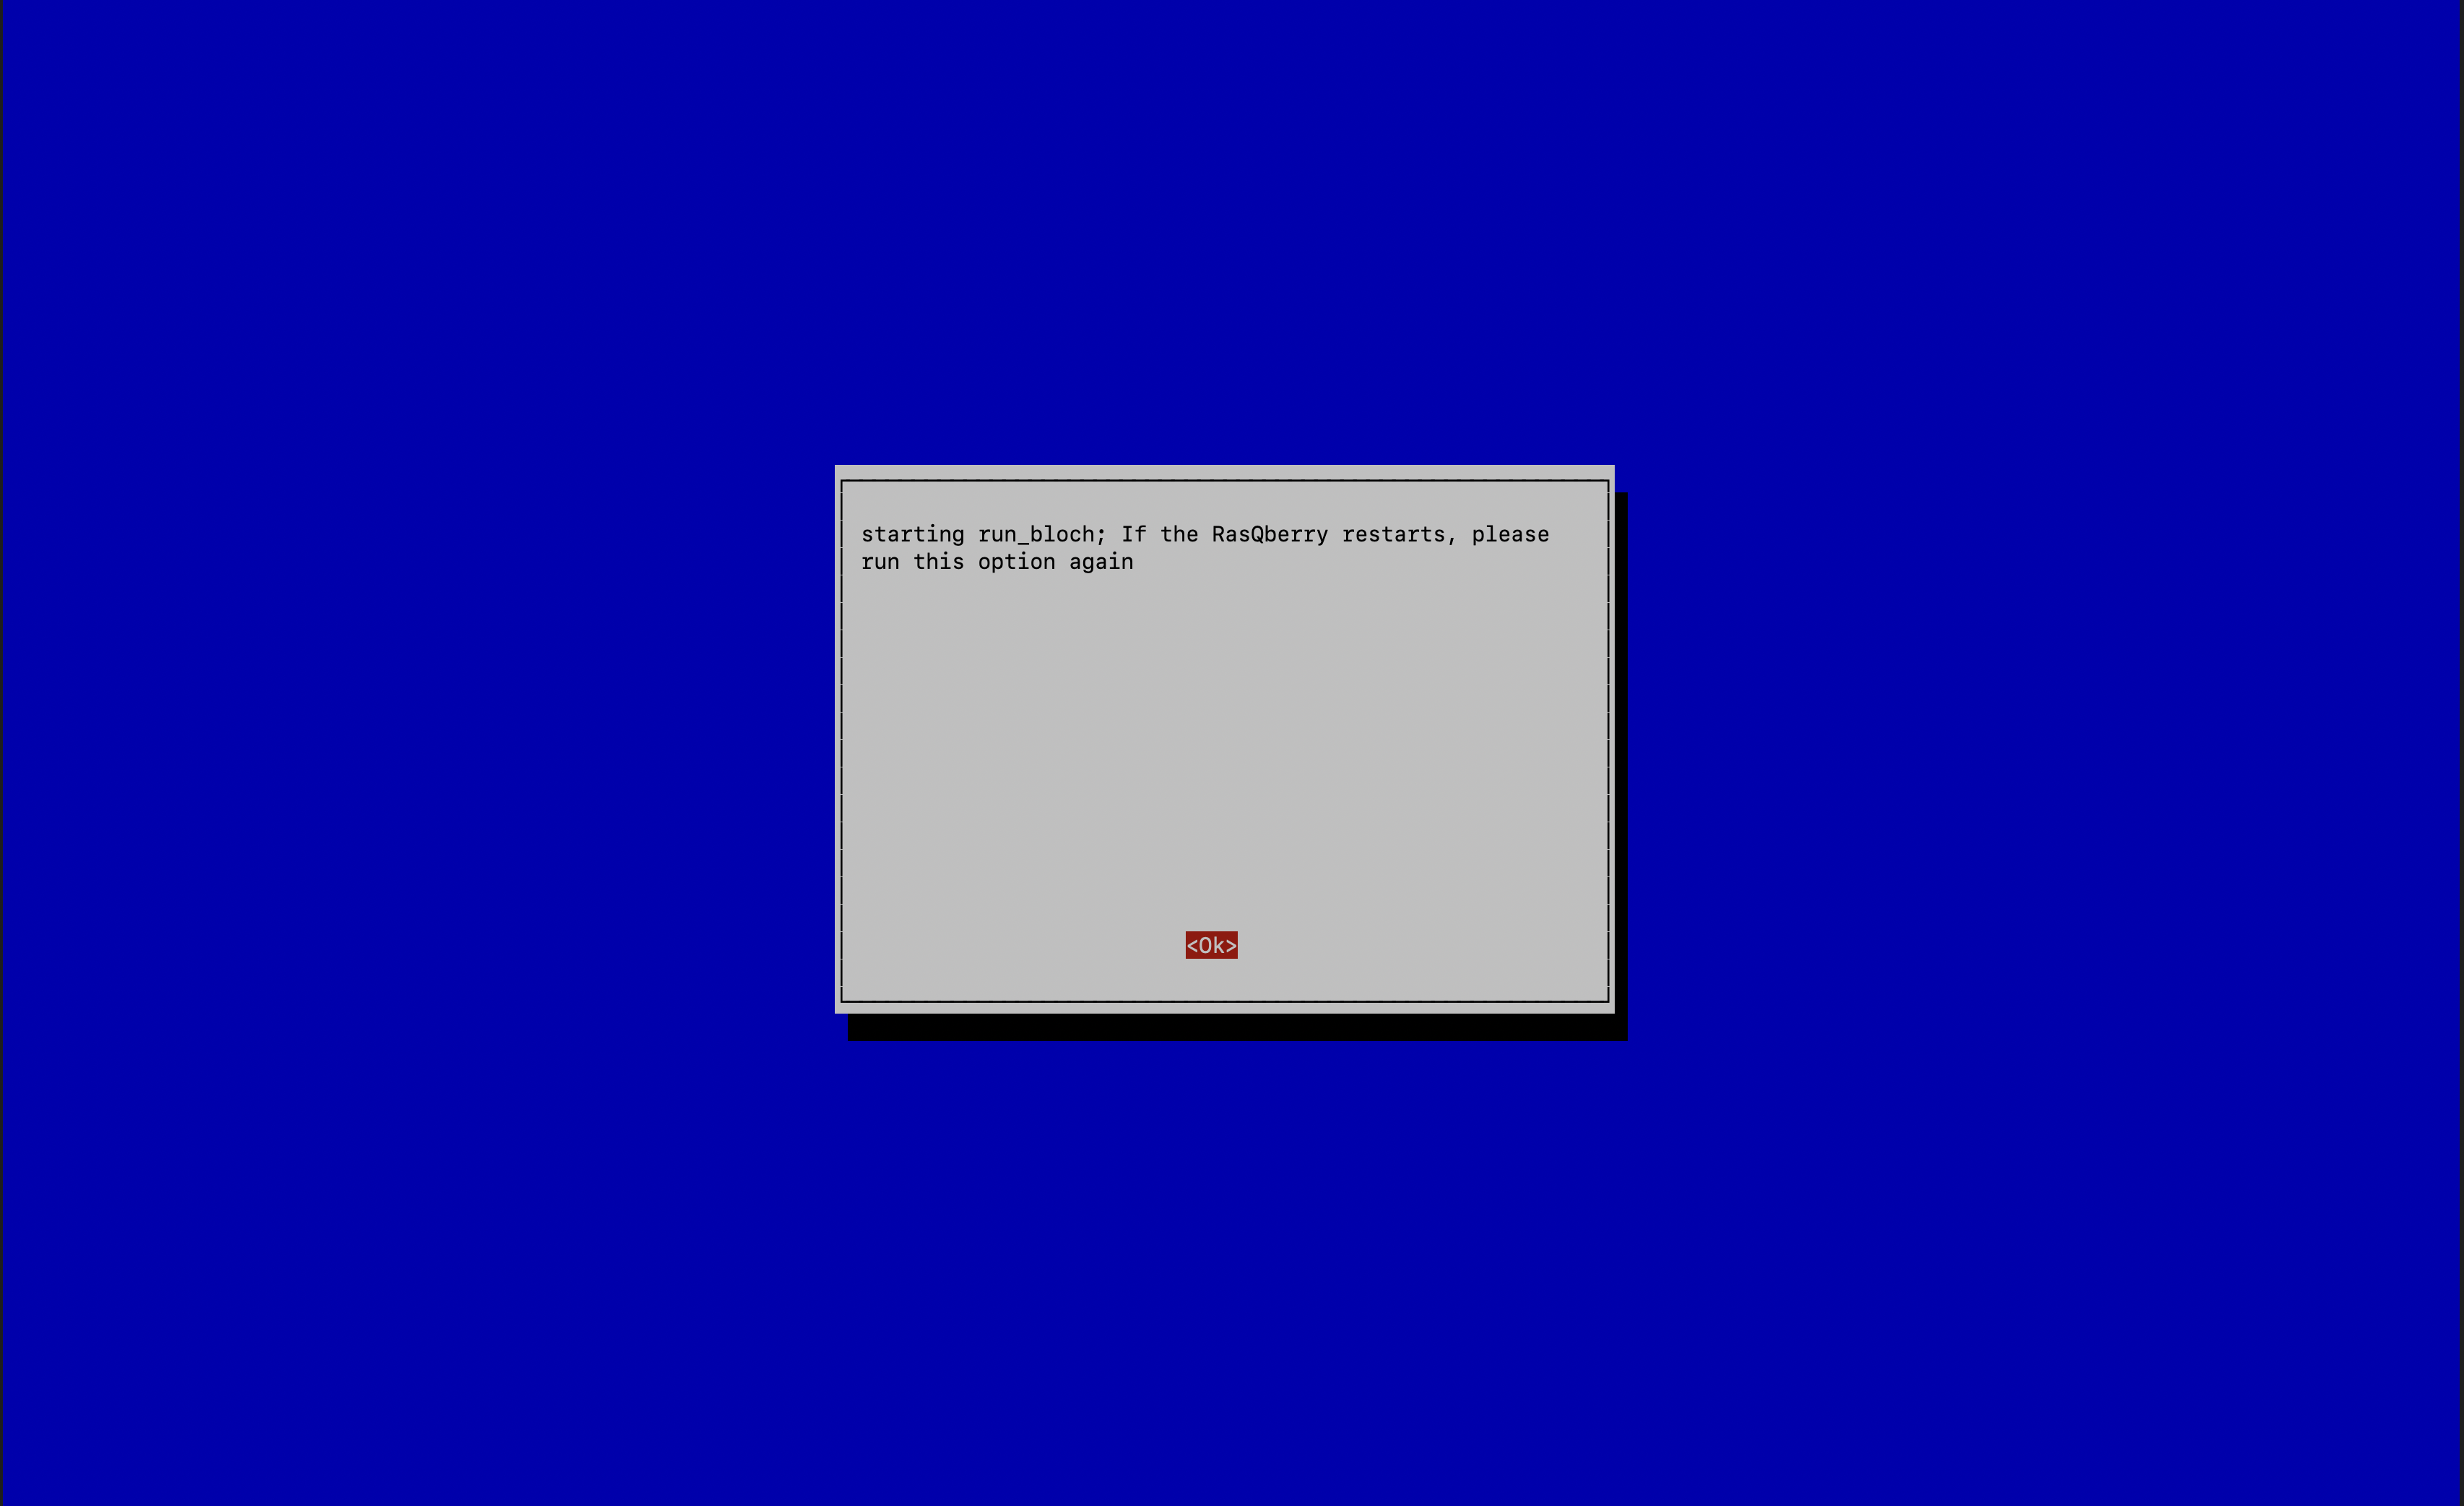
With this step you Raspberry will start the Bloch Sphere Demo automatically whenever you start your device.
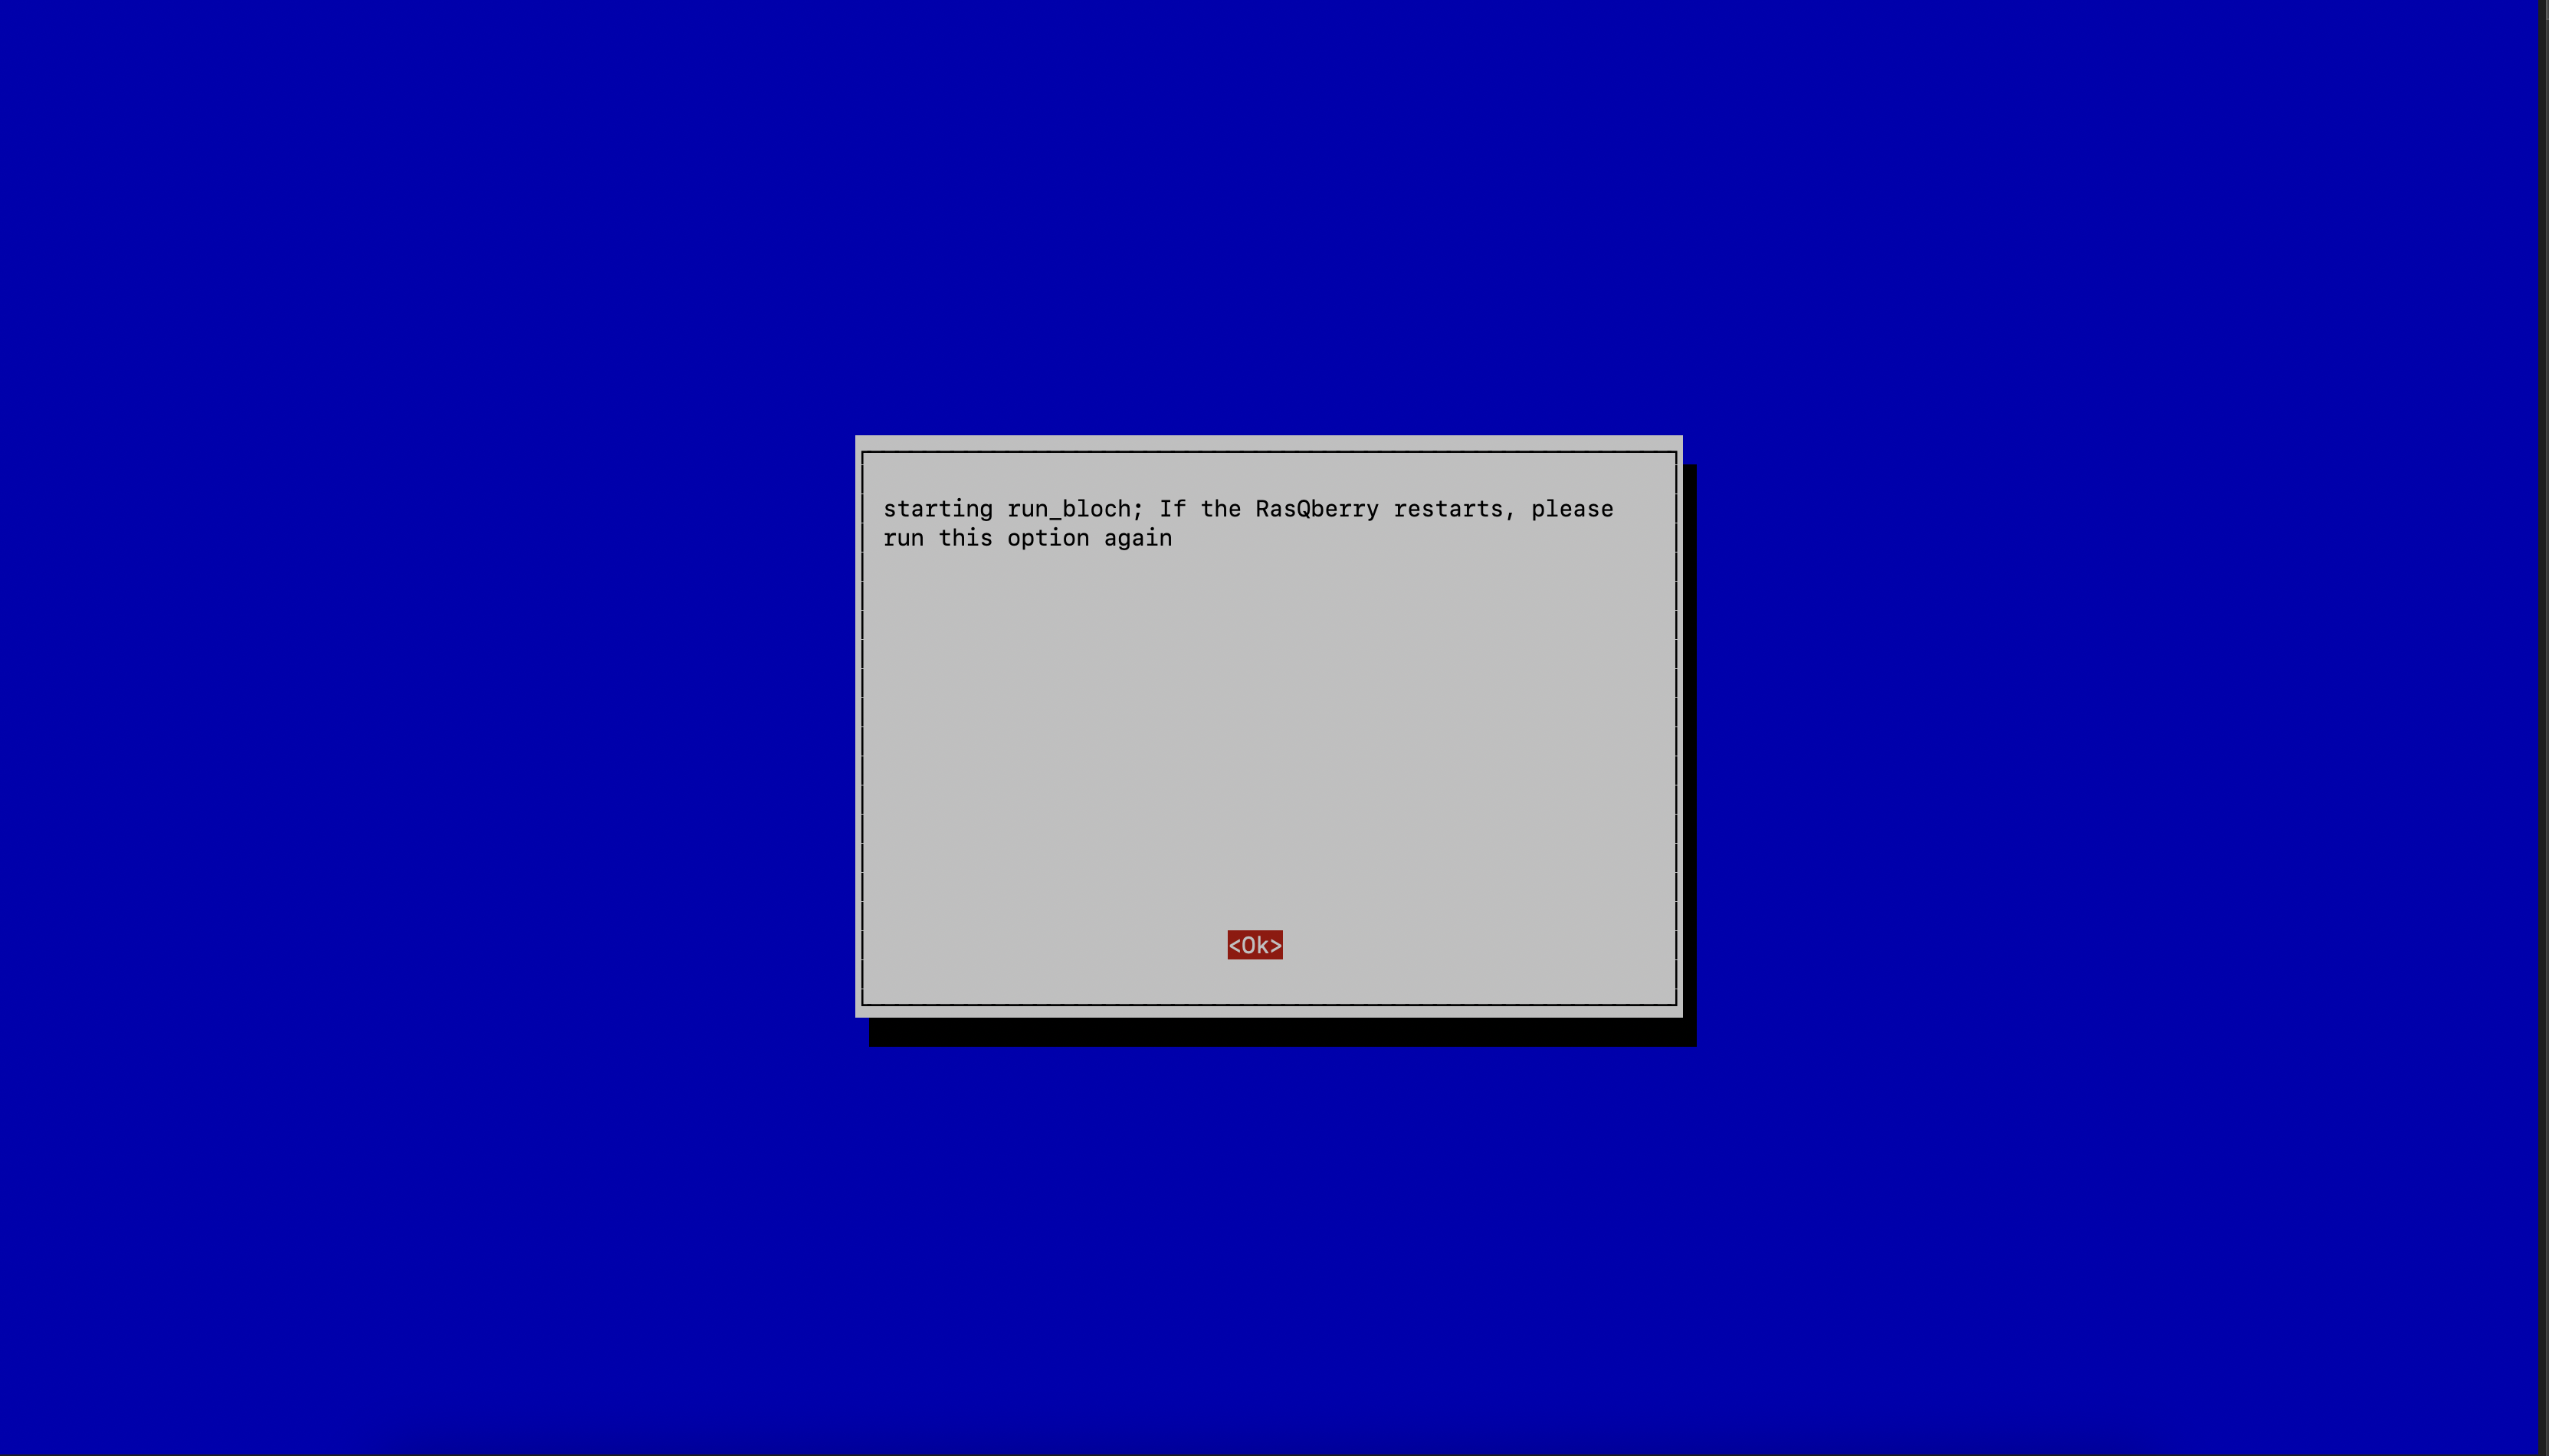
After your first the executing D then BS your Raspberry will reboot automatically. After the reboot you should execute D then BS again. This time there is no automatic reboot, but one is recommended.
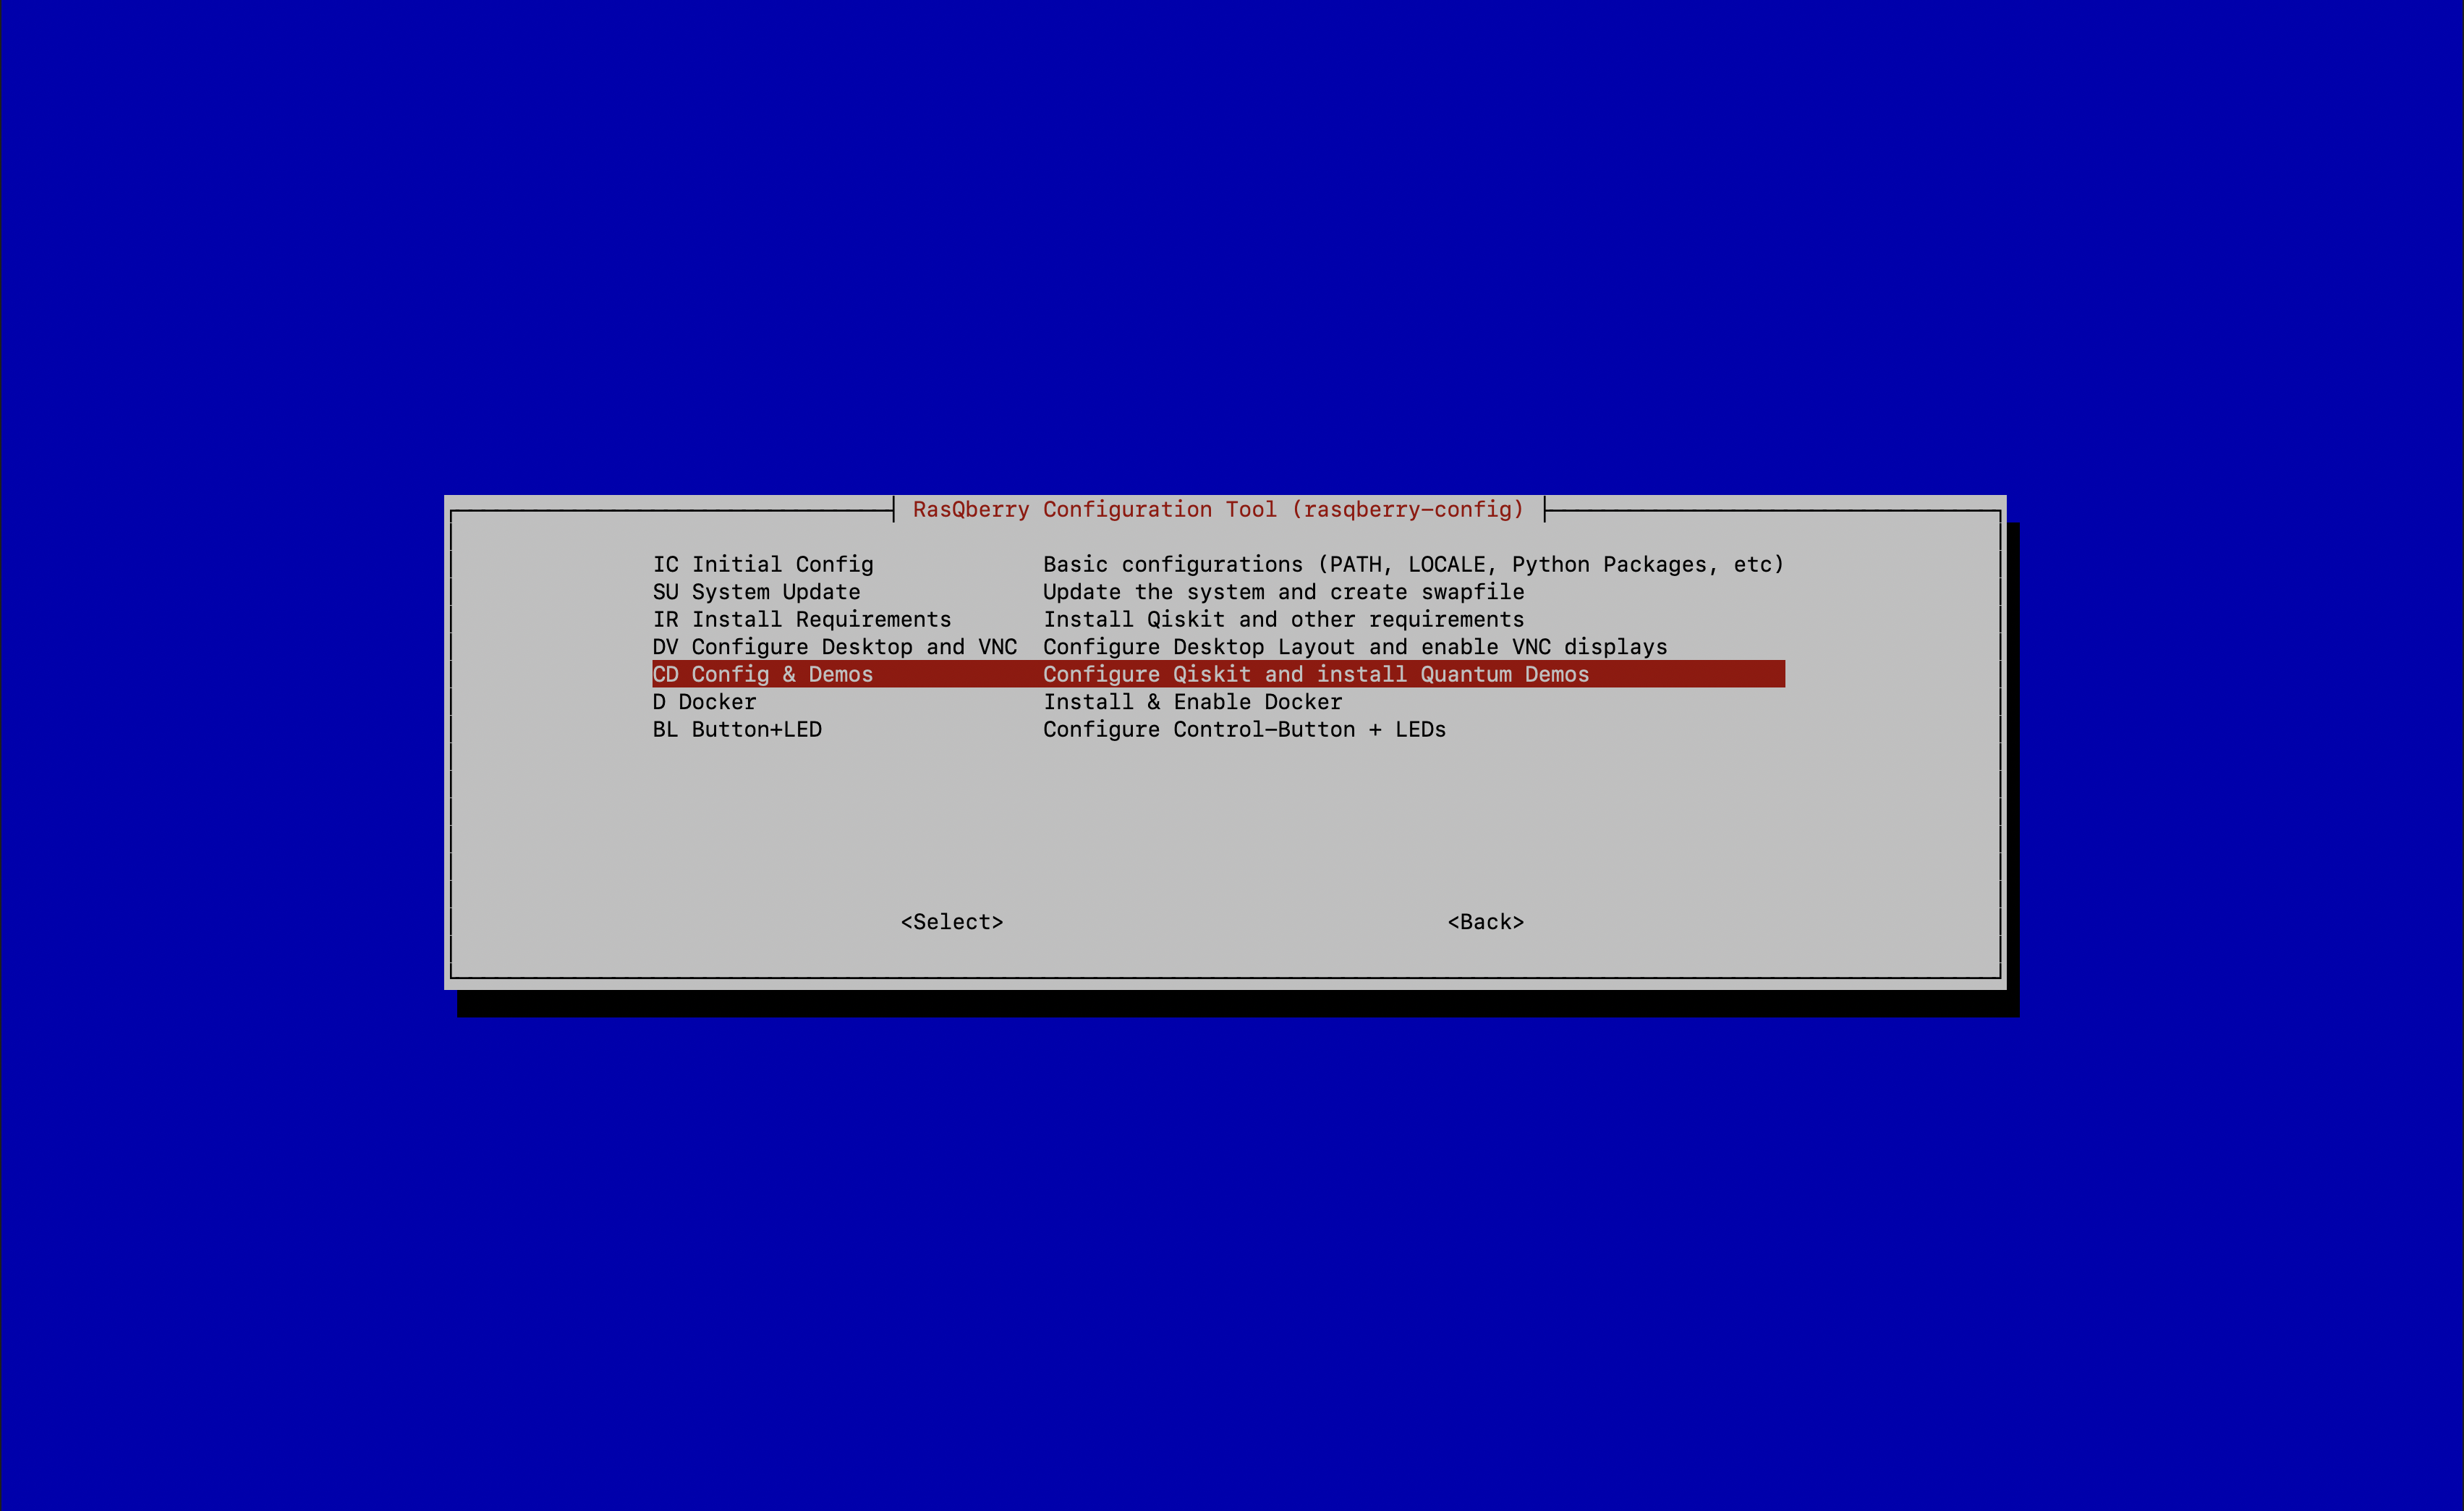
- Select
S - Rasberry SetupthenCD – Config & Demos(optional)
With this step you will configurate Qiskit automatically and install the Quantum Demos. Also, this step will configurate jupyter notebook.

With Sense HAT
Before the Raspberry Pi can boot with the SenseHAT attached you need to do some changes in the config.txt-file.
/boot/config.txt
Open the config.txt-file and uncomment the line
#hdmi_force_hotplug
Next, open the RasQberry Configuration Tool and follow the steps below.
- Select
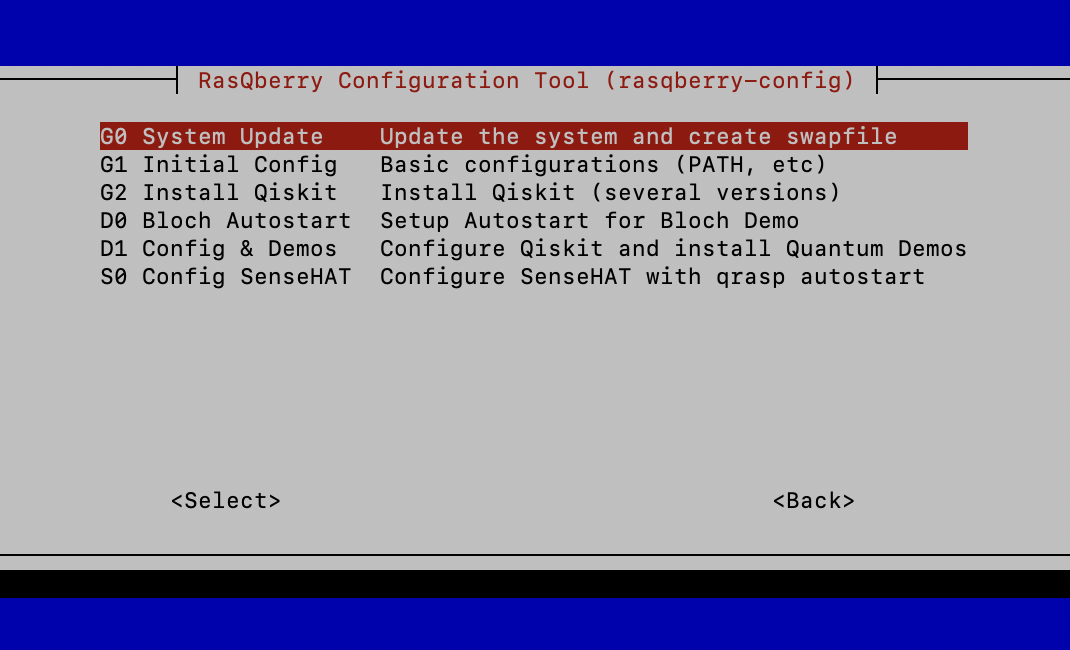
S – RasQberry Setup - Select
G0 – System Update - Select
G1 – Initial Config
Your Raspberry will process the basic configurations on your device. - Select
G2 – Install Qiskit
With this step you will install Qiskit. You can choose between a few versions of Qiskit to install. The latest version is recommended. - Select
S0 – Config SenseHAT
With this step you will configurate the SenseHAT and the qrasp demo will autostart.
The above installation procedure used pre-compiled wheel files for most of the python packages. These are downloaded automatically from Piwheels. For the packages retworkx and qiskit-aer, currently there are no whl files available. Total installation with local compile takes 10 minutes on RPi 4.
Update your IBM Quantum Experience API Token
If you want to access IBM Quantum Experience (to use e.g. the senseHAT demos) you need an API Token.
If you want to update or store your API Token, you need to select D – Quantum Demos first and after that D7 – Update Q Token.
In the terminal you can now enter your new API Token.
Cloning the Git-Repository with the Qiskit-tutorials
By executing the following instructions you clone a repository with a collection of jupyter notebooks aimed at teaching people who want to use Qiskit for writing quantum computing programs, and executing them on one of several backends (online quantum processors, online simulators, and local simulators).
If you want to clone the Git Repository to access the with the Qiskit-Tutorials, you need to open the RasQberry Configuration Tool. First select H - HD Demos and second Q1 - Qiskit Tutorials (Jupyter Notebook starts automatically).
This will take a moment to clone and as the case may be to open the jupyter notebook.
Disable the Bloch Autostart
You can disable the autostart of the BlochSphere Demo in the RasQberry Configuration Tool. First you need to select D – Quantum Demos and then D8 – Disable Bloch Autostart.
The autostart is now disabled.
Changing WIFI Settings
If you got handed an SD-Card where the above described installation already is made and you want to connect the Raspberry with your network, you can do this in different ways.
- Raspberry Pi Imager
When you write the Raspberry Pi OS on your SD-Card you can set your WI-FI Settings with the writing process. You can access the extended menu when entering shift + command + X (windows: shift + control + X)
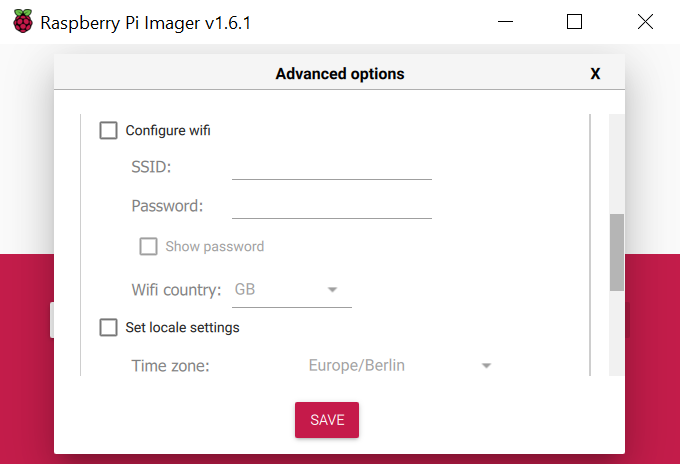
In this panel you can enter your SSID and your wifi-password and select your Wi-Fi country.
When your boot your Raspberry Pi it should automatically connect to your Wi-Fi of choice.
- With the Raspberry Configuration Tool
Open your terminal/ssh window.Sudo raspi-configSelect
1 System Options.
When you selectS1 – Wireless LANyou can enter your SSID and password.
-
With the
wpa_supplicant.conf-File before first boot
Before you first boot your Raspberry Pi you can change the wpa_supplicant.conf-File on your SD-Card. In this File you can set your SSID and the password.
Save the changes and exit the file.
- With the
wpa_supplicant.conf-File after first boot
Open your terminal/ssh window.sudo nano /etc/wpa_supplicant/wpa_supplicant.confThe file opens in your terminal/ssh window, and you can change the SSID and the password.
Save the changes and exit the file.
- With the display and a (virtual) keyboard
First click on the WIFI-Icon in the top right corner of the screen and activate the WI-FI and select your WIFI of choice.
If you don’t have a keyboard with you, you can use a virtual keyboard that comes with the Raspberry Pi OS. You can find it in the menu underAccessories.
With the virtual keyboard you can enter the wpa-key.
Configuring Autohotspot
There is the option to configure a Hotspot which automatically activates when the configured WI-FI network (see wpa_supplicant.conf) is not available. This is done with the Autohotspot package. You can find more information about this package here: Raspberry Pi - Auto Wi-Fi Hotspot Switch Internet.
To activate and run the package, choose the options:
- Select
S – RasQberry Setup - Select
AH - Install AutoHotspot - Choose number according to your use case (in most cases option
1is recommended) - Exit with
8
Remote Desktop to Raspberry Pi
Prerequisites:
- Download the RasQ-init.sh script file from GitHub repository if it's not done before
- RealVNC Viewer software should be installed on your personal laptop. Remote Desktop option (VNC) has been tested using the [realVNC Viewer](https://www.realvnc.com/de/connect/download/viewer/)
Enable VNC Server:
- Open terminal and goto this path
/home/pi - Run this script file
. ./RasQ-init.sh - Choose
S – RasQberry Setupoption and hit<Select>button
- Choose
DV Configure Desktop and VNCoption and hit<Select>button

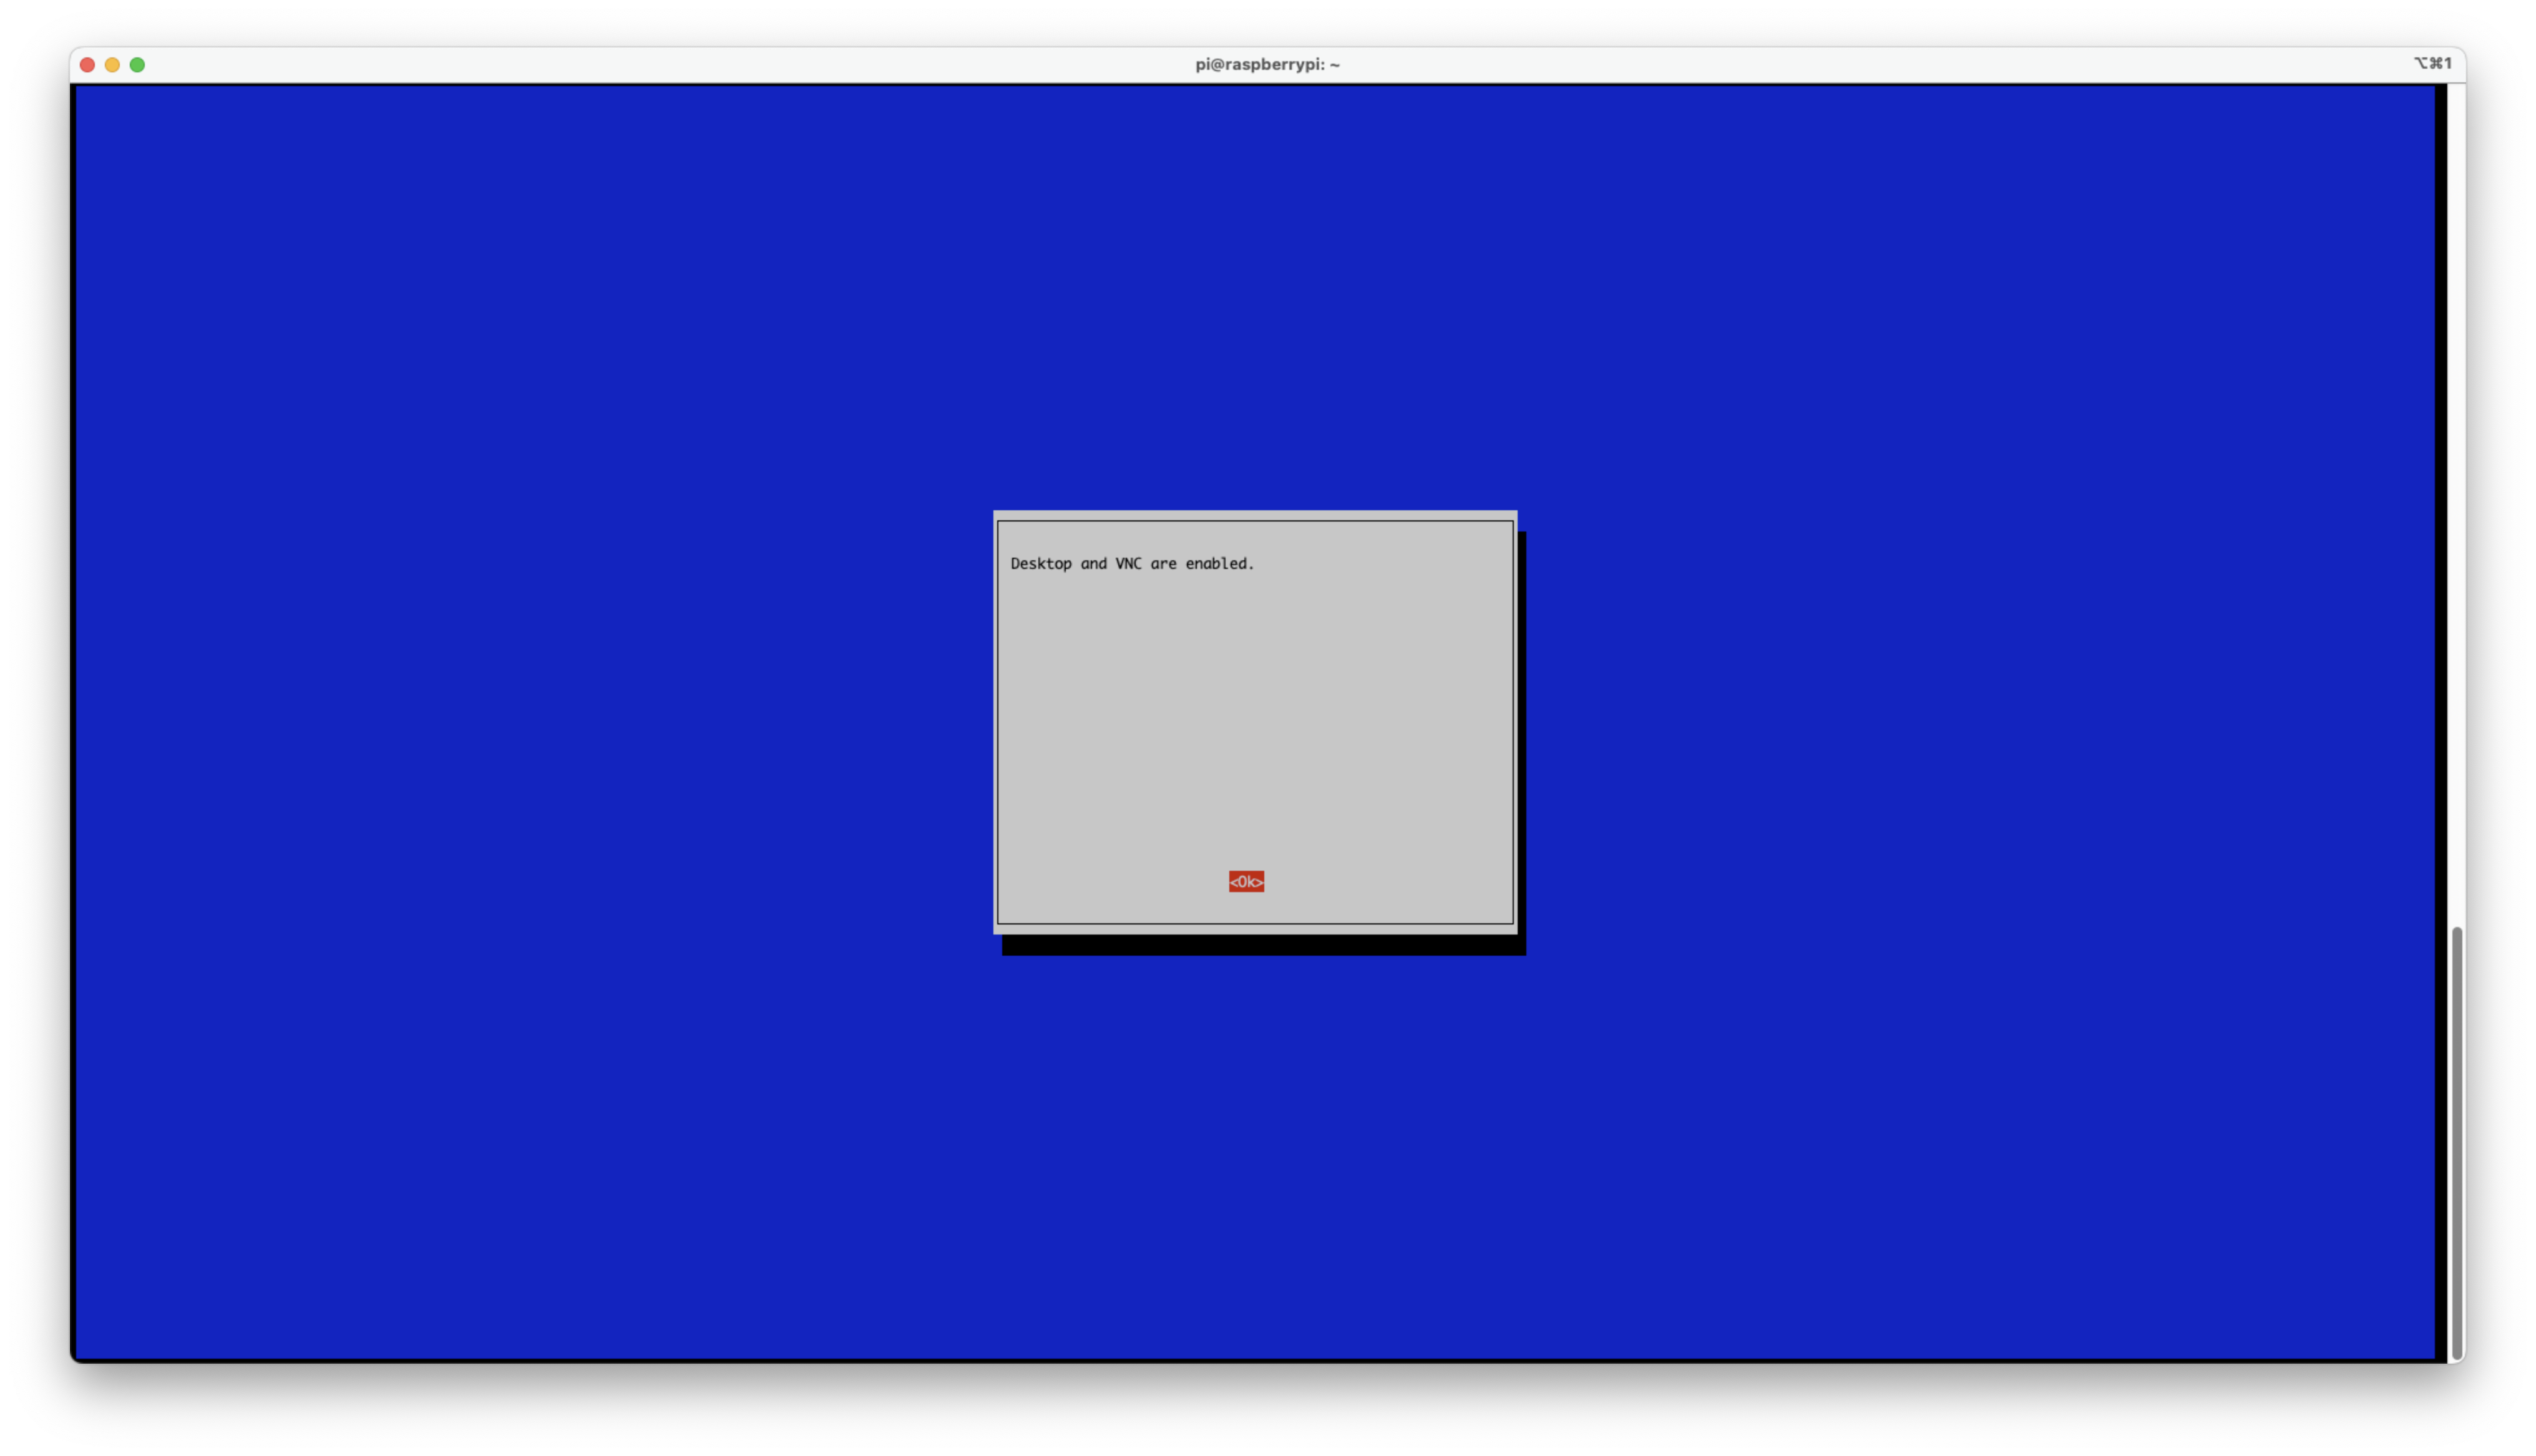
- You will see
Desktop and VNC are enabledmessage once it’s successfully enabled the vnc server
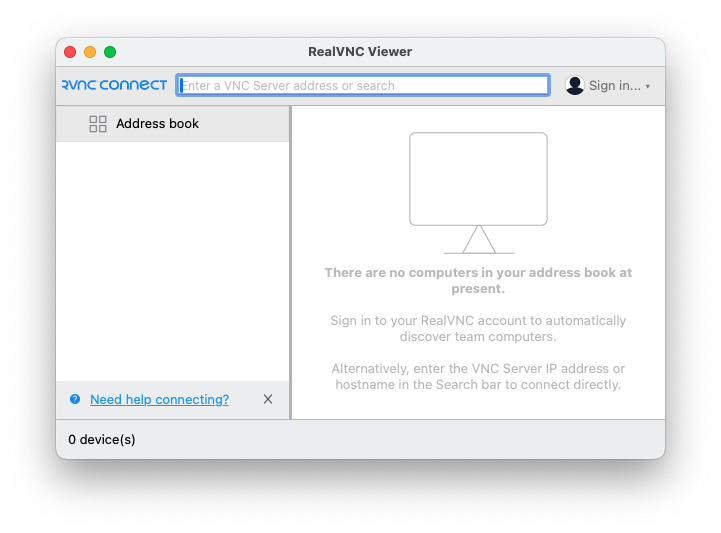
Connect to your VNC Server (Raspberry Pi) from your personal laptop:
-
Open the VNC Viewer app
-
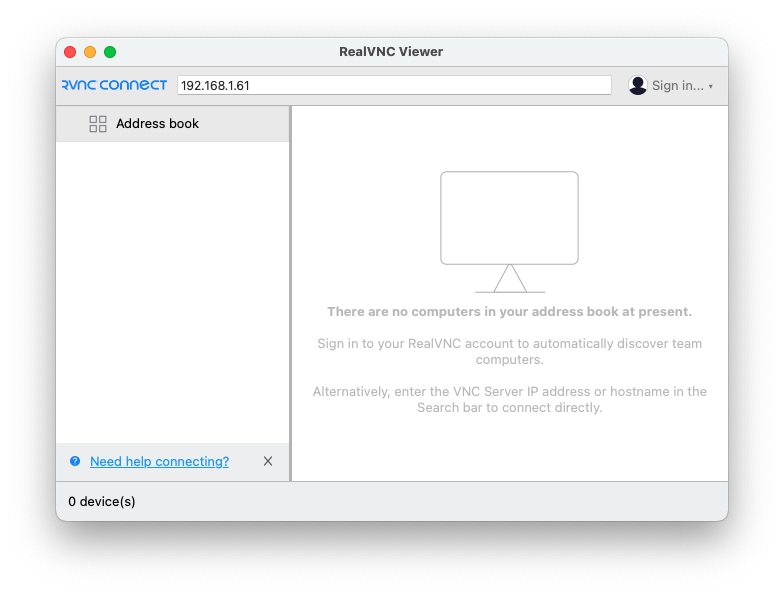
Enter VNC Server (Raspberry Pi) IPAddress in the address bar section and hit ENTER button
-
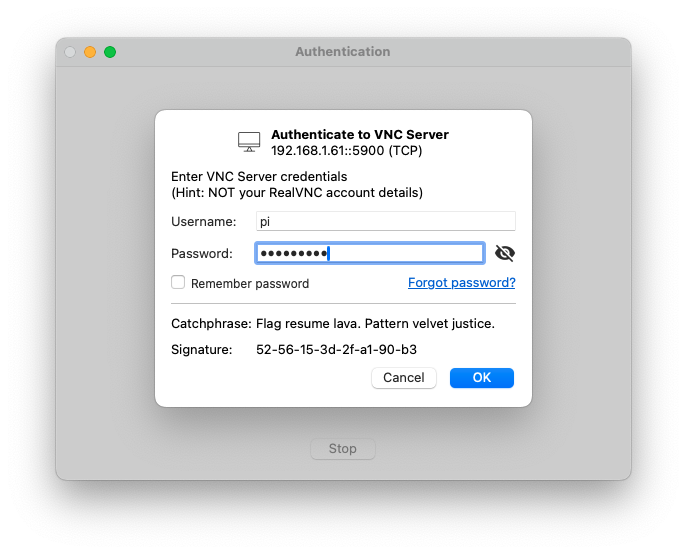
Enter VNC Server (Raspberry Pi) username (Default: pi) and password (Default: raspberry) and click OK button
-
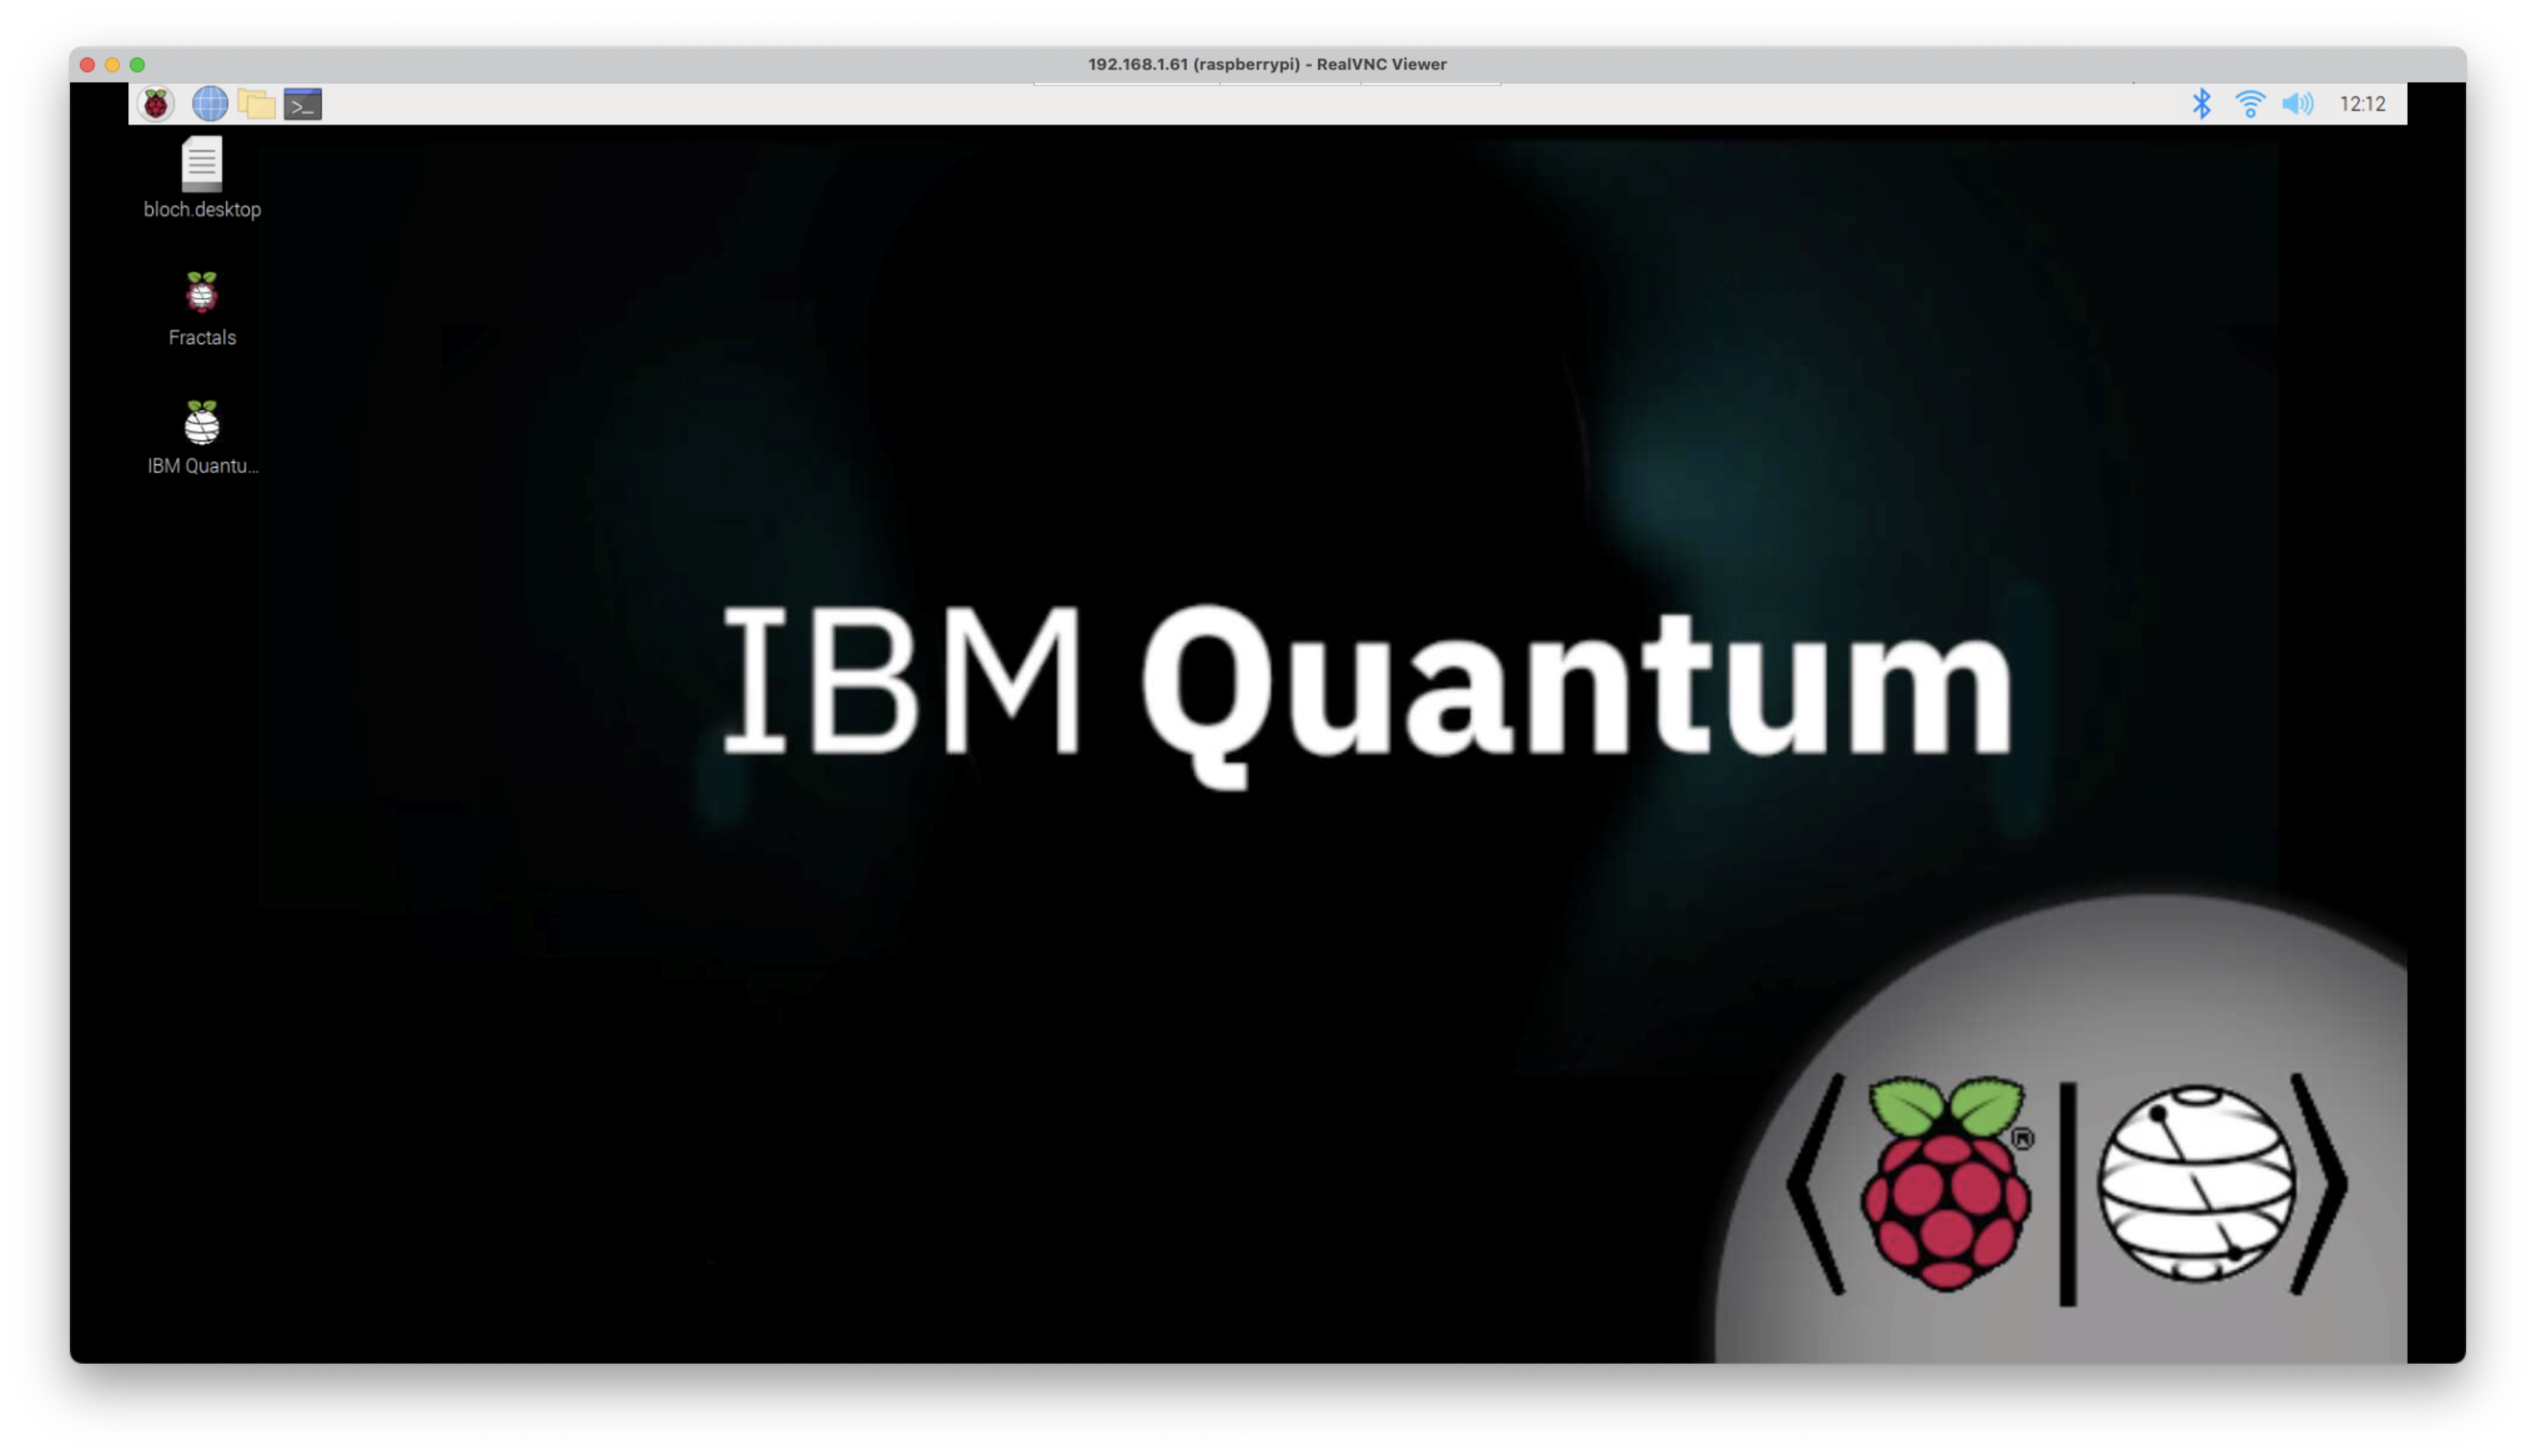
VNC Viewer will connect to your Raspberry Pi
Connect a LED Ring-Light to your Raspberry Pi
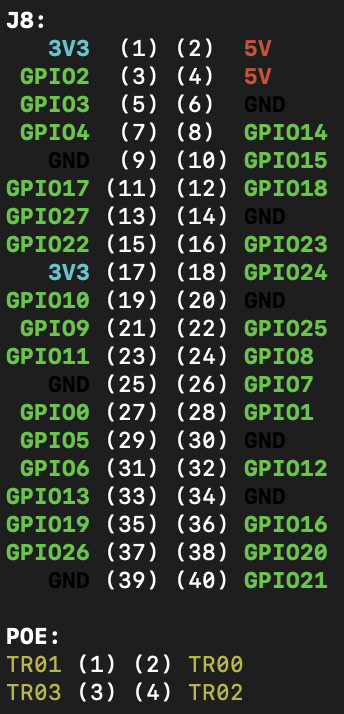
To connect your LED light, you need three cables (GND, VCC & IN). Put your cables on the Raspberry Pins as follows:
- GND-cable to Pin 6 [GND]
- VCC-cable to Pin 4 [5V]
- IN-cable to Pin 40 [GPIO21]
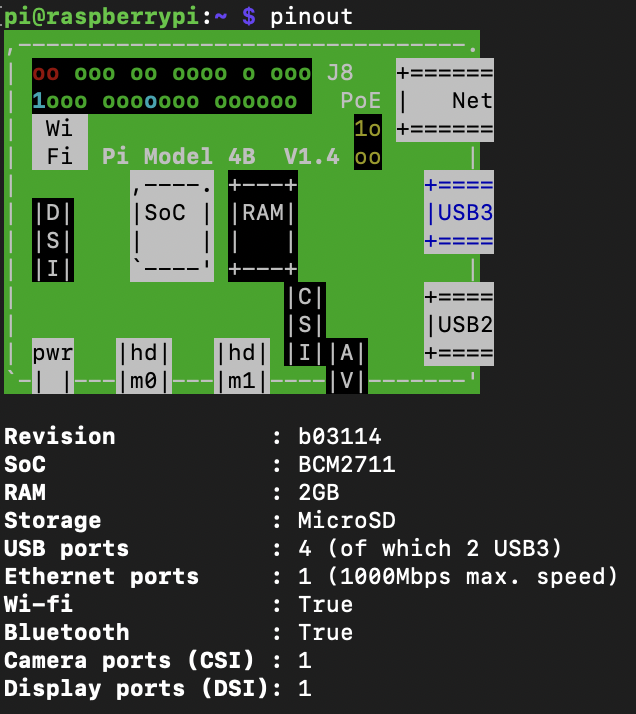
You can check which Pin on your Raspberry is the right one, with
pinout
in your terminal/ssh window.
Open your terminal/ssh window and type
sudo python3 .local/bin/rq_LED-test.py -c
Your LED Light should now be turned on. To turn it off press ctl + c.
If this method doesn’t work, you can also open the RasQberry Configuration Tool. Select S – RasQberry Setup, then S7 – Enable LED Light and finally S8 – Toggle LED Light.
Your LED Light should now be turned on. To turn it off again select S8 – Toggle LED Light again.