How to Contribute
If you have an interesting idea you’d like to add or the solution to an issues you are welcome to contribute!
To contribute you will fork the repository. By forking the RasQberry-Repository you create a personal copy of the repo that will be stored under your account.
Later on you can submit your changes via Pull Request.
You can use the following checklist to run simple, manual regression tests and validate your modifications before creating a Pull Request.
Please update the checklist with additional tests related to your modifications, if applicable.
1. Fork the Repository
You can fork the RasQberry-Repo easily by clicking on the fork-button on the top right of the window.

Now you have a copy of the repo on your GitHub-Account.
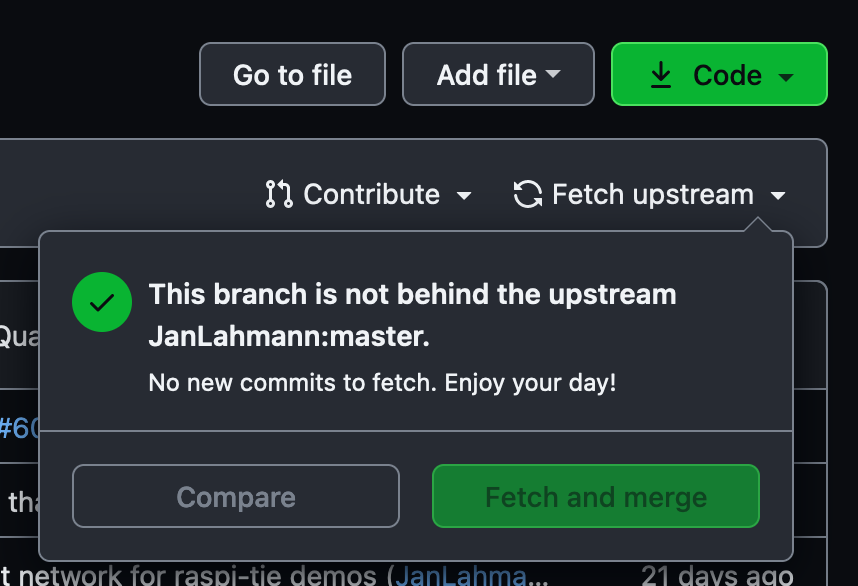
To update your copied repository for changes you can click on fetch upstream and then compare the two Repositories. If any changes have been made you can select Fetch and merge and all changes will be updated in your repository.

If you made some changes at the same time it is possible that you will get a merge conflict. To work further on your changes you will need to resolve them.
2. Clone the copied repository
After you successfully forked the RasQberry-Repo you now need to clone on your local computer to work on it and to make some changes.
You can clone it either with the GitHub desktop tool or with the terminal
with GitHub desktop
Open the GitHub desktop tool. You should be abel to see all the repositories connected to your GitHub account.
Select the forked RasQberry-Repo ({your username}/RasQberry), choose the path, where the repository will be saved and copied on your local computer and select clone.
Verify that the Repository is at the place you cloned it.
You can now make your changes.
with the terminal
Open the terminal and change the current directory to the location you want to clone the repository.
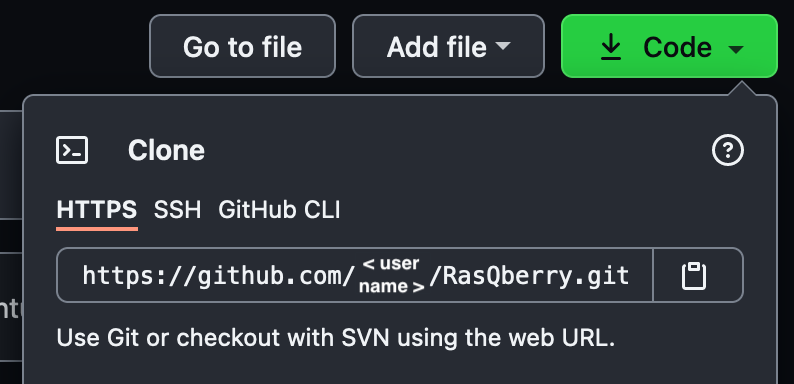
To clone the repository you need to copy the HTTPS link to the online repository. You can find the link under code on the website. Click on the little clipboard to copy the link.
If you have added a public key you can clone the repository via SSH as well.

In the terminal you need to type
git clone
and paste the copied https link behind it.
Hit enter to clone the repository.
You can now make your changes.
3. Push your changes on the forked repository
If you made some changes on your local computer you need to push them first on your forked repository before you can create a pull request to push them onto the original repository.
with GitHub desktop
Open the GitHub desktop tool and select the repository you are working on.
You can see all the changed, added or deleted files under the tab changes. All the files that are checked on the left side are staged.
Next you want to commit your staged files. It is required to add a little summary in which you comment what you did. After writing the summary you can commit the changes to your current branch.
After your commit you want to push the changes to the remote repository. For this you just click Push origin on the top of the window. It may take a moment and your changes are pushed to your remote repository.
with the terminal
First you want to check which files are changed, added or deleted.
git status
Now you can see all unstaged files in red and all already staged files in green. To commit and push your changes you need to stage all the files needed.
Type
git add *
to stage all files or type instead of * the path for the specific file that you’d like to add.
With
git status
you can check if all files that need to be staged are staged (green).
To commit your changed files you need to type
git commit -m ""
In between the quotation marks you can add a comment on what you did.
After the commit you want to push them onto your remote repository.
Type
git push origin HEAD
to push the changes on your current branch. If you already work on your master branch you can just type
git push
as well.
4. Creating a Pull Request
If you are happy with your changes on your remote repository you are ready to propose the changes to the original repository.
Open your repository in your browser. You will see a banner that lets you compare your recent changes and creating a pull request.

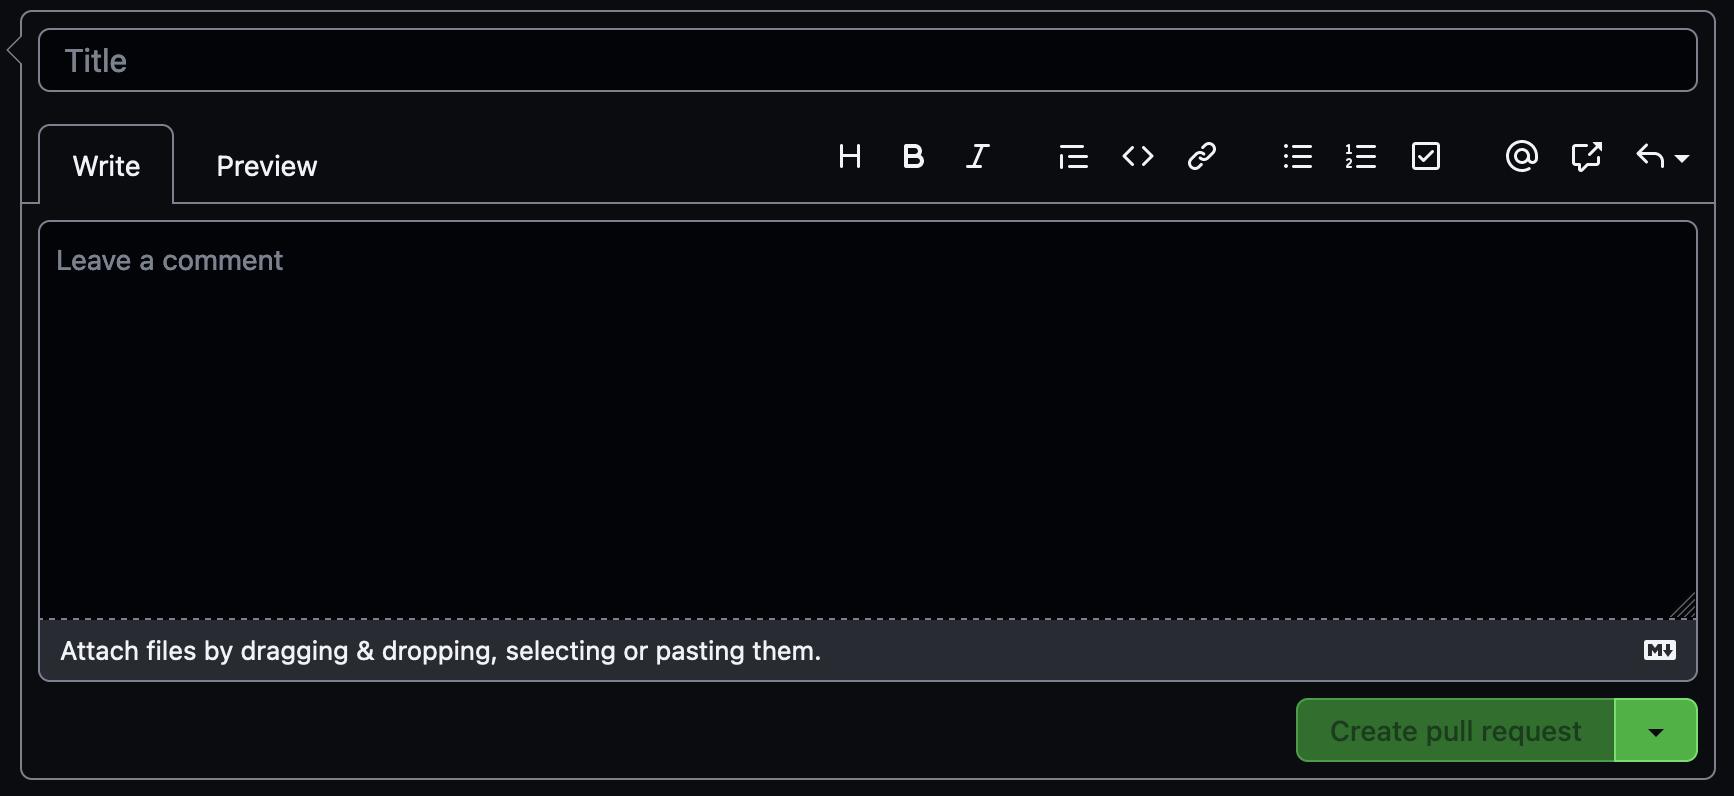
Click on Compare & pull request. You will get redirected to a new page, where you need to enter a title and a description to your pull request. It is best practice to provide as much useful information on what you changed or added and why you changed or added it.
When you are done with your description you need to click on Create pull request.

Congratulations, you created a pull request!